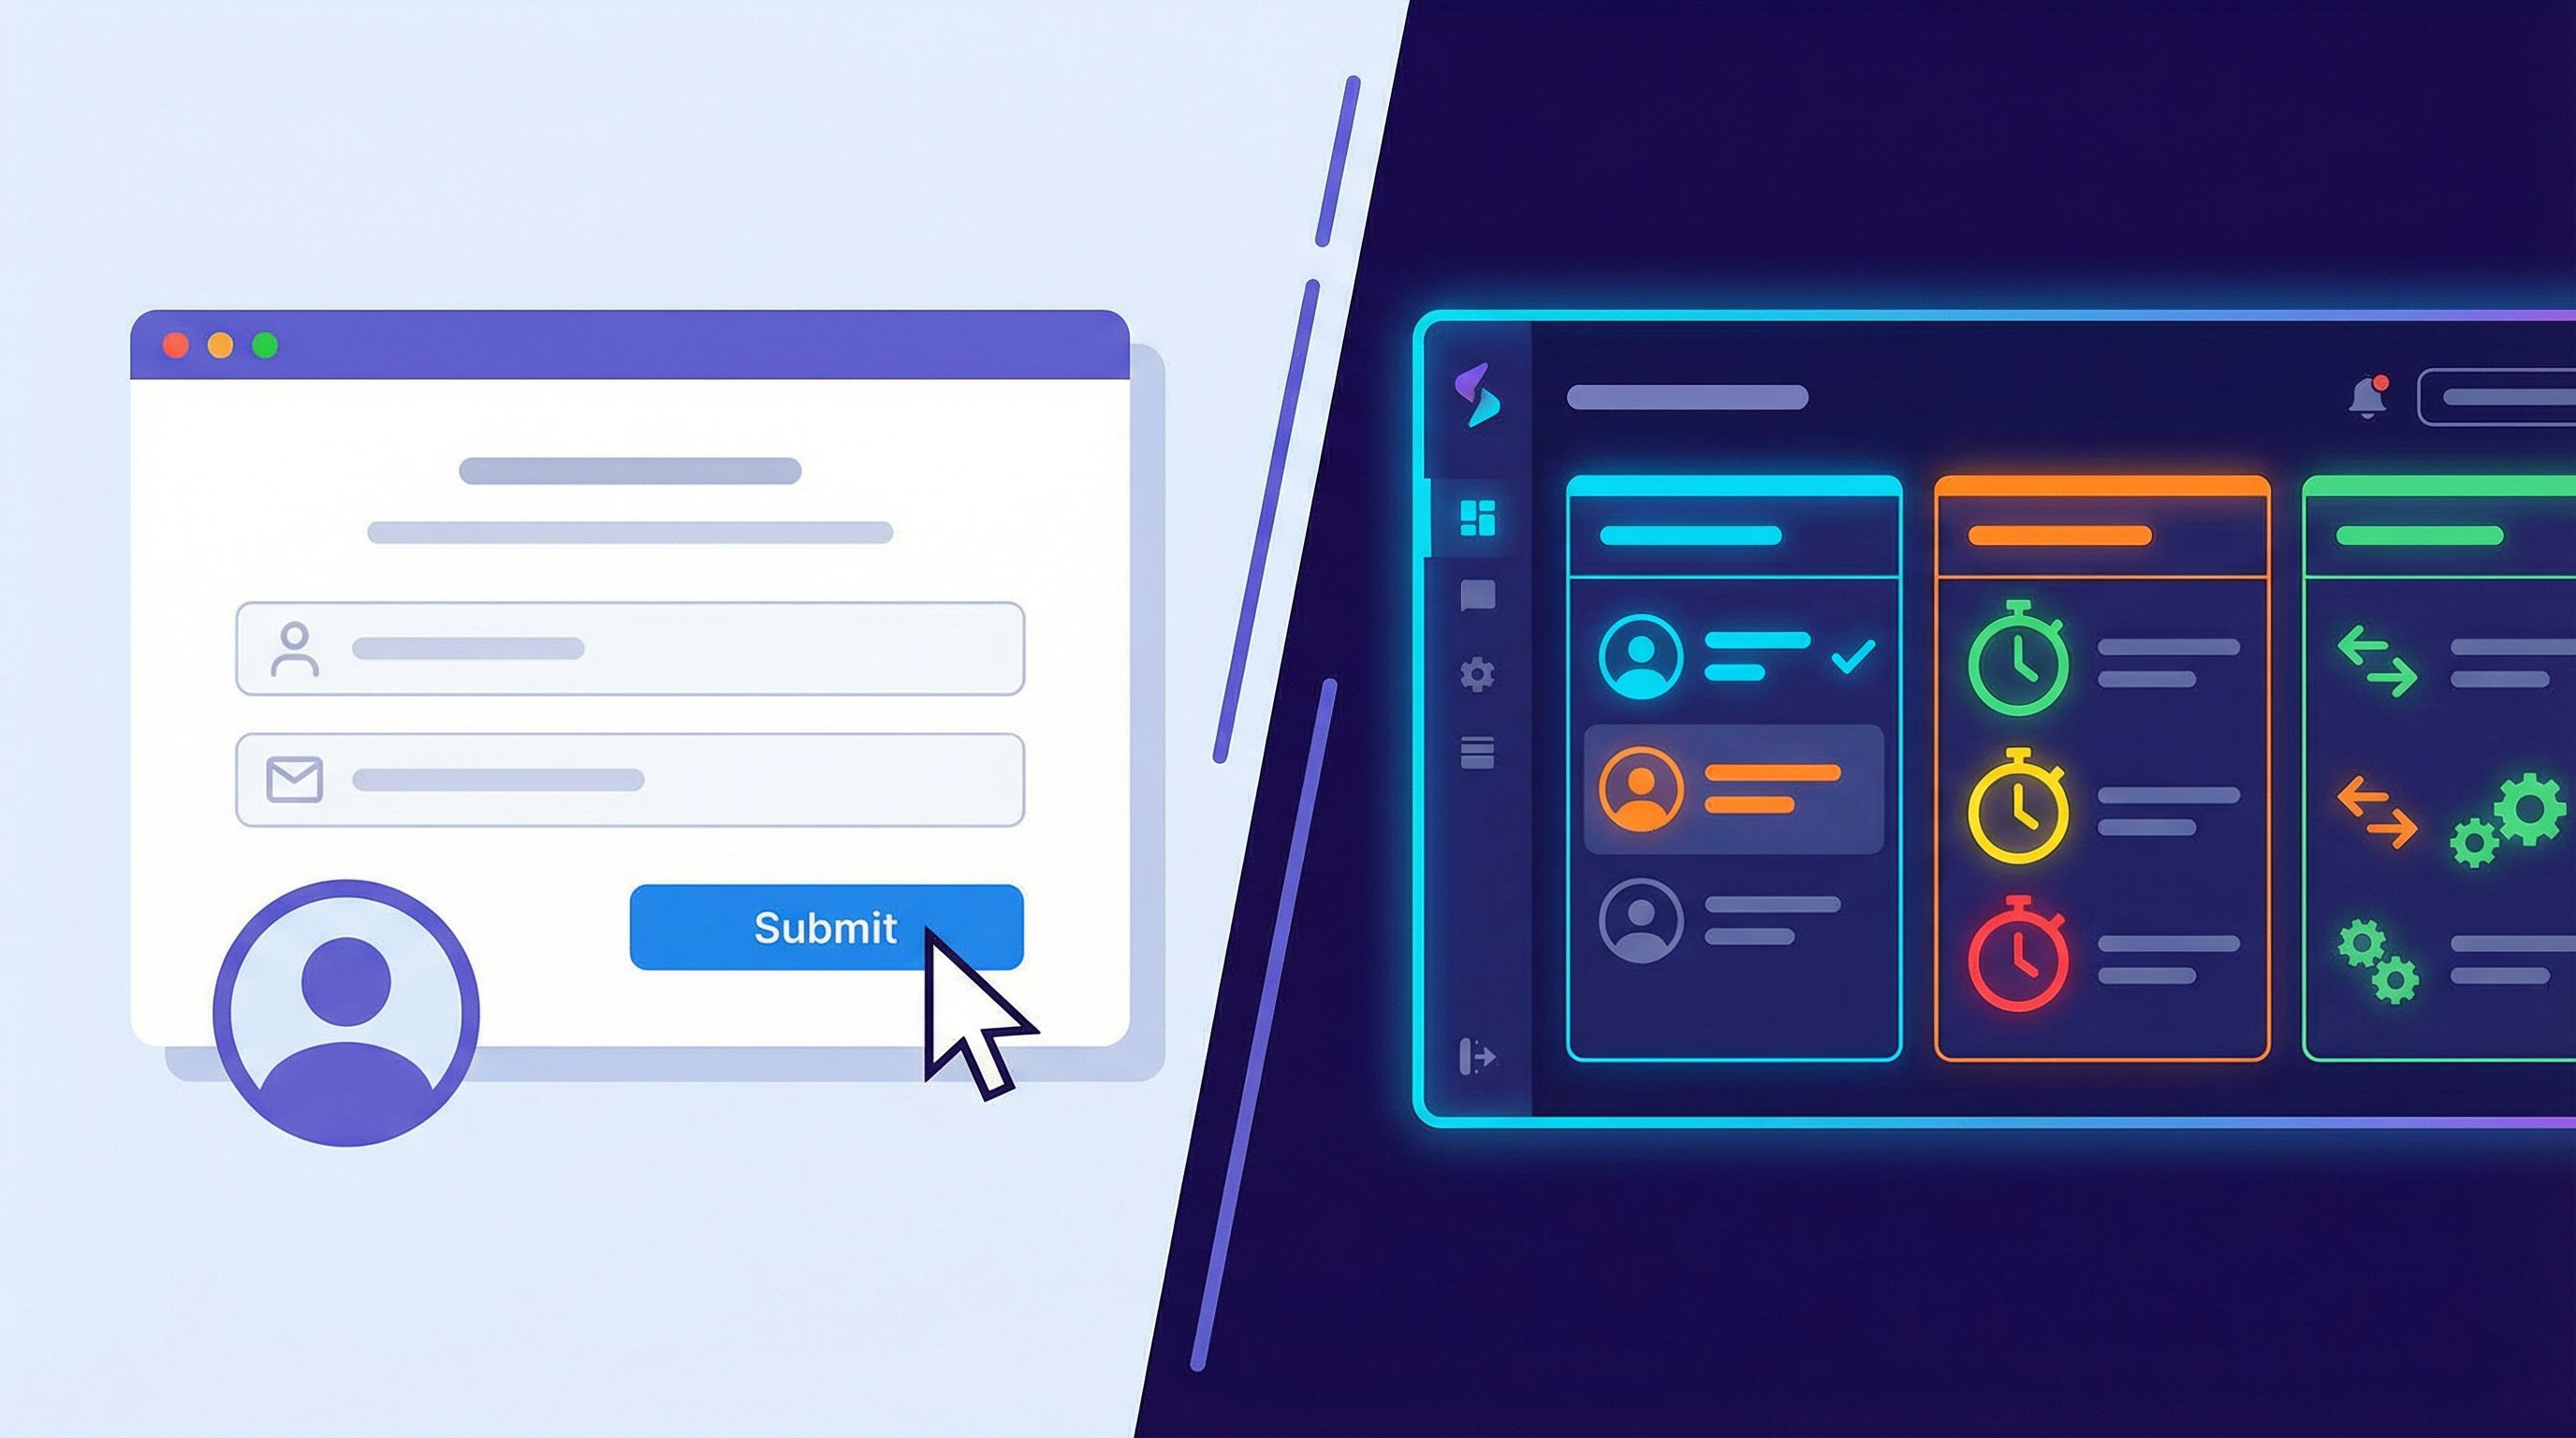
From Form Fill to Auto-Routing: Designing Intake Flows That Assign Owners, SLAs, and Next Steps by Default


Most teams don’t have an intake problem. They have an after-intake problem.
Someone fills out a form. A notification hits a shared inbox. Maybe a Slack channel. Maybe a spreadsheet. Then… nothing predictable happens.
- Sales leads sit for days because no one is “on point.”
- Support tickets bounce between teams.
- Internal requests get buried under reply-all threads.
Everyone did their job up to the moment the form was submitted. The breakdown is what happens next.
A better pattern is simple to describe and powerful to run: every form submission automatically gets an owner, an SLA, and a clear next step. No triage heroics. No manual assignment. No “who’s got this?” in Slack.
That’s what this post is about: how to design form flows that don’t just collect data, but orchestrate work—from the moment someone clicks Submit.
Why post-submit chaos is so expensive
Before we talk patterns and tools, it’s worth being explicit about the cost of “we’ll figure it out after the form.”
1. Slow responses kill intent (and revenue)
Multiple studies have shown how sharply lead conversion drops as response time increases. One well-cited analysis from Lead Response Management found that contacting a lead within five minutes can be 100x more effective than waiting 30 minutes or more.
You don’t need the exact number to know the feeling: if a prospect requests a demo at 10:02 a.m. and doesn’t hear back until 3 p.m. the next day, the odds that they’re still in “yes” mode are low.
Slow response isn’t just a sales problem:
- Support tickets that languish turn into churn.
- Internal requests that stall create shadow processes.
- Partner applications that disappear make you look disorganized.
2. Shared inboxes hide accountability
Shared email addresses and generic queues feel flexible, but they blur responsibility:
- Everyone is “watching” the inbox, so no one actually owns a specific request.
- Work gets picked up by whoever is least busy, not whoever is best suited.
- Managers can’t see at a glance what’s stuck, who’s overloaded, or where SLAs are slipping.
3. Manual triage doesn’t scale
As long as volume is low, a smart person can read every submission and route by hand. But:
- Volume grows.
- Segments multiply.
- Edge cases become the norm.
Manual triage becomes a bottleneck, and your most experienced people spend their time shuffling tickets instead of solving problems.
The goal: intake flows that “decide” for you
When we talk about auto-routing we’re really talking about a small set of guarantees that every submission should have by default:
- Owner – Who is responsible now?
- SLA – How fast should we respond or move this forward?
- Next step – What happens immediately after submission—for the requester and for your team?
If those three things are automatic, you unlock a different way of working:
- Reps don’t waste time hunting for context.
- Requesters know what to expect.
- Ops can report on performance without begging for updates.
This is the same mental model behind treating forms as workflow engines, not just data capture surfaces—a theme we’ve explored in From Form to Workflow Engine.
Let’s break down how to design for owner, SLA, and next step from the moment you sketch your form.
Step 1: Design your routing map before you design your form
Most teams do this backwards:
- Build a form with “everything we might need.”
- Launch it.
- Only then ask, “Okay, how should we route these?”
Flip that.
Start by defining how work should flow, then design the form to collect the minimum data needed to make those routing decisions reliably.
Map your intake types
List the main “kinds” of submissions you expect. For example:
- New business: SMB, mid-market, enterprise
- Support: billing, technical, account access, feature request
- Internal ops: IT access, procurement, HR request, facilities
For each type, define:
- Primary owner or team (e.g., “SMB AE pod,” “Tier 2 support,” “IT helpdesk”)
- Default SLA (e.g., “reply within 2 business hours,” “resolution within 3 days”)
- Initial action (e.g., “auto-create CRM opportunity,” “open Jira ticket,” “send internal Slack alert”)
Turn your map into routing rules
Now translate that into if/then logic:
- If
company_size<= 50 → Owner:SMB AE queue→ SLA:24 hours→ Next step:create CRM lead + email intro from round-robin owner. - If
issue_type=billing→ Owner:Billing support→ SLA:1 business day→ Next step:tag as high-priority if MRR > $X.
You don’t need to implement this in a tool yet. A simple table in a doc or Sheet is enough to start.
Step 2: Ask questions that power routing, not just reporting
Once you know how you want to route, you can design questions that make those decisions deterministic.
Identify your “routing fields”
Routing fields are the 3–7 answers that determine where a submission should go. Common examples:
- Segment fields
- Company size, industry, region, plan tier, ARR/MRR band
- Intent fields
- “What brought you here today?” with options like Talk to sales, Get support, Explore partnership
- Urgency fields
- “How time-sensitive is this?” or “When do you need this resolved by?”
- Product/area fields
- Feature or product line, geography, department
Design these carefully:
- Use multiple choice where possible to avoid free-text chaos.
- Keep labels human but map them to clean internal values (e.g.,
SMB_0_50,MM_51_500). - Avoid overlapping categories that make routing ambiguous.
For AI-heavy orgs, these routing fields also become high-quality signals for models—a topic we explore more deeply in Forms as On-Ramps to AI.
Make routing questions feel natural
You don’t want routing logic to feel like bureaucracy. A few patterns help:
- Explain the why: “A few quick questions so we can get you to the right person on the first try.”
- Use conversational phrasing: Instead of “Segment,” ask “Which best describes your company today?”
- Progressive disclosure: Use conditional fields so people only see follow-ups relevant to their earlier answers.
If you want your intake to feel more like a guided chat than a questionnaire, patterns from From Clicks to Conversations apply directly here.
Step 3: Turn routing rules into automatic assignment
Once your form is capturing clean routing fields, the next step is wiring those into your tools so that ownership is never a mystery.
Where should ownership live?
Most teams do best when the system of record also owns assignment:
- Sales → your CRM (e.g., HubSpot, Salesforce)
- Support → your helpdesk (e.g., Zendesk, Intercom, Front)
- Internal ops → your ticketing/project tool (e.g., Jira, Linear, Asana, ClickUp)
Forms built with tools like Ezpa.ge can sync responses in real time to Google Sheets, which then act as a lightweight routing brain:
- Form submission → row in Sheet.
- Sheet formulas or Apps Script → determine owner based on routing fields.
- Integrations (native or via tools like Make or Zapier) → create/update records in your system of record with the right owner.
Assignment patterns that work
A few practical approaches:
-
Direct assignment by rule
- Example:
region = EMEA→ assign toEMEA SDR queue. - Great when territories or queues are stable.
- Example:
-
Round-robin within a pool
- Example: all
SMBleads → rotate evenly between 6 SDRs. - Use your CRM’s built-in assignment rules or a simple counter in Google Sheets.
- Example: all
-
Escalation-based assignment
- Example: if
urgency = criticalorplan_tier = enterprise, auto-assign to a senior pod or specialist.
- Example: if
-
Fallback owner
- Always define a default owner for “none of the above” or data issues.
- Make this a real person, not a shared inbox.
The key is that no submission should exist without an owner field populated by default. If that field is ever blank, you have a design bug, not a people problem.
Step 4: Encode SLAs into your flow, not your wiki
Most teams have SLAs written down somewhere. Fewer have SLAs wired into the way work moves.
Define SLAs in terms of observable events
For each intake type, define SLAs as time between two clear timestamps:
- First response SLA:
time between form submission and first human reply. - Resolution SLA:
time between submission and status set to Resolved/Closed/Done. - Handoff SLA:
time between submission and being accepted by an owner (not just auto-assigned).
Store these timestamps in your system of record or in the synced Sheet:
submitted_atfirst_response_atresolved_ataccepted_by_owner_at
Once you have timestamps, SLAs become simple formulas and filters instead of vibes.
Make SLAs visible where people work
SLAs only work if they’re visible at the moment of prioritization:
- Create views in your CRM or helpdesk sorted by “time to SLA breach.”
- Use color-coding (green / yellow / red) on records based on SLA status.
- Send alerts in Slack or email when something is approaching or breaching SLA.
This is where real-time Google Sheets syncing from Ezpa.ge can be powerful:
- A Sheet can calculate SLA status for each row.
- Conditional formatting highlights at-risk submissions.
- Integrations can push alerts or status updates automatically.
The pattern: SLAs are not just text in a policy doc; they are live fields that drive views, alerts, and decisions.
Step 5: Design explicit next steps for both sides
An intake flow isn’t finished when someone clicks Submit. It’s finished when both the requester and your team know what happens next.
For the requester: set expectations instantly
Use your confirmation screen and follow-up email to answer three questions:
-
What happens now?
“We’ll review your request and match you with the right specialist.” -
When will you hear from us?
“You’ll get a response within 1 business day.” (This should match your SLA.) -
What can you do in the meantime?
Link to docs, FAQs, or status pages that might help them self-serve.
For high-intent flows (sales, urgent support), consider:
- Instant scheduling: Embed a calendar (e.g., Calendly, SavvyCal) on the confirmation page when routing rules say “talk to sales.”
- Dynamic messaging: Tailor the confirmation copy based on routing fields (e.g., enterprise vs. startup, partner vs. customer).
For your team: make the first move obvious
Every auto-routed submission should land somewhere with a clear first action:
- In a CRM: a task like “Review and send intro email” due within the SLA.
- In a helpdesk: a ticket status of
Newwith a pre-filled response template. - In a project tool: a card in the right lane with a checklist of initial steps.
Patterns that help:
- Templates: Preload the first-response email or comment, with placeholders for personalization.
- Checklists: For complex intakes (e.g., enterprise onboarding), attach a short checklist so owners don’t have to remember the playbook.
- Linked resources: Include links to internal docs or runbooks directly in the ticket/task description.
The test: if you dropped a new teammate into your queue tomorrow, could they open any auto-routed item and know exactly what to do in the first 5 minutes?
Step 6: Use themes and URLs to signal seriousness
Intake flows that auto-route work are operationally powerful—but they also send a brand signal.
- A sloppy, default-styled form that leads to radio silence tells people you’re not ready.
- A clean, on-brand, clearly explained flow that results in a fast, relevant response tells people you’re serious.
Tools like Ezpa.ge make this easier:
- Themes ensure your intake feels like a first-class surface, not an afterthought. We go deeper on this in Theme Systems for Startups.
- Custom URLs let you ship memorable, trustworthy links like
forms.yourcompany.com/supportorpartners.yourcompany.com/apply. - Responsive layouts keep the experience consistent on mobile, where a large share of your intakes likely happen.
Treat your intake flows as part of your brand, not just your back office. The more serious the request (money, contracts, access), the more important this becomes.
Step 7: Start simple, then iterate with data
You don’t need a perfect routing engine on day one. In fact, over-automation too early can create brittle flows.
A practical rollout path:
-
Phase 1: Baseline routing
- Add 2–3 key routing fields to your existing form.
- Auto-assign owner based on 1–2 simple rules.
- Track response times manually.
-
Phase 2: SLA visibility
- Start capturing timestamps.
- Build simple views (in Sheets or your tools) to see what’s breaching.
- Adjust SLAs based on reality, not wishful thinking.
-
Phase 3: Smarter paths
- Add conditional questions for complex cases.
- Introduce escalation rules (e.g., VIP customers, high MRR, critical issues).
- Experiment with auto-sending next-step resources based on answers.
-
Phase 4: AI assistance (optional, but powerful)
- Use AI to summarize long free-text answers for owners.
- Suggest next steps or reply drafts based on the intake.
- Flag anomalies (e.g., high-risk responses, unusual patterns).
Throughout, keep an eye on qualitative feedback:
- Are requesters surprised (positively) by how quickly and accurately you respond?
- Do owners feel that routed items are well-scoped and actionable?
- Are managers spending less time chasing status updates and more time improving the system?
Putting it all together: a concrete example
Let’s walk through a simple but realistic pattern using Ezpa.ge and Google Sheets for a “Talk to Sales” intake.
-
Design the form in Ezpa.ge with:
- Name, email, company name.
- Company size (0–50, 51–250, 251–1000, 1000+).
- Region (Americas, EMEA, APAC).
- “What brought you here?” (Evaluate product, upgrade plan, partnership, other).
- “When are you hoping to get started?” (ASAP, this quarter, later).
-
Sync responses to Google Sheets in real time.
-
In Sheets, add routing logic:
- Columns for
segment,priority,owner_email,sla_hours. - Formulas that map company size + region to segment and owner.
Example:IF(AND(size="0–50", region="Americas"), "SMB_AMER", ...). - Priority =
Highifcompany_size >= 251ortimeline = ASAP. - SLA =
4hours for High,24hours otherwise.
- Columns for
-
Use an integration tool to:
- Watch for new rows in the Sheet.
- Create a lead in your CRM with
owner,segment, andprioritypopulated. - Create a task “Send intro + schedule call” due
NOW() + sla_hours.
-
Customize the confirmation experience:
- If
segment = enterprise, show copy like “We’ll connect you with an enterprise specialist within 4 business hours.” - If
segment = SMB, show a calendar embed for instant scheduling.
- If
-
Review weekly:
- Look at average time to first response by segment.
- Adjust SLAs or staffing where you’re consistently breaching.
- Refine routing rules if owners are getting mismatched leads.
This isn’t theoretical. It’s a pattern teams are running right now with tools they already use—just wired together more intentionally.
Summary: forms that move work, not just collect it
When you design intake flows that auto-assign owners, SLAs, and next steps, you:
- Shorten response times where they matter most.
- Clarify accountability so nothing falls through the cracks.
- Make your brand feel more trustworthy at high-intent moments.
- Give ops real levers to tune performance over time.
The core shift is to treat your forms as the front door of a workflow, not a glorified inbox.
- Start with your routing map.
- Design questions that make routing unambiguous.
- Wire ownership and SLAs into your systems, not your tribal knowledge.
- Make next steps explicit for both requesters and your team.
- Iterate based on real data.
Ready to turn your forms into auto-routing engines?
You don’t need a new CRM, a full-blown ticketing overhaul, or six months of engineering time to get started.
You can:
- Sketch a simple routing map this week.
- Add 2–3 routing fields to your highest-impact form.
- Use Ezpa.ge to ship a fully branded, custom-URL intake that syncs to Google Sheets in real time.
- Layer in basic assignment and SLA logic with tools you already use.
From there, every submission stops being “another email in the queue” and becomes a tracked, owned, time-bound unit of work.
If you’re ready to go from form fill to auto-routing, start with your most painful intake flow and redesign just that one. Once you see how much smoother it runs, you’ll want to bring the same pattern to every front door in your business.