From Form to Workflow Engine: Designing Conditional Paths That Replace Internal Tools


Most teams don’t suffer from a lack of tools. They suffer from a tangle of half-finished ones:
- A “temporary” Airtable base that became the source of truth
- A custom internal app that only one engineer understands
- A Google Form feeding a Sheet feeding a Zap that no one wants to touch
Meanwhile, the actual work is simple: collect structured information, make decisions, route tasks, and keep everyone in the loop.
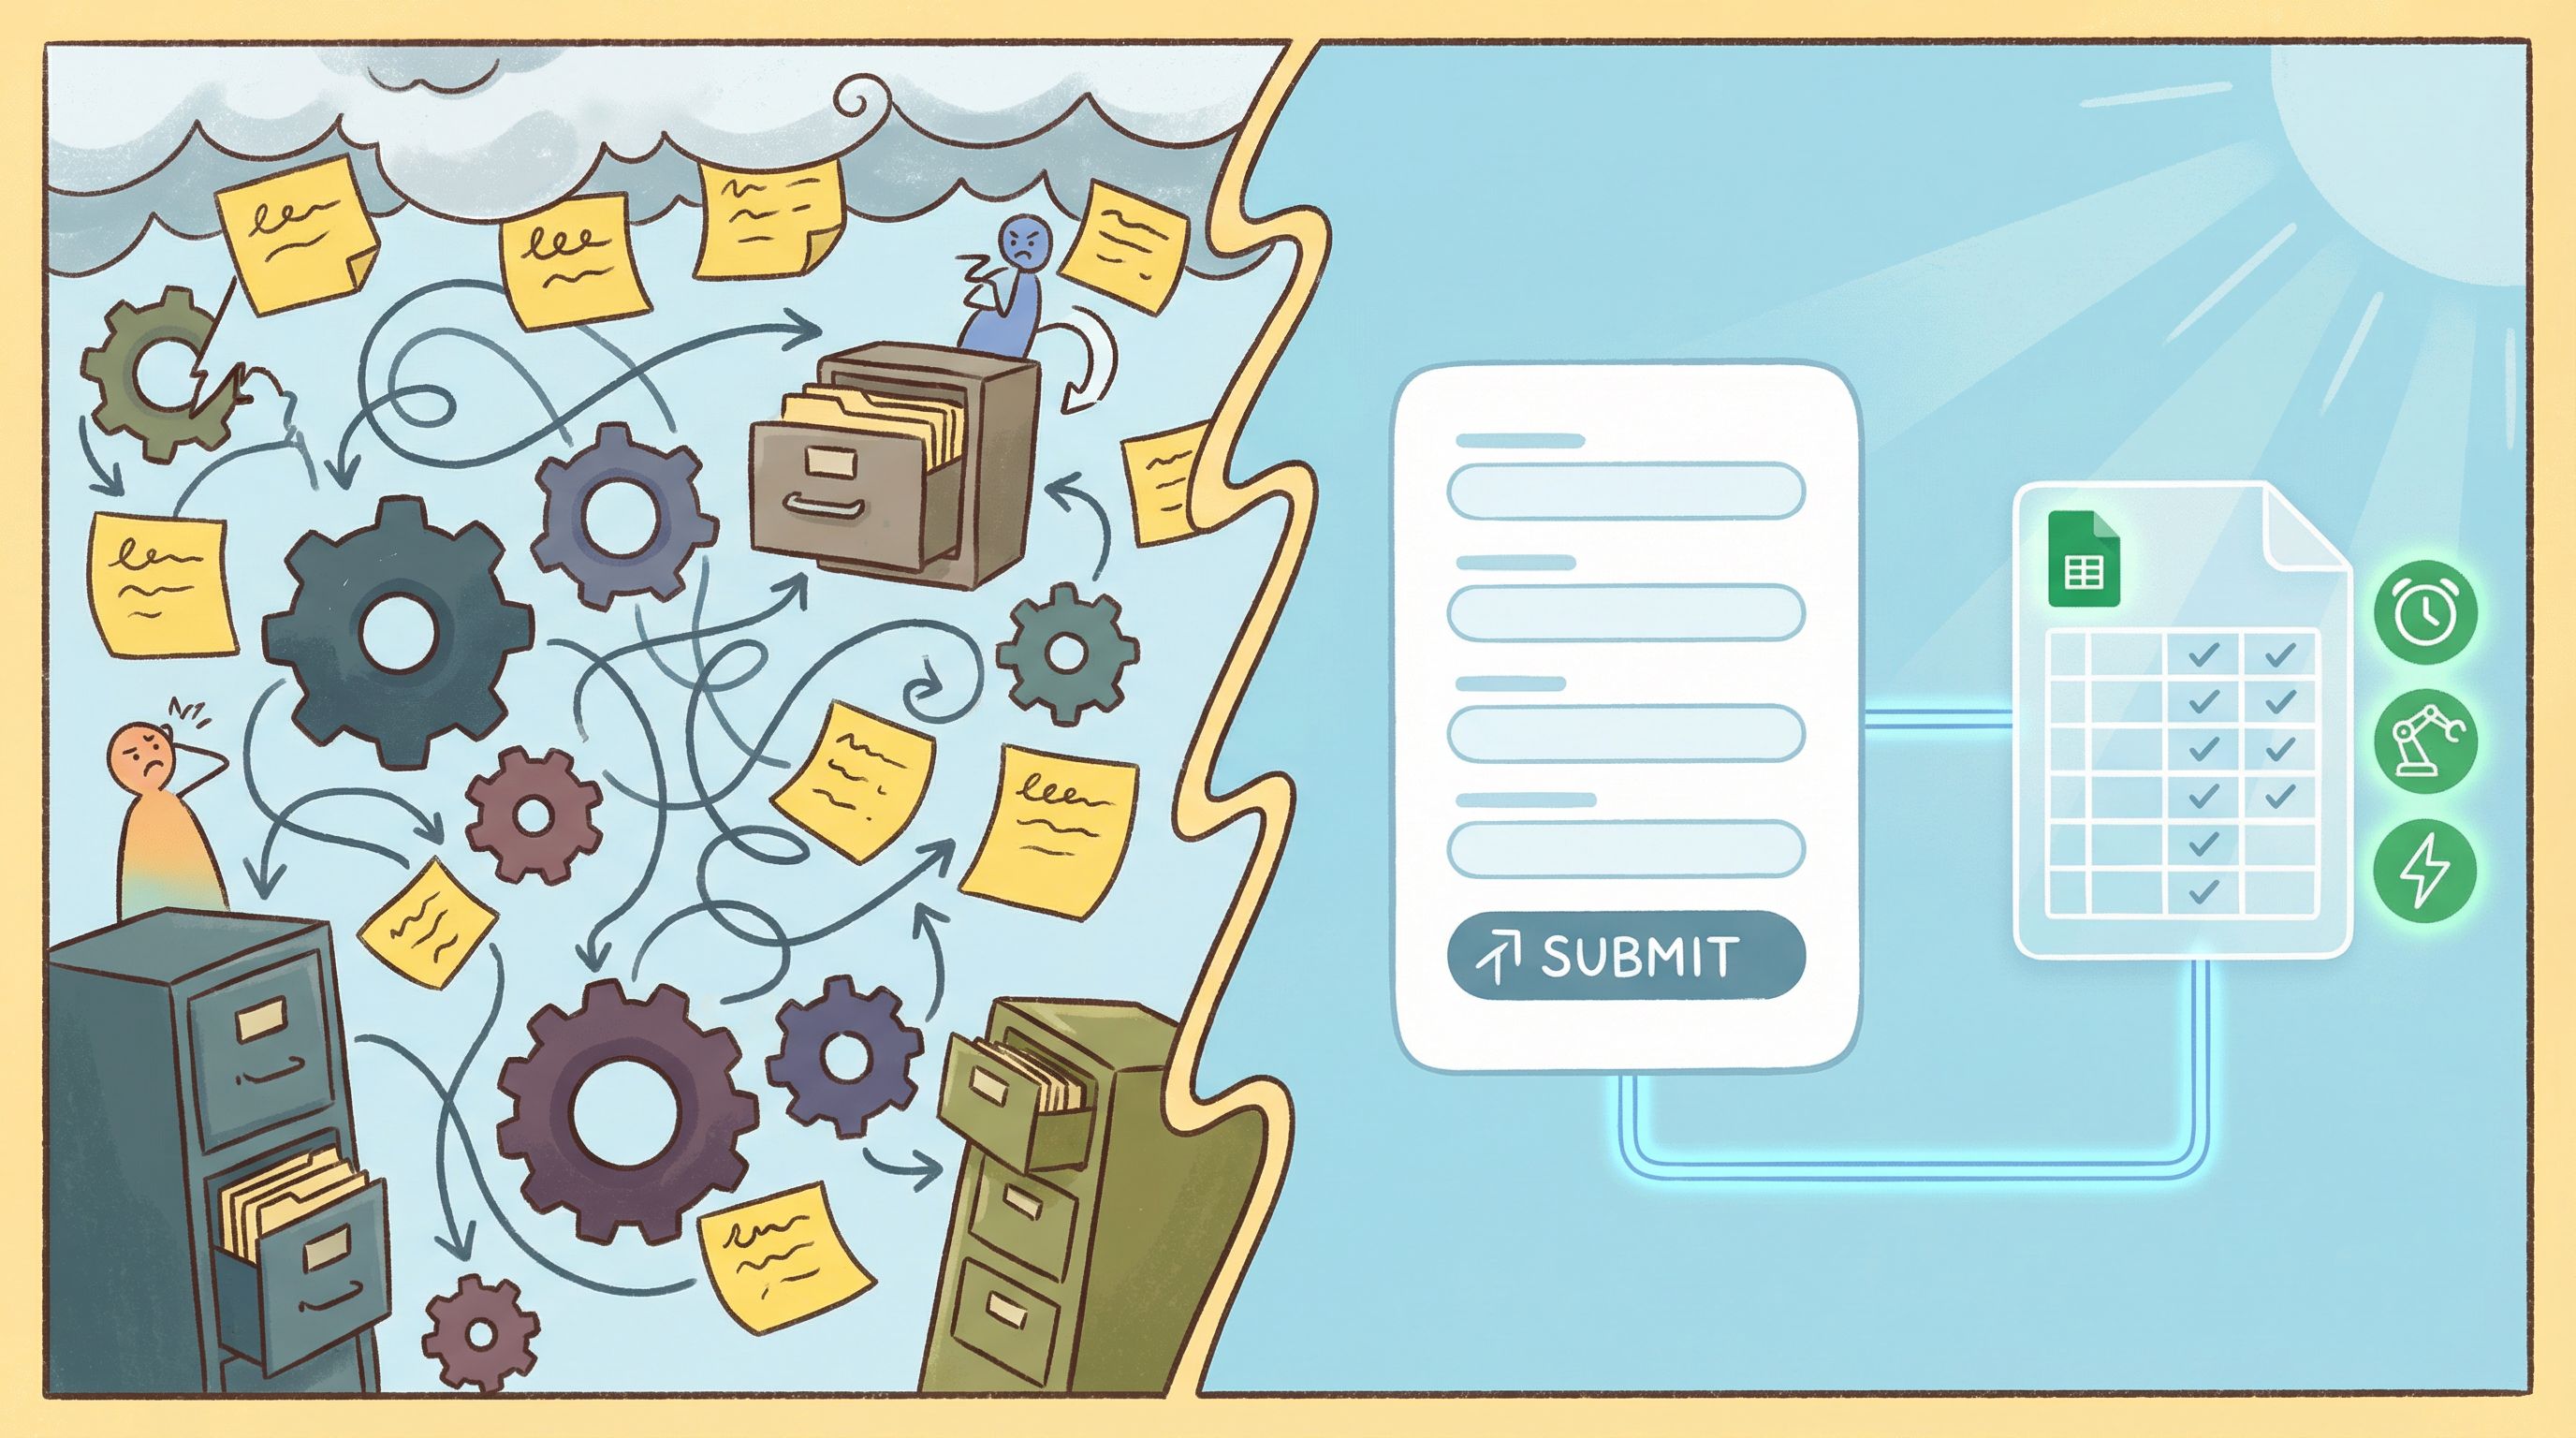
That’s exactly what a well-designed form with conditional paths can do. If you treat your forms as workflow engines—not just data capture surfaces—you can replace entire classes of internal tools without writing a line of code.
This post is about how to design those conditional paths deliberately, using tools like Ezpa.ge (with custom themes, URLs, and real-time Google Sheets syncing) as the backbone.
Why Forms Make Surprisingly Good Workflow Engines
Most internal tools boil down to the same primitives:
- Inputs – information from people (customers, partners, teammates)
- Logic – rules that interpret that information
- State – where a request is in a process
- Outputs – notifications, assignments, approvals, decisions
A modern form platform already gives you:
- Field logic – show/hide questions based on previous answers
- Branching – send people down different paths depending on who they are and what they need
- Integrations – sync to Google Sheets, trigger automations, update CRMs
- Presentation control – themes, layouts, and custom URLs so the experience feels like a real product surface
If you combine those with a clear process design, your “form” becomes:
- A router (who should see this?)
- A guardrail (what’s allowed or not?)
- A playbook (what happens next?)
Instead of spinning up yet another internal app, you can often:
- Launch a new approval flow in an afternoon
- Standardize how requests come in across teams
- Iterate quickly as policies and edge cases evolve
We’ve written before about how non-technical teams can rebuild messy legacy flows as modern forms in Drag-and-Drop Ops. Think of this post as the next layer: turning those forms into full-blown workflow engines with conditional paths.
Step 1: Start with the Workflow, Not the Fields
Most teams open a form builder and start adding questions. That’s how you end up with 40 fields and no one remembering why half of them exist.
Instead, sketch the workflow as if you were building an internal tool.
Map the “Happy Path” First
For a given process (say, discount approvals or partner onboarding):
-
Define the trigger
- What event should start this flow?
- Example: “Sales rep wants to offer >15% discount” or “New partner wants to join the program.”
-
List the decisions
- What are the key yes/no or multiple-choice decisions you make?
- Example: “Is this deal above $X ARR?”, “Is this partner in a restricted region?”, “Does this request touch PII?”
-
Identify the actors
- Who needs to see or touch this request?
- Example: requester, manager, finance, legal, security, customer success.
-
Outline the end states
- What does “done” look like?
- Example: approved, rejected, needs more info, escalated.
Now you have the skeleton of your workflow. Every field you add later should serve one of three purposes:
- Route the request
- Decide what’s allowed
- Execute the next step
If a question doesn’t support those, it’s probably noise.
Capture Edge Cases Without Designing for All of Them
You don’t need to solve every exception on day one.
- Start with the 60–70% of cases that follow a predictable pattern.
- Add a single “Something else?” branch that routes to a human when the request doesn’t fit.
- As patterns emerge in that “other” bucket, promote them into first-class paths.
This is the same pattern we explore in From Form to Playbook: ship the simplest version, then let the data tell you which branches to formalize.

Step 2: Turn Decisions into Conditional Paths
Once you know the decisions your workflow needs to make, you can translate them into conditional logic in your form.
Use One “Spine” Form, Many Branches
Instead of building separate forms for each scenario, design a single spine with branches:
-
Segment early
- Ask a small number of high-signal questions near the top.
- Example: “What type of request is this?” (New vendor, contract change, security review, something else).
-
Branch logically
- Use conditional logic to show different sections depending on that answer.
- Each section can feel like its own mini-flow, but everything still lands in one Sheet.
-
Keep shared fields shared
- Company name, contact email, account ID—collect once and reuse.
- This keeps your data model clean even as branches multiply.
This pattern pairs nicely with the “one form, many brands” approach we covered in One Form, Many Brands. There, themes and URLs adapt to context; here, the questions and paths adapt to context.
Design Decision Points as First-Class UI
A decision point is not just a dropdown. Treat it like the hinge of your workflow.
- Label clearly: “What do you need help with today?” beats “Request type”.
- Use options that map directly to paths: If you have three different approval routes, your options should mirror those.
- Avoid “miscellaneous” buckets until you truly need them.
For high-impact decisions, consider:
- Short helper text: “This helps us route you to the right team in under 2 minutes.”
- Inline examples: “Choose ‘Security review’ if your request touches customer data or access permissions.”
Keep Paths Asymmetrical on Purpose
Not every path needs the same level of detail.
- A low-risk request might only need 3–4 fields and a quick auto-approval.
- A high-risk or high-value request can justify 10–15 fields and multiple reviewers.
Conditional logic lets you keep the experience lightweight for most people while still collecting rich detail when it matters.
Step 3: Use Forms to Encode Policy, Not Just Collect Data
The real leap from “form” to “workflow engine” happens when your logic starts to encode policy.
Translate Policy into If/Then Rules
Take a policy like “Discounts over 25% require VP approval.” You can encode that directly in your form + Sheet combo:
- Field: “Proposed discount (%)”
- Logic:
- If discount ≤ 15% → auto-approve, email confirmation
- If 15% < discount ≤ 25% → route to manager
- If discount > 25% → route to VP, include justification field
You don’t need a CPQ tool to do this. As we covered in Form UX for RevOps, a well-structured form plus Sheets can approximate a surprising amount of “deal desk” behavior.
Use Validation to Prevent Bad Work Upstream
Validation isn’t just for clean data; it’s for better decisions.
- Ranges: prevent impossible values (negative seat counts, 200% discounts).
- Required fields: only where missing info would block downstream work.
- Conditional required: only ask for extra docs when a threshold is crossed.
This moves the burden from your ops or finance team to the moment of request—where context is freshest.
Teach While You Route
Every policy you encode is also a chance to teach.
- Use helper text to explain why certain thresholds exist.
- Show different microcopy when someone hits a risky path.
- Offer alternatives: “If you can keep the discount under 20%, this can be auto-approved.”
This “teach as you go” approach is exactly what we explored in Forms as Lightweight Onboarding Academies. The same patterns that educate new customers can educate internal teams about how your org works.
Step 4: Wire Conditional Paths into Real-World Actions
A workflow engine is only as good as what happens after someone hits Submit.
With Ezpa.ge syncing responses to Google Sheets in real time, you can treat your Sheet as the orchestration layer:
-
Use columns to mirror your logic
request_type,risk_level,owner,status,next_step_due.- Add formulas or simple scripts that set these based on form answers.
-
Trigger automations from Sheet changes
- Tools like Zapier, Make, or n8n can watch for new rows or status changes.
- Example flows:
- When
risk_level = low→ send instant approval email. - When
risk_level = high→ create ticket in Jira and Slack DM the owner. - When
status = approved→ update CRM or billing system.
- When
-
Create views per team
- Filtered views for finance, legal, CS, etc.
- Each team sees only the rows and columns they care about.
The key: your form’s conditional paths should map cleanly to columns and downstream automations. If your Sheet is constantly full of one-off exceptions, your logic is too fuzzy.
Step 5: Design the Experience Like a Product, Not an Internal Form
If your form is replacing an internal tool, it needs to feel like a tool, not a survey.
Make It Feel Trustworthy and Intentional
- Theme it to match your brand so it feels like part of your product, not a bolt-on.
- Use clear section headers that mirror how people think about their work: “About the customer”, “Deal details”, “Approvals”.
- Add progress indicators for longer, multi-step flows so people don’t bounce halfway.
We dive deeper into how to look enterprise-ready—even when your product is still scrappy—in Theme Systems for Startups. The same principles apply to internal workflow forms: polish equals trust.
Make Conditional Paths Feel Like a Conversation
Conditional logic shouldn’t feel like the form is suddenly changing the rules. It should feel like a thoughtful teammate responding to what you said.
- Reveal follow-up questions right after someone answers a key field.
- Use conversational copy: “Got it—you’re requesting a security review. A few more details:”
- Hide irrelevant sections entirely to avoid cognitive overload.
If you want to go deeper here, From Clicks to Conversations is all about designing forms that feel like guided chats—exactly the feeling you want when your form is the workflow engine.
Design for Accessibility from Day One
When your form becomes a critical internal tool, any friction becomes operational debt.
- Ensure keyboard navigation works end to end.
- Use clear labels and error messages.
- Avoid color-only cues for required fields or errors.
Accessible forms are usually higher-converting, lower-friction forms. We unpack this in Inclusive by Default.
Step 6: Iterate Like a Product Team, Not a Project Team
The first version of your conditional workflow will be wrong in important ways. That’s expected.
Treat it like a product:
-
Instrument the flow
- Track completion rate, time to complete, and drop-off points.
- Watch where people pick “Other” or leave free-text explanations.
-
Review the Sheet weekly
- Where are requests getting stuck?
- Which branches are overused or underused?
- Are there common patterns in “needs more info” or “rejected” rows?
-
Ship small, frequent updates
- Add or adjust branches based on real data.
- Tighten validation where errors are common.
- Simplify paths that are over-engineered for their risk level.
Because tools like Ezpa.ge let you update themes, copy, and logic without redeploying anything, you can evolve your “internal tool” safely while it’s live.
Bringing It All Together
When you design conditional paths with intention, your form stops being a static questionnaire and starts behaving like a workflow engine:
- People answer a few targeted questions.
- The form adapts to their situation.
- Policy is enforced automatically through logic and validation.
- Requests are routed to the right teams with the right context.
- Your Sheet and automations keep the work moving without manual triage.
You get many of the benefits of a custom internal tool—without the build, maintenance, or backlog.
Where to Start This Week
You don’t need to refactor every process at once. Pick one workflow where:
- Requests are frequent.
- Triage is painful.
- Policy is clear enough to encode.
Then:
- Map the happy path and main decisions.
- Build a single Ezpa.ge form with conditional branches for each major path.
- Sync responses into Google Sheets.
- Add just enough automation to move low-risk requests forward automatically.
- Run it with a small group for 2–4 weeks, then iterate.
As that first workflow stabilizes, you’ll start seeing other candidates: partner onboarding, legal intake, internal IT requests, launch approvals, deal desks, CS playbooks, and more.
Summary
- Modern form builders—especially when paired with Google Sheets—are powerful enough to act as lightweight workflow engines.
- The shift happens when you design from the workflow backward, not from a blank field list.
- Conditional paths let you adapt questions, encode policy, and route work based on who’s asking and what they need.
- A single, well-structured form can replace multiple internal tools, reduce triage overhead, and keep your data model clean.
- Treat these forms like products: themed, conversational, accessible, and continuously improved.
Take the First Step with Ezpa.ge
If you’re still living with a patchwork of internal tools, start smaller than a full rebuild:
- Pick one painful workflow.
- Design the decisions it needs to make.
- Turn those decisions into conditional paths in a single Ezpa.ge form.
- Wire it into Google Sheets and a lightweight automation layer.
You’ll know it’s working when:
- People stop asking “Where do I submit this?”
- Approvals move without Slack chasing.
- Your Sheet tells a clear story of what’s happening.
From there, every new form you ship can be more than a surface—it can be another piece of your workflow engine.
If you’re ready to experiment, open Ezpa.ge, create a new form, and design your first conditional path. Your next “internal tool” might be live before your next sprint even starts.