Intakes as Onboarding Scripts: Using Forms to Train New Hires on Your Real Ops Flows


Most teams think of forms as something you point at customers.
But your best forms can also point inward—toward new hires.
If you already rely on structured intakes for sales, support, finance, or product, you’re sitting on a hidden training asset: every form is a script for how your operations actually work. Instead of building separate onboarding docs and LMS modules, you can use those same forms to teach new teammates how to run the play.
This post is about that shift: treating intakes not just as data capture, but as onboarding scripts that train people on your real flows, step by step.
Why Training Through Forms Works So Well
When a new hire joins, they’re hit with:
- Docs that are out of date
- Diagrams that don’t match reality
- Loom videos that no one wants to re-record
- A maze of “it depends” exceptions
Meanwhile, the real source of truth is often the form everyone uses:
- The discount request intake that sales fills out
- The onboarding questionnaire for new customers
- The internal brief for marketing or design
- The incident report template for ops
Those forms encode your operational knowledge:
- What information matters (and what doesn’t)
- What qualifies as an exception
- Which paths branch where (conditional logic, approvals, escalations)
- What “good” looks like in terms of completeness and clarity
When you use those forms as onboarding scripts, you get a few big advantages:
-
Reality-based training
No hypothetical case studies. New hires walk through the same flows they’ll use on the job. -
Embedded guardrails
Required fields, validation, and conditional logic prevent rookie mistakes and surface edge cases. -
Repeatable, measurable learning
You can review submissions, spot patterns in confusion, and improve both the form and the training. -
Shared language across teams
Everyone learns the same field names, categories, and definitions—your forms become the glossary. -
Instant integration with your stack
If your intakes sync into Google Sheets or tools like Notion, Airtable, or your CRM, training data flows into the same systems you already use.
When you design with this in mind, every form becomes a mini playbook.
The Core Idea: “Shadow Mode” Through Forms
Think of a new hire’s first weeks as shadow mode inside your forms.
Instead of passively watching someone else work, they:
- Walk through real or realistic scenarios
- Fill out the same intakes your team uses
- See what happens downstream when they submit
- Get feedback on how they framed requests, qualified leads, or escalated issues
Your job is to design those intakes so they double as scripts:
- The order of questions mirrors your actual decision tree
- Help text explains how experienced teammates think
- Conditional paths teach when to escalate or route differently
- Confirmation pages and follow-up emails show the next steps in the process
You’re not inventing a new training system; you’re annotating the one you already have.

Step 1: Inventory the Forms That Encode Your Ops
Start by mapping where your operations already live in form shape.
Look for intakes that:
- Trigger high-impact workflows (onboarding, approvals, escalations)
- Capture structured decisions, not just free-text
- Are used frequently enough that training on them pays off
Common candidates:
-
Sales & revenue
- Demo request/qualification forms
- Discount and exception requests
- Partner or reseller onboarding
-
Customer success & onboarding
- Implementation questionnaires
- Account configuration intakes
- Renewal risk or expansion opportunity forms
-
Support & operations
- Incident or bug report templates
- Priority/impact triage forms
- Change request or maintenance windows
-
Back office & compliance
- Vendor onboarding
- Access/permissions requests
- Policy exception approvals
If you work in regulated or risk-sensitive domains, you’re probably already designing careful intakes. That’s exactly the kind of structure that makes training effective—something we went deep on in Forms for High-Stakes Decisions: Intake Patterns for Loans, Admissions, and Compliance-Heavy Flows.
Create a simple table:
- Form name
- URL
- Who uses it now
- What workflow it triggers
- New hire roles that should master it
This becomes your training map.
Step 2: Turn Fields into Teaching Moments
A form can either feel like a bureaucratic checklist or a guided conversation with your future self.
To turn your intakes into scripts, focus on three layers around each field:
- Label – The concise name
- Help text – How an experienced teammate would think about it
- Examples – One or two realistic scenarios
For each critical field, ask:
- What decision does this field support downstream?
- What mistakes do new people usually make here?
- What’s a “gold standard” answer we’d love to see?
Then embed that into the form:
-
Clarify intent in the label
Instead ofReason, useReason for discount (what changed for the customer?). -
Add short, opinionated help text
“Use this field to explain why this discount is necessary now and how it aligns with our pricing guidelines. Include any approvals already obtained.”
-
Give concrete examples
“Example: Customer is expanding from 50 → 200 seats but needs a lower per-seat price to consolidate tools this quarter. Approved by regional director in Slack thread.”
This turns a blank box into a mini masterclass.
If you’re using Ezpa.ge, this is where AI-assisted microcopy shines. You can generate and refine labels, hints, and examples quickly—similar to the patterns we explored in AI as Your Form Editor: Using Models to Rewrite Labels, Hints, and Microcopy for Clarity and Conversion.
Step 3: Use Conditional Logic as a Decision Tree Trainer
Conditional logic is not just a UX convenience; it’s a decision tree in disguise.
For new hires, that tree is gold:
- It shows which questions matter when
- It encodes routing rules (who handles what)
- It teaches when something is “standard” vs. “exception”
To use conditional logic as a training tool:
-
Make the branches explicit
When a field appears based on a previous answer, use copy to explain why.- “Because you selected Enterprise, we need a bit more detail about security and procurement.”
- “This question only appears for high-impact incidents; here’s how we define that.”
-
Name the paths in human terms
Instead ofType = A/B/C, use labels like:Standard request (no approvals needed)Exception request (manager approval required)Urgent escalation (on-call response)
-
Expose the consequences
In help text or a sidebar, explain what each path does:- “Choosing Urgent escalation will notify the on-call engineer and create a PagerDuty incident.”
- “Exception request routes to your manager and finance for approval within 2 business days.”
-
Let new hires explore branches safely
In training mode, encourage them to try different answers and see how the form changes. This builds intuition without real-world consequences.
If you’ve already embraced patterns from One Form, Many Journeys: Using Conditional Logic to Personalize Flows Without Creating New Pages, you’re halfway there. You’re just adding teaching copy on top of the personalization logic.
Step 4: Design “Training Mode” Variants with Custom URLs
You don’t want new hires experimenting directly in production flows that trigger real emails, tickets, or approvals.
The solution: training variants of your key forms.
Using tools like Ezpa.ge, you can:
- Clone a production form
- Point it at a sandbox Sheet or test systems
- Adjust copy to make it clear this is training mode
- Give it a distinct custom URL that’s easy to remember and share
For example:
- Production:
yourcompany.ezpa.ge/discount-request - Training:
yourcompany.ezpa.ge/discount-training
Or even:
yourcompany.ezpa.ge/onboarding-labfor a bundle of training flows
You can also use URL parameters and pre-filled fields to set up specific scenarios:
?scenario=renewal?segment=enterprise?region=EU
This lets you create scenario-based exercises without duplicating forms endlessly—building on the same personalization techniques we covered in Pre-Filled, Not Pre-Judged: Ethical Personalization Patterns for Smarter Custom URLs.
In training mode:
- Submissions go to a separate Sheet labeled clearly as sandbox
- Automations (Slack, email, CRM) are either disabled or pointed to test channels
- Managers can review entries and leave feedback directly in the Sheet
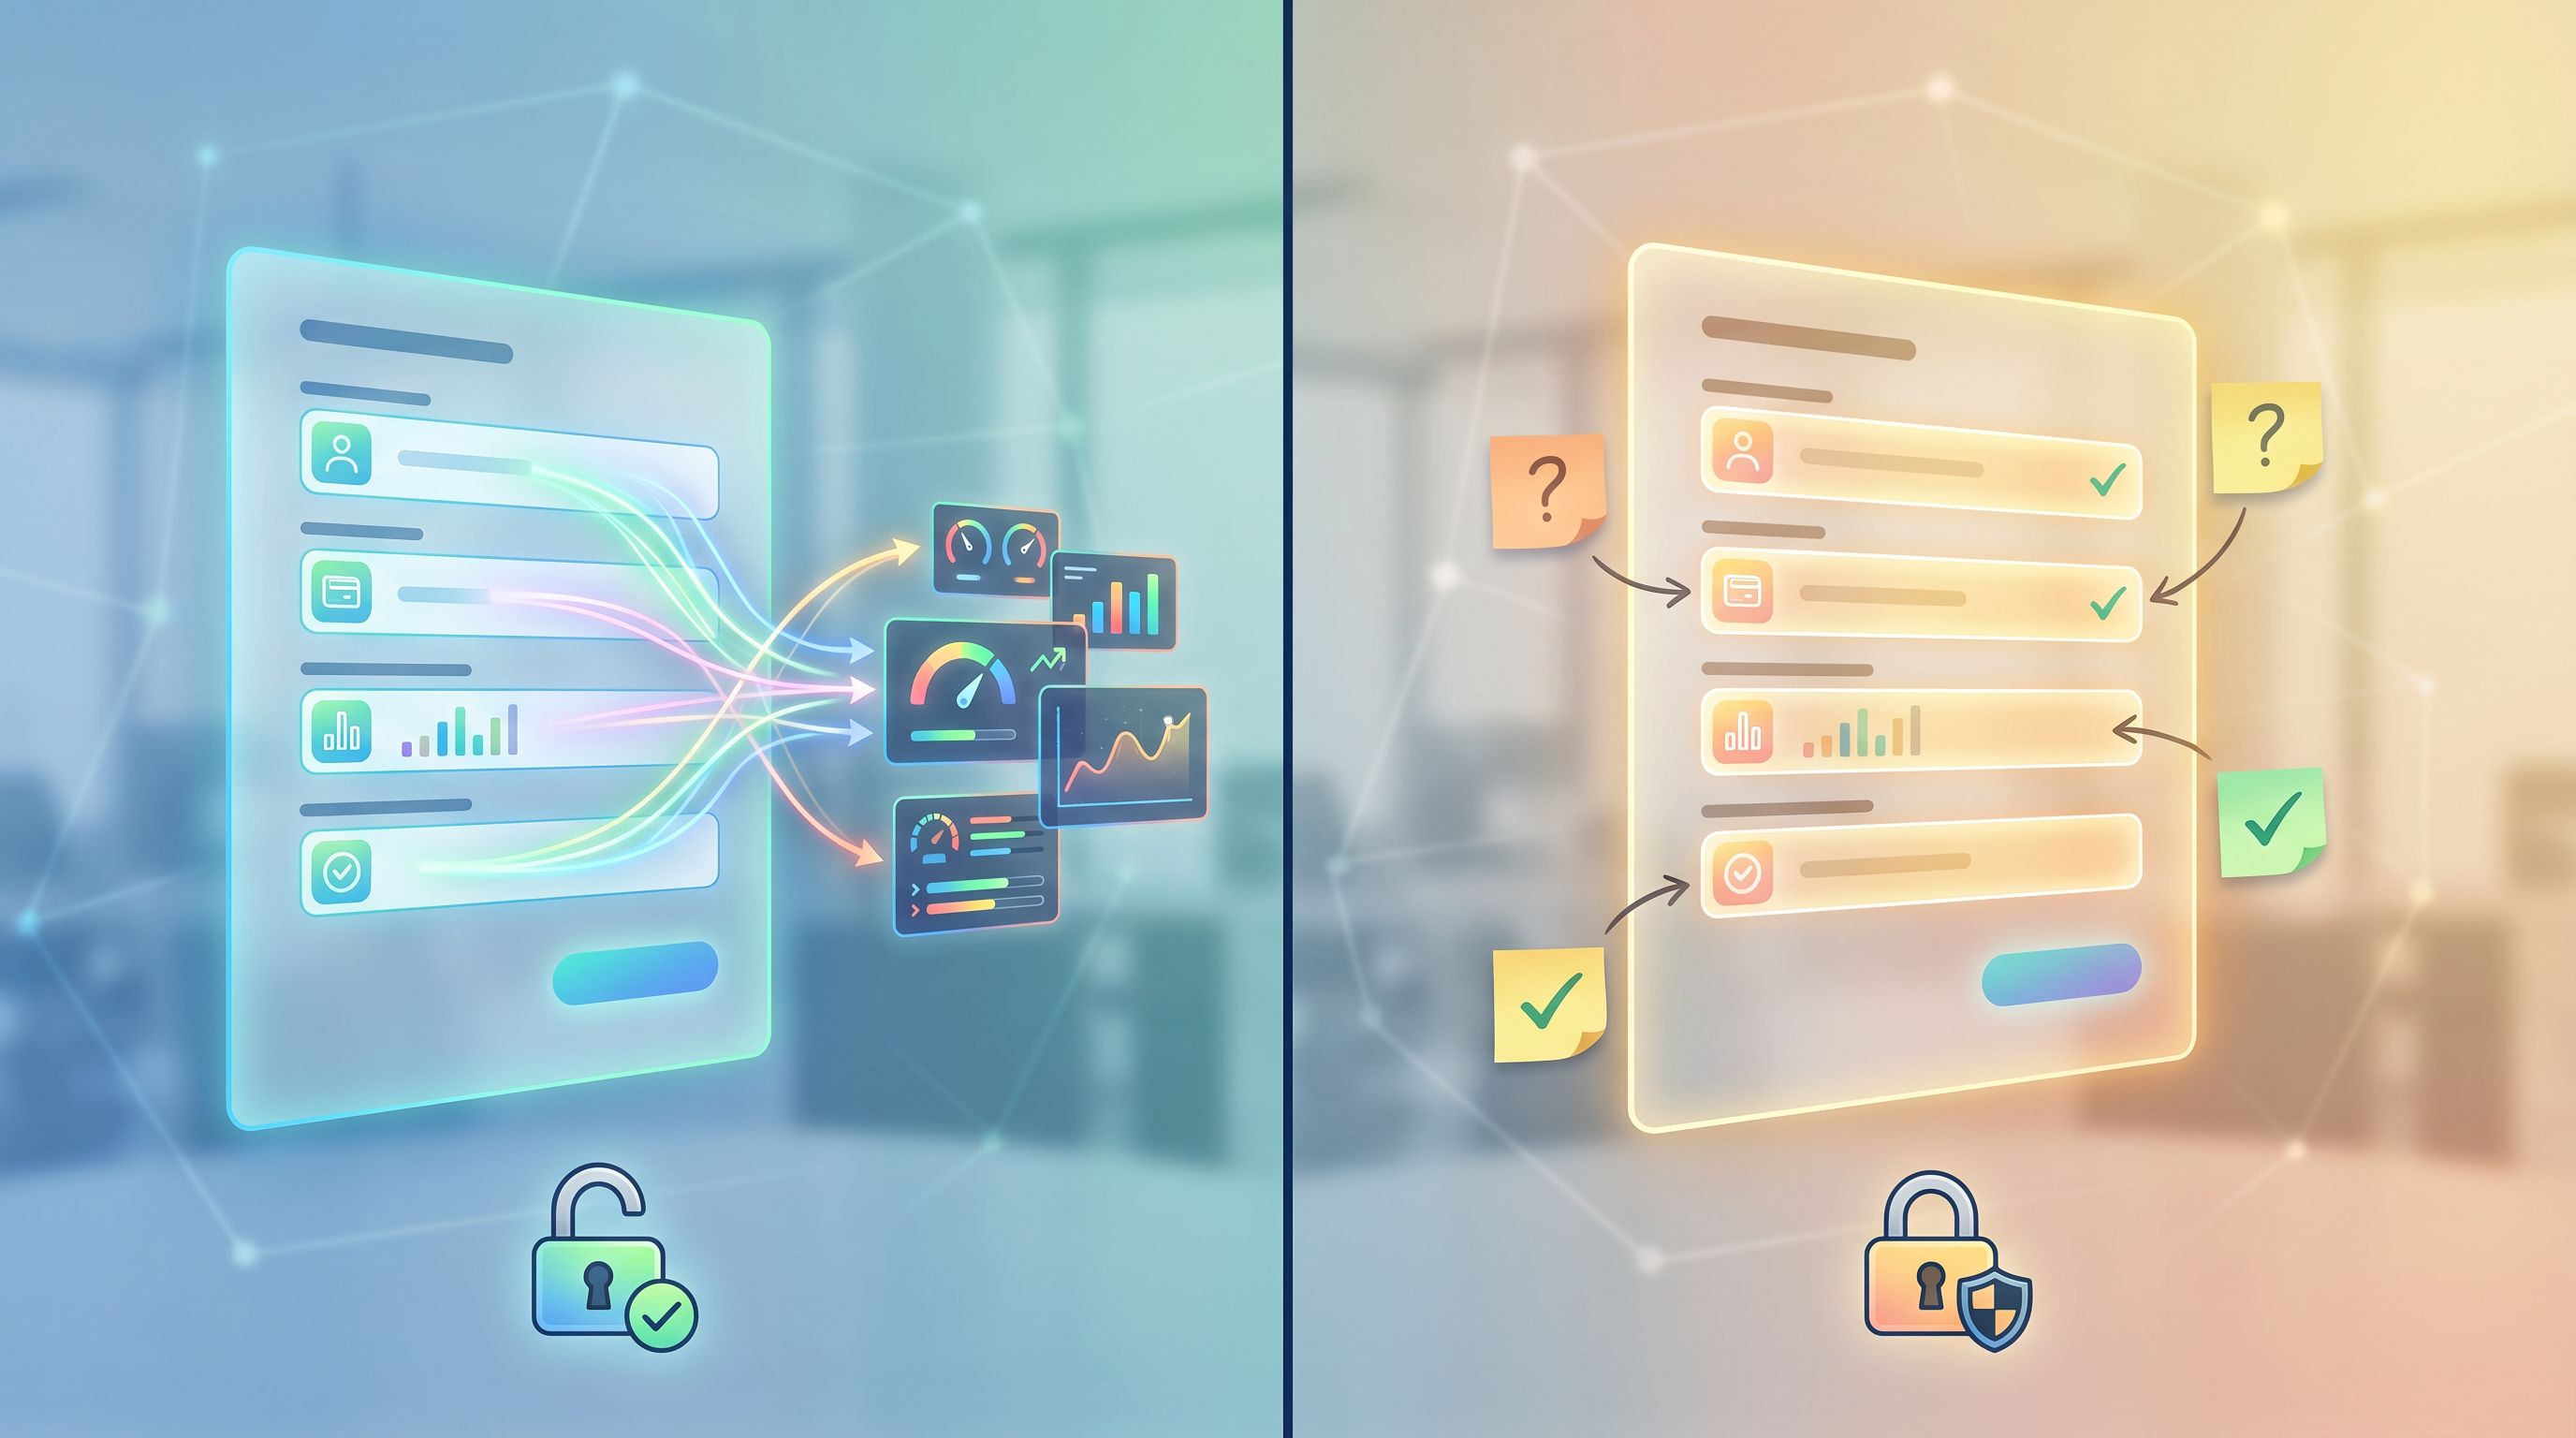
Step 5: Connect Submissions to Feedback and Coaching
A form by itself is a script. A form plus feedback is a training loop.
Once new hires start using training-mode forms, set up a simple review rhythm:
-
Daily or weekly review sessions
- Manager or mentor pulls up the sandbox Sheet
- Filters by trainee name or cohort
- Reviews a handful of submissions together
-
Comment where the thinking lives
- Use comments in Google Sheets to respond to specific fields
- Highlight good reasoning as well as corrections
- Ask follow-up questions: “What else would you want to know before approving this?”
-
Turn patterns into improvements
- If multiple new hires misunderstand a field, update the label or help text
- If a branch is confusing, add conditional explanations
- If a scenario is too rare, create a dedicated training URL with pre-filled context
If you’re already syncing Ezpa.ge forms into Sheets, you can go a step further and use AI to generate weekly training briefs—similar to the approach in AI as Your Form Data Analyst: Turning Google Sheets Submissions into Weekly Insight Briefs. Instead of user insights, you’re summarizing learning insights:
- Common mistakes by field or scenario
- Which flows each cohort has practiced
- Who’s ready for live access based on consistency
This turns onboarding from a vague “they shadowed for two weeks” into a visible, measurable progression.
Step 6: Graduate New Hires into Live Flows Gradually
You don’t have to flip a switch from training to live.
Use forms to stage the progression:
-
Observe-only phase
- New hire watches a teammate fill out live forms
- They fill the same scenario in training mode and compare answers
-
Draft phase
- New hire fills out the live form but marks a field like
Reviewer= their mentor - Mentor reviews before the form is considered “final”
- You can even add a
Trainingcheckbox that routes submissions to a manager for approval
- New hire fills out the live form but marks a field like
-
Supervised live phase
- New hire owns the form submission
- Mentor is CC’d on notifications or added as a follower in downstream tools
- Spot checks continue for a set period
-
Independent phase
- New hire uses the standard forms with no extra flags
- Performance is monitored via normal QA, not special training flows
Because your forms already route work and encode rules, you can change just a few fields or URLs to control how much responsibility a new hire has at each stage.
Step 7: Don’t Forget Mobile and Edge Conditions
If your team uses forms in the field—on phones, tablets, or spotty connections—your onboarding scripts need to reflect that reality.
Consider:
-
Mobile-first practice
Have new hires complete key intakes on their phones, not just desktops. This surfaces friction that would appear in real work. Our guide on Mobile-First Forms in a Desktop-Designed World: Fixing Thumb Zones, Keyboards, and Tap Targets is a good companion here. -
Offline-adjacent scenarios
If your ops often happen on shaky Wi‑Fi (events, fieldwork, travel), train using forms that are resilient to partial connectivity—like the patterns we’ve covered elsewhere on offline-adjacent design. -
Accessibility and inclusion
Onboarding is a chance to normalize good habits: teach new hires to notice whether forms are usable for screen readers, keyboard navigation, and different languages or literacy levels.
When your training mirrors the environments where work actually happens, new hires ramp faster and make fewer mistakes.
Putting It All Together: A Simple Implementation Checklist
You don’t need a full LMS overhaul to get value from this approach. You can start small.
Within the next week, you can:
-
Pick one high-impact workflow
- Example: customer onboarding, discount approvals, or incident triage.
-
Clone the main form into a training variant
- New URL, sandbox Sheet, and clear “Training” labels.
-
Upgrade 5–10 key fields with better teaching copy
- Add help text, examples, and explanations of downstream impact.
-
Add a short intro and outro
- Intro: what scenario they’re practicing and what “good” looks like.
- Confirmation: what would happen next if this were live.
-
Run one cohort through it
- Have your next new hire (or even an existing teammate) use the training form.
- Review their submissions and capture feedback on what was confusing.
From there, you can expand:
- More workflows
- More scenario URLs
- AI-generated training briefs
- Progressive access flags inside live forms
The key is to treat every intake as a living script, not a static questionnaire.
Summary
Your forms already know how your business runs.
They know:
- Which details matter for approvals, onboarding, and escalations
- How to route work between teams and tools
- Where the edge cases and exceptions live
By treating intakes as onboarding scripts, you:
- Ground training in real, current workflows—not stale docs
- Give new hires a safe sandbox to practice decisions
- Use labels, help text, and conditional logic as mini-lessons
- Connect submissions to feedback loops and measurable progress
- Gradually graduate people from training mode to live operations
Instead of building a separate universe of training content, you annotate and extend the system you already trust: your forms.
Your Next Step
If you’re using Ezpa.ge—or any form tool with custom URLs and Google Sheets syncing—you’re a few hours away from your first form-led onboarding flow.
Here’s a concrete starting move:
- Choose one critical form you wish every new hire understood deeply.
- Clone it into a training variant with a clear URL.
- Add teaching copy to the top five fields.
- Point it at a sandbox Sheet and have your next new hire walk through three realistic scenarios.
You’ll learn as much as they do—about your ops, your gaps, and how much your forms already know.
Then, when you’re ready to go further, tools like Ezpa.ge make it easy to:
- Spin up more training variants
- Tune themes for internal vs. external use
- Wire submissions into review workflows and AI-generated briefs
Start with that one form. Turn it from a static intake into a living script. Your future teammates—and your future self—will thank you.