From Intake to Interview: Building Candidate Funnels with Ezpa.ge and Live Google Sheets Filters


Hiring isn’t just about posting a role and waiting for résumés. It’s about building a clear, reliable funnel from first touch to final interview—so your team spends time with the right candidates, not just the loudest ones.
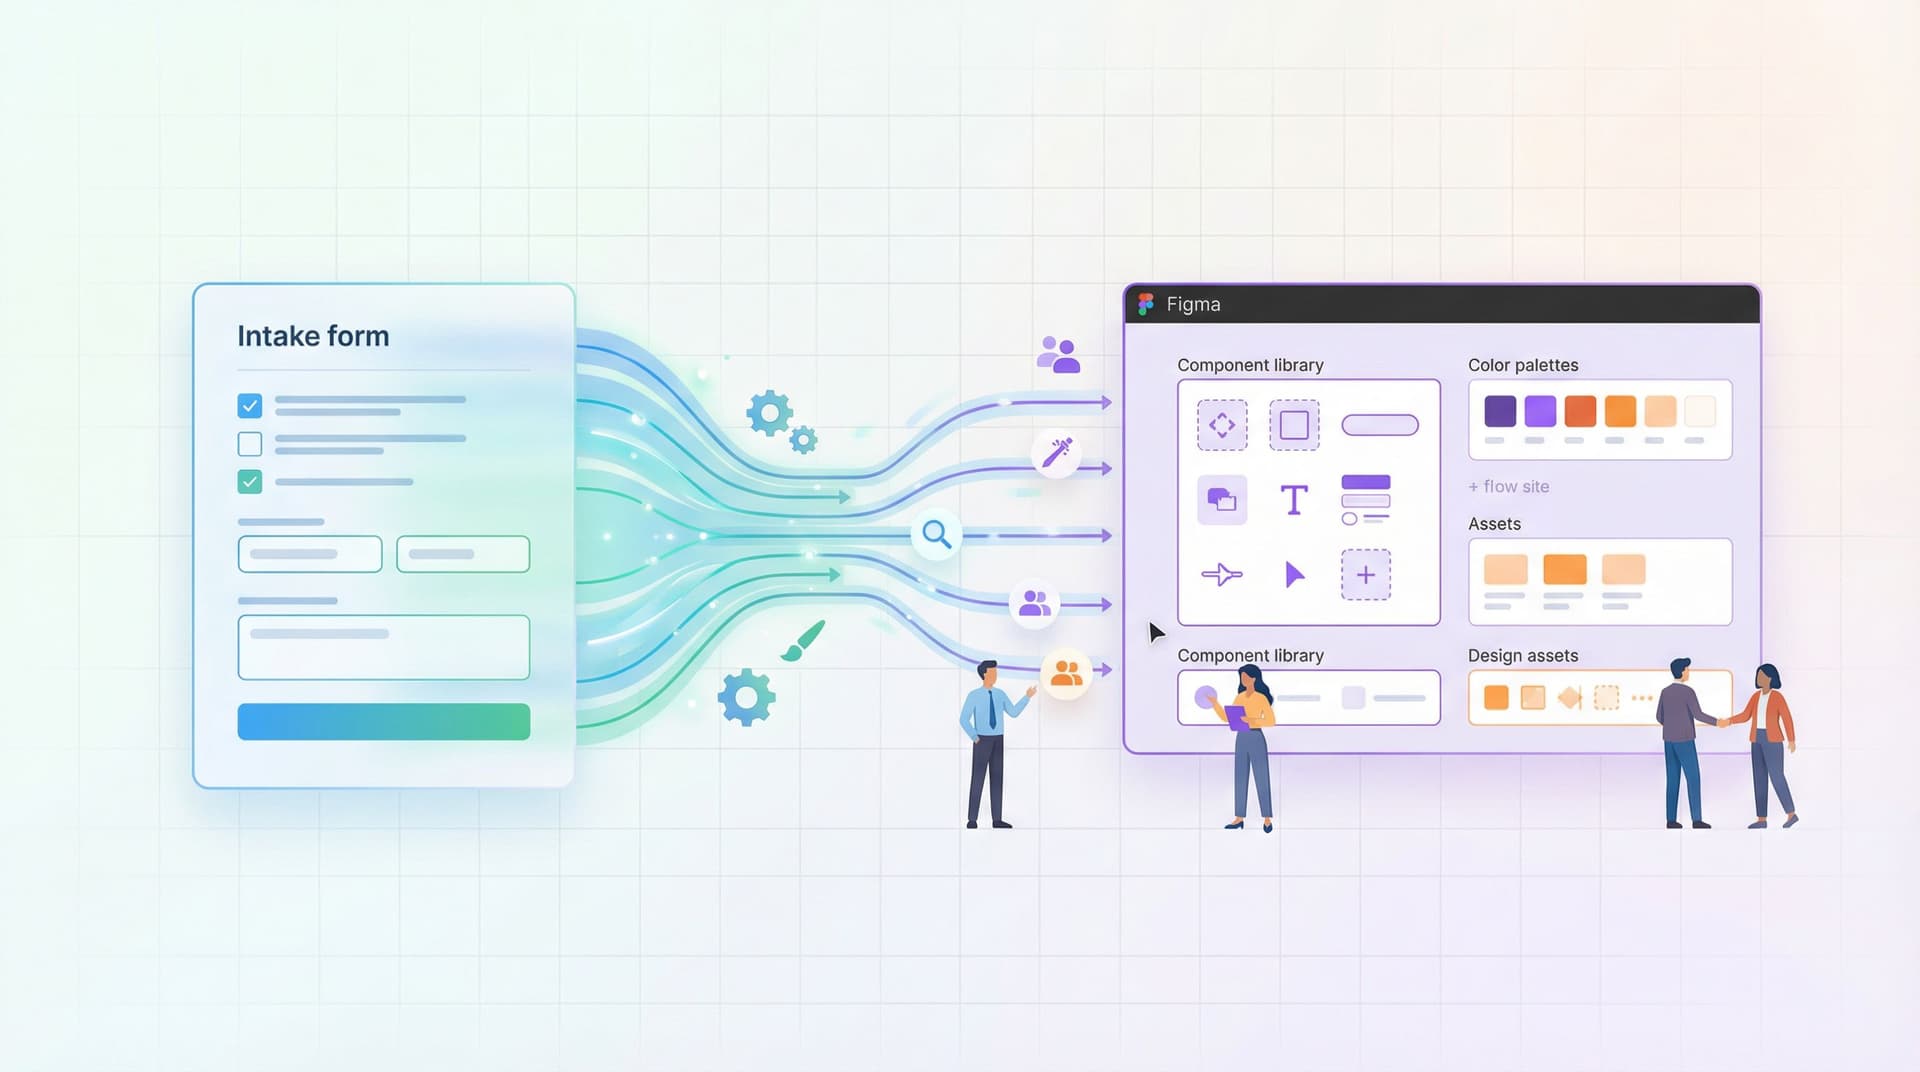
Ezpa.ge plus live Google Sheets filters gives you a surprisingly powerful combo:
- Forms that feel polished and intentional for candidates
- Real-time structured data for recruiters and hiring managers
- Simple, no-code workflows for screening, routing, and scheduling
Done well, your “apply” form becomes more than a submission box. It becomes the operational backbone of your hiring process.
Why a Structured Candidate Funnel Matters
Most hiring pain shows up in the same ways:
- Recruiters drowning in unqualified applications
- Great candidates slipping through because their résumé didn’t have the “right” keywords
- Hiring managers working from different spreadsheets, different versions, different notes
- Late-stage surprises: compensation misalignment, wrong location, missing skills
Underneath all of that is one issue: unstructured intake.
When you use Ezpa.ge to design your candidate intake, then sync responses directly into Google Sheets, you get:
- Shared truth – Everyone works from the same live candidate table.
- Instant triage – Filters and views highlight who to act on first.
- Repeatable criteria – You define what “qualified” means and filter consistently.
- Faster decisions – Less time reading résumés, more time talking to the right people.
If you’ve read our piece on Form UX for Fast Decisions, this is that same principle applied to hiring: treat the application as a decision moment, not a dumping ground.
Step 1: Design the Intake Form Around Real Hiring Decisions
Before you open Ezpa.ge, answer one question:
What do we actually use to decide who gets a first interview?
For most teams, it’s some mix of:
- Must-have skills or technologies
- Years of experience in specific domains
- Work authorization or location
- Salary expectations or band alignment
- Availability (start date, time zone overlap)
Turn those into explicit fields instead of hoping they appear in a résumé.
Core sections your Ezpa.ge candidate form should include
-
Role and channel context
- Role applying for (if you use a shared application form)
- How they heard about the role (job board, referral, event, etc.)
-
Basic profile
- Name, email, LinkedIn URL or portfolio
- Current location and time zone
- Work authorization / relocation openness
-
Experience signals
- Years of experience in key areas (e.g., “Years working with B2B SaaS”, “Years managing teams”)
- Multiple-choice skill self-assessments (e.g., Beginner / Intermediate / Advanced)
- Domain familiarity (e.g., healthcare, fintech, devtools)
-
Role-specific questions
- Short, structured prompts like:
- “Describe a recent project that’s similar to what we do here.”
- “What’s a metric you’ve owned and improved? How?”
- Limit these to 1–3 high-signal questions. You want insight, not an unpaid take-home.
- Short, structured prompts like:
-
Compensation & logistics
- Expected salary range or day rate
- Earliest start date
- Preferred working arrangement (remote, hybrid, in-office)
-
Consent & EEO (where relevant)
- Optional demographic questions if your org tracks them
- Consent for data storage and future roles
Designing this in Ezpa.ge is straightforward:
- Use section breaks and clear headings to make the form feel shorter and more guided.
- Use conditional logic to hide or show questions based on role or location.
- Keep copy friendly and specific: explain why you’re asking sensitive questions (like salary or location).
If you’re curious how to make longer forms still feel respectful and high-converting, our post on Beyond ‘Shorter Is Better’ goes deeper into that tradeoff.

Step 2: Wire Ezpa.ge to a Live Google Sheet
Once your form is structured, the magic comes from real-time syncing to Google Sheets.
In Ezpa.ge, you can:
- Connect the form to a specific Google Sheet.
- Map each form field to a column.
- Test a submission and confirm it appears instantly.
A few practical tips:
- Freeze your header row. Keep row 1 for column names that match your form fields.
- Use consistent naming. If your field is
primary_skill, name the columnPrimary Skilland don’t change it casually; filters and formulas will depend on it. - Create a “Raw” tab and a “Working” tab.
Raw_Submissions: direct sync from Ezpa.ge, untouched.Pipeline_View: uses formulas (e.g.,=FILTER,=QUERY) to present only active candidates.
This pattern—forms feeding live Sheets that then power workflows—is something we’ve explored more broadly in Real-Time Forms for Real-World Ops. Hiring is one of the highest-leverage places to apply it.
Step 3: Turn Your Sheet into a Visual Funnel with Filters & Views
With data flowing into Sheets, your next job is to make the funnel visible.
Think in stages:
- New
- Screened
- Shortlisted
- Interviewed
- Offer / Rejected
Add a Stage column
Create a Stage column with a data validation dropdown:
- New
- Screen – Pending
- Screen – Passed
- Screen – Rejected
- Interview – Scheduled
- Interview – Completed
- Offer
- Rejected
Now every row (candidate) has a clear status. This is what you’ll filter on.
Build high-signal filters for each step
Use Google Sheets’ built-in filter views (Data → Filter views → Create new filter view) to create saved views like:
- “New – Meets Minimum Criteria”
Stage = NewLocationin allowed regionsYears experience≥ your minimumWork authorization= Yes (if relevant)
- “Screen Passed – Needs Interview”
Stage = Screen – PassedInterview dateis blank
- “Finalists – Ready for Offer Review”
Stage = Interview – CompletedHiring manager decisionin {Strong Yes, Yes}
This turns your Sheet from a flat table into a switchboard for your hiring funnel.
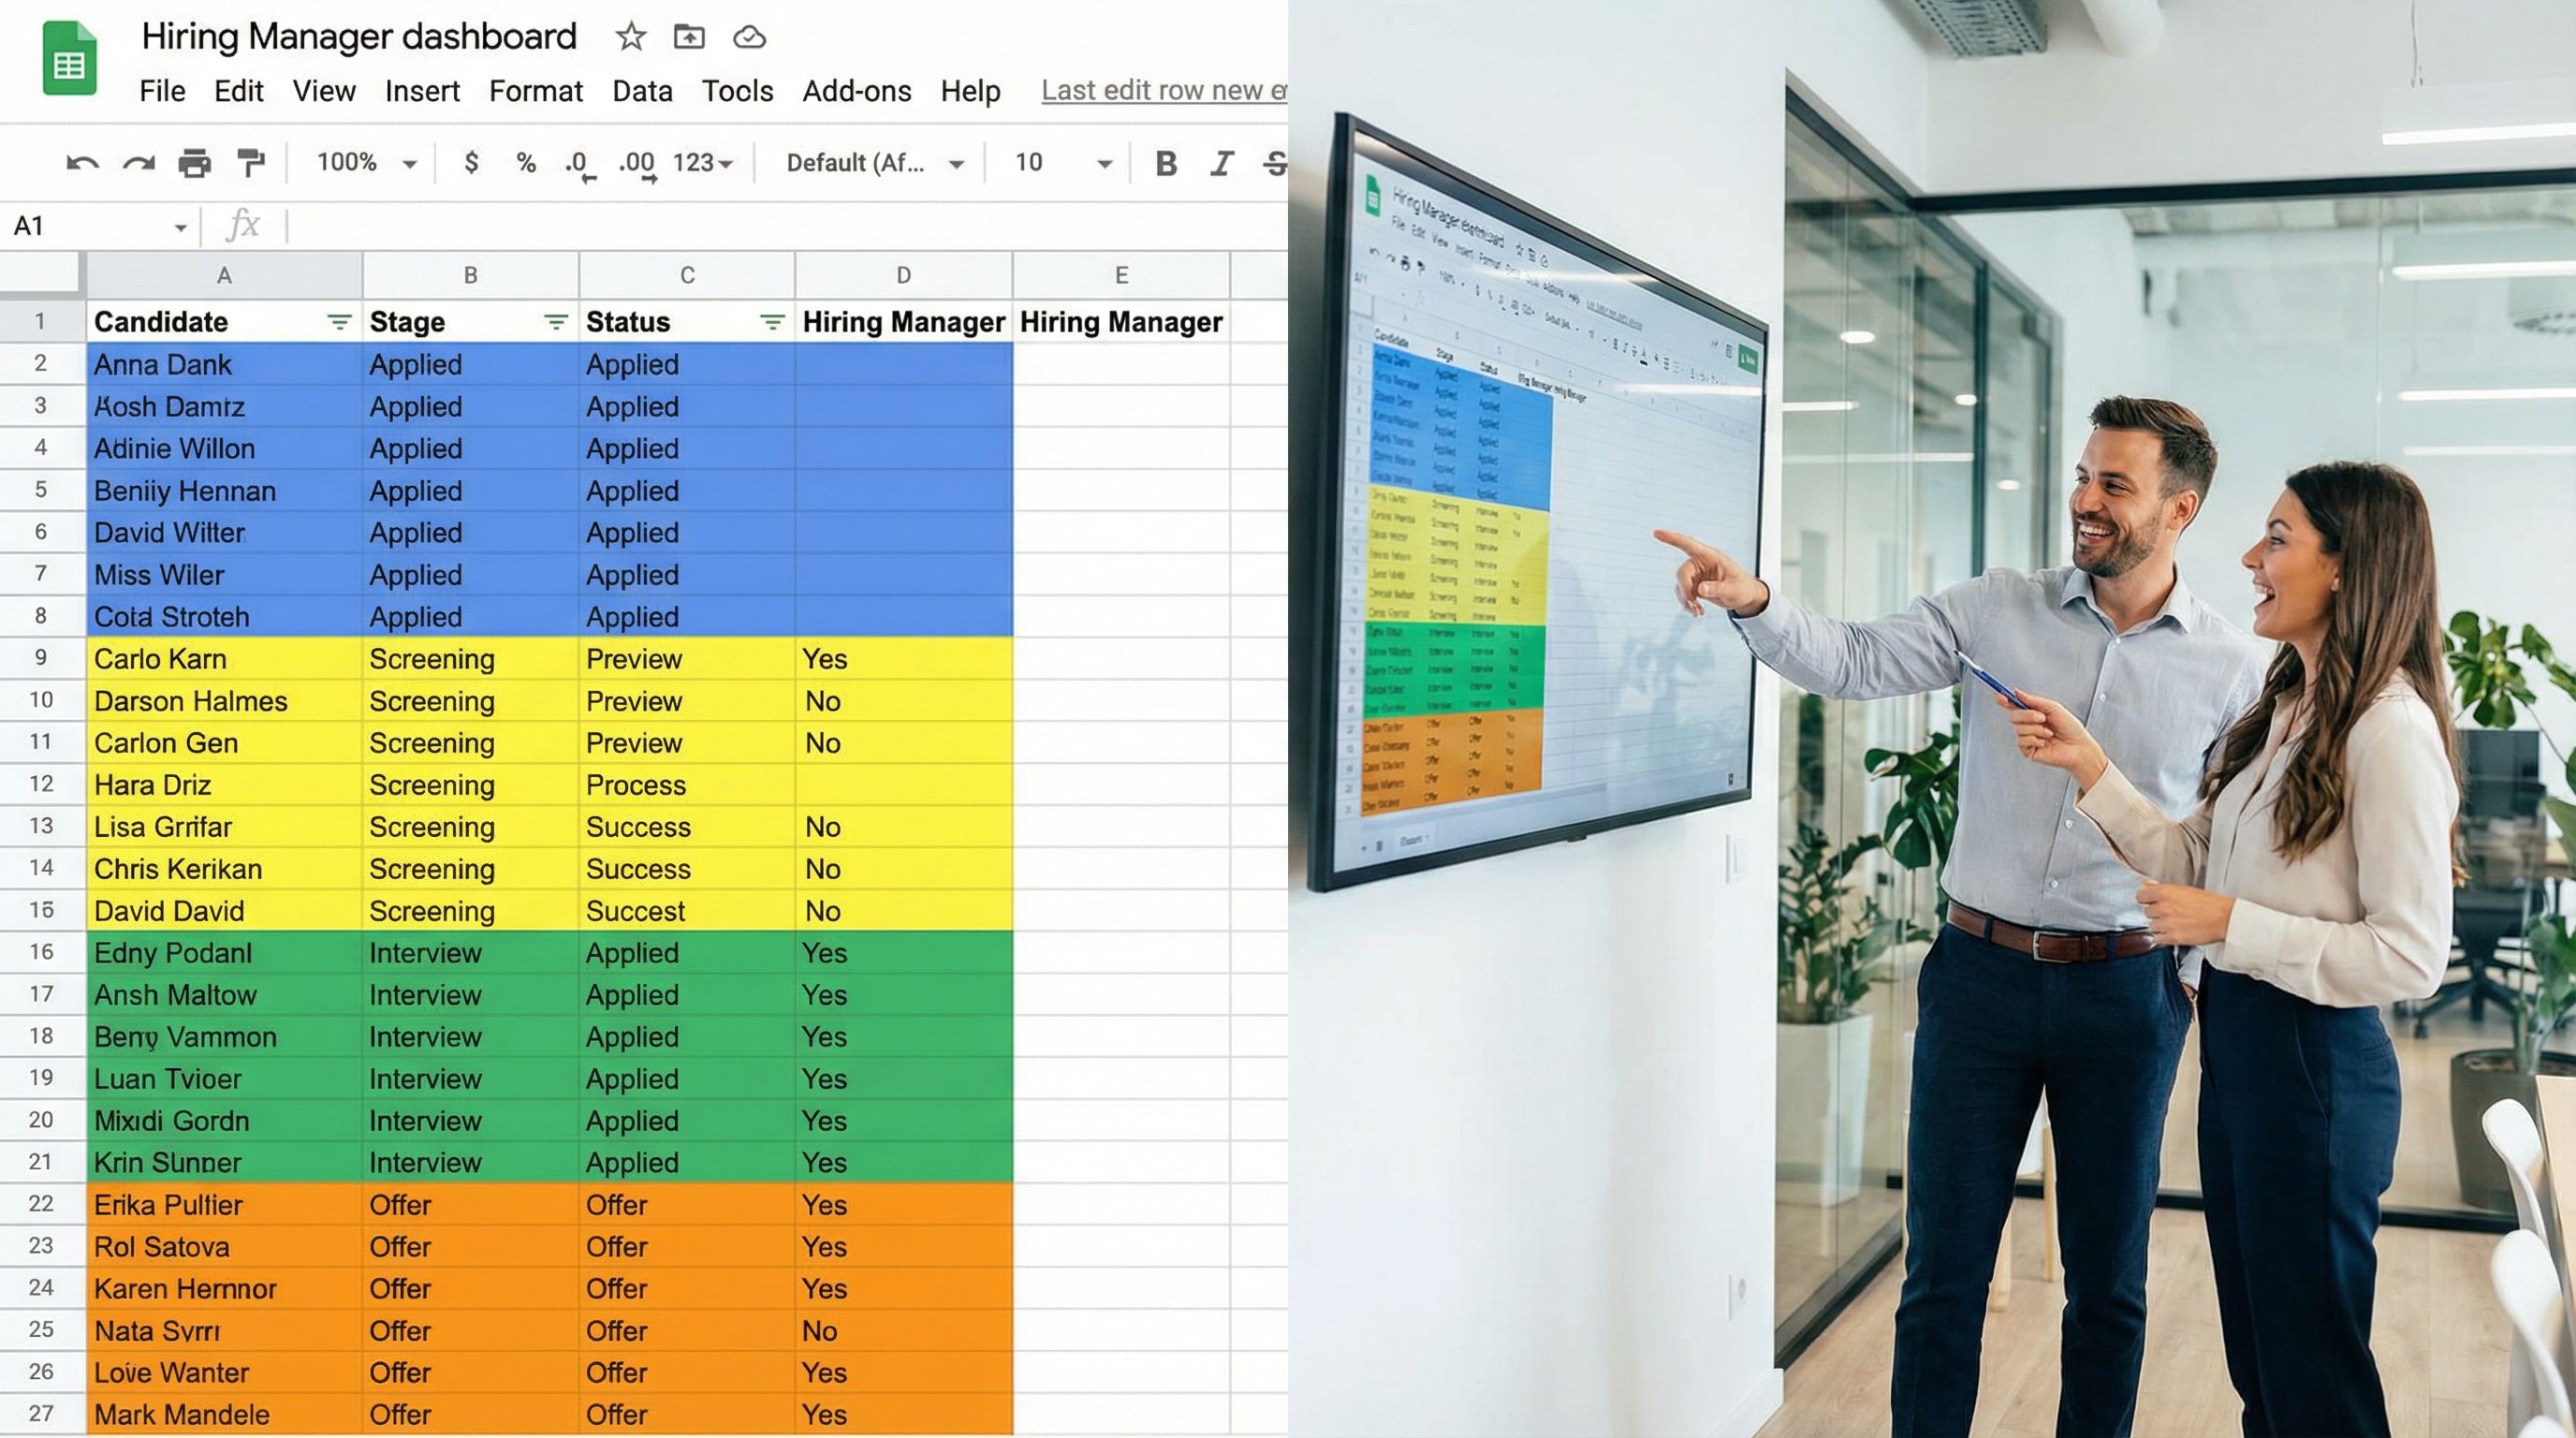
Use color and formatting to reduce cognitive load
- Conditional formatting on
Stage(e.g., green for Offer, yellow for New). - Bold or highlight must-have fields.
- Freeze key columns (Name, Role, Stage) so they’re always visible when scrolling.
Done right, a recruiter can open the Sheet and instantly see:
- How many new candidates to screen today
- Who’s stuck between steps
- Which roles are starved for pipeline
Step 4: Encode Your Screen Criteria as Simple Rules
The biggest risk with manual screening is inconsistency. Two recruiters may make different calls on the same profile.
You can’t automate judgment, but you can automate a lot of pre-filtering.
Add helper columns for auto-tagging
Create additional columns that compute simple signals:
Meets Location Criteria–TRUE/FALSEMeets Experience Criteria–TRUE/FALSEComp Aligned–TRUE/FALSEPriority– text likeHigh,Medium,Low
Use formulas like IF, AND, and OR to define them. For example:
=IF(AND([Years Experience]>=3, [Primary Skill Level]="Advanced"), "High", "Medium")
You can then filter by Priority = High for your first pass.
Combine structured and qualitative signals
Structured fields (years, skills, location) are great for pre-filtering. But hiring also depends on how candidates think and communicate.
You can:
- Add a
Screen Notescolumn for quick impressions. - Add a
Screen Decisioncolumn with options likeAdvance,Hold,No. - Use filters to show only
Screen Decision = Advancefor scheduling.
This is where Ezpa.ge’s ability to collect a small number of thoughtful, open-ended answers pays off. You’re not reading full résumés for everyone—just a few tight paragraphs that map to your real hiring bar.
Step 5: Route Candidates by Role, Channel, or Seniority
Most teams aren’t hiring for just one role. You might have multiple openings, multiple locations, and multiple hiring managers.
Ezpa.ge’s custom URLs and logic help you keep one system while still routing candidates smartly:
- Use different URLs for different job boards or campaigns (e.g.,
?source=linkedin,?source=referral). - Pre-fill hidden fields like
RoleorTeambased on the link. - Use conditional logic to show different questions for different seniority levels.
This keeps your Google Sheet unified while still capturing the nuance of where a candidate came from and what they applied for.
If you want to go deeper on how to do this cleanly at scale, check out Custom URLs as Routing Logic and Form Systems, Not One-Off Links. The same URL and routing patterns that work for sales and marketing work beautifully for hiring.
Step 6: Connect to Calendars and Communication
Your funnel doesn’t end at “Shortlisted.” You need to move from structured data to real conversations.
Make it easy to schedule
You can:
- Add a column
Scheduling Link Sent(Yes/No). - Add a column
Interview Date. - Use a tool like Calendly, SavvyCal, or Google Calendar appointment schedules to share booking links.
A simple workflow:
- Filter
Stage = Screen – PassedandInterview Dateis blank. - Send each candidate a personalized email with your scheduling link.
- When the invite is accepted, update
StagetoInterview – Scheduledand fill inInterview Date.
Keep feedback structured
After each interview:
- Add a
Hiring Manager Decisioncolumn (Strong Yes / Yes / Mixed / No). - Add a
Decision Notescolumn with a short, structured prompt (e.g., “Strengths, concerns, recommended level”). - Use filters to show only
Strong YesandYesfor final review.
This keeps the entire funnel visible in one Sheet—from first form fill to final offer.
Step 7: Iterate on the Form Using Live Response Data
Once your system is live for a few weeks, patterns will emerge:
- Stages where candidates get stuck
- Roles where the funnel is either too restrictive or too loose
- Questions that no one answers well (or that correlate with poor fits)
Because Ezpa.ge syncs in real time, you can:
- Add or tweak questions without breaking the Sheet structure.
- Use Google Sheets’
COUNTIF,PIVOT TABLES, orQUERYto see which sources and questions correlate with successful candidates. - Adjust your filters and helper columns as your understanding of “qualified” evolves.
If you’re interested in going further, our piece on Adaptive Question Paths explores how to use live response data to reshape forms without redesigning them from scratch.
Bringing It All Together
When you connect Ezpa.ge forms to live Google Sheets filters, your hiring process shifts from reactive to intentional:
- Candidates get a clear, respectful application experience.
- Recruiters get a single, real-time view of the funnel.
- Hiring managers get consistent, structured data that supports better decisions.
The core building blocks are simple:
- A thoughtfully designed Ezpa.ge candidate form aligned to real hiring criteria.
- A live Google Sheet with:
- Clean columns mapped to form fields
- A
Stagecolumn and helper columns for auto-tagging - Saved filter views for each funnel step
- Lightweight workflows for screening, scheduling, and feedback—driven by filters, not heroics.
You don’t need a full-blown ATS to get 80% of the value. You just need to design your intake and data flows on purpose.
Where to Start This Week
If you want to put this into practice:
- Pick one role you’re hiring for soon.
- List the 5–7 signals you actually use to decide who gets a first interview.
- Build a focused Ezpa.ge form that captures those signals explicitly.
- Sync it to a new Google Sheet with a
Stagecolumn and at least two filter views:New – Meets Minimum CriteriaScreen Passed – Needs Interview
- Run the next 10–20 candidates through this system and refine from there.
You’ll feel the difference quickly: less chaos, fewer “gut feel” disagreements, and more time spent with candidates who are genuinely aligned with what you need.
If you’re ready to see how Ezpa.ge can support not just hiring, but all your internal workflows—from intake to approvals to onboarding—start by designing that first candidate funnel. The same patterns you build here will serve you across sales, support, and ops.
Open Ezpa.ge, sketch your first candidate form, connect it to Sheets, and let your next hire be the first proof that forms plus filters can run a better funnel.