From Form Fill to Figma File: Using Intake Flows to Streamline Design and Research Ops

Design and research teams are drowning in requests.
“Can you mock this page by Friday?”
“Can we get a quick usability test for this flow?”
“Can someone look at our onboarding and ‘make it clearer’?”
Most of those start as a DM, an email, or a vague Jira ticket. By the time work hits Figma or a research plan, you’re already behind: missing context, chasing stakeholders, and retrofitting structure onto chaos.
There’s a better pattern: intake flows that turn messy requests into structured, design‑ready briefs—automatically.
With a well-designed form (built in something like Ezpa.ge) you can go from:
- “Hey, can you take a look at this?”
- …to a clean, consistent brief that plugs straight into Figma, FigJam, or your research repo.
This post is about that bridge: from form fill to Figma file—and how design and research ops teams can use intake flows to move faster and raise the quality bar.
Why Intake Flows Matter for Design & Research
Intake is not admin work. It’s where strategy meets execution.
When intake is sloppy, you get:
- Vague briefs that balloon into multi-week projects
- Constant back-and-forth to clarify goals and constraints
- Work started on the wrong problem (and re-done later)
- No visibility into priorities or capacity
When intake is structured and form-driven, you get:
- Clear problem statements before design starts
- Comparable requests that can be triaged and prioritized
- Consistent data you can analyze over time (who’s asking for what, and why)
- Automatic routing to the right designer, researcher, or squad
For design and research ops, that’s the difference between:
- Being a ticket taker, constantly reacting, and
- Being an orchestrator, shaping how work flows through the team.
If you’ve already been thinking about forms as workflows, pieces like Forms as Lightweight Workflows: Designing Conditional Paths That Replace Internal Tools (Without Code) show how close you already are to proper intake systems.
What “From Form Fill to Figma File” Actually Looks Like
Let’s make this concrete.
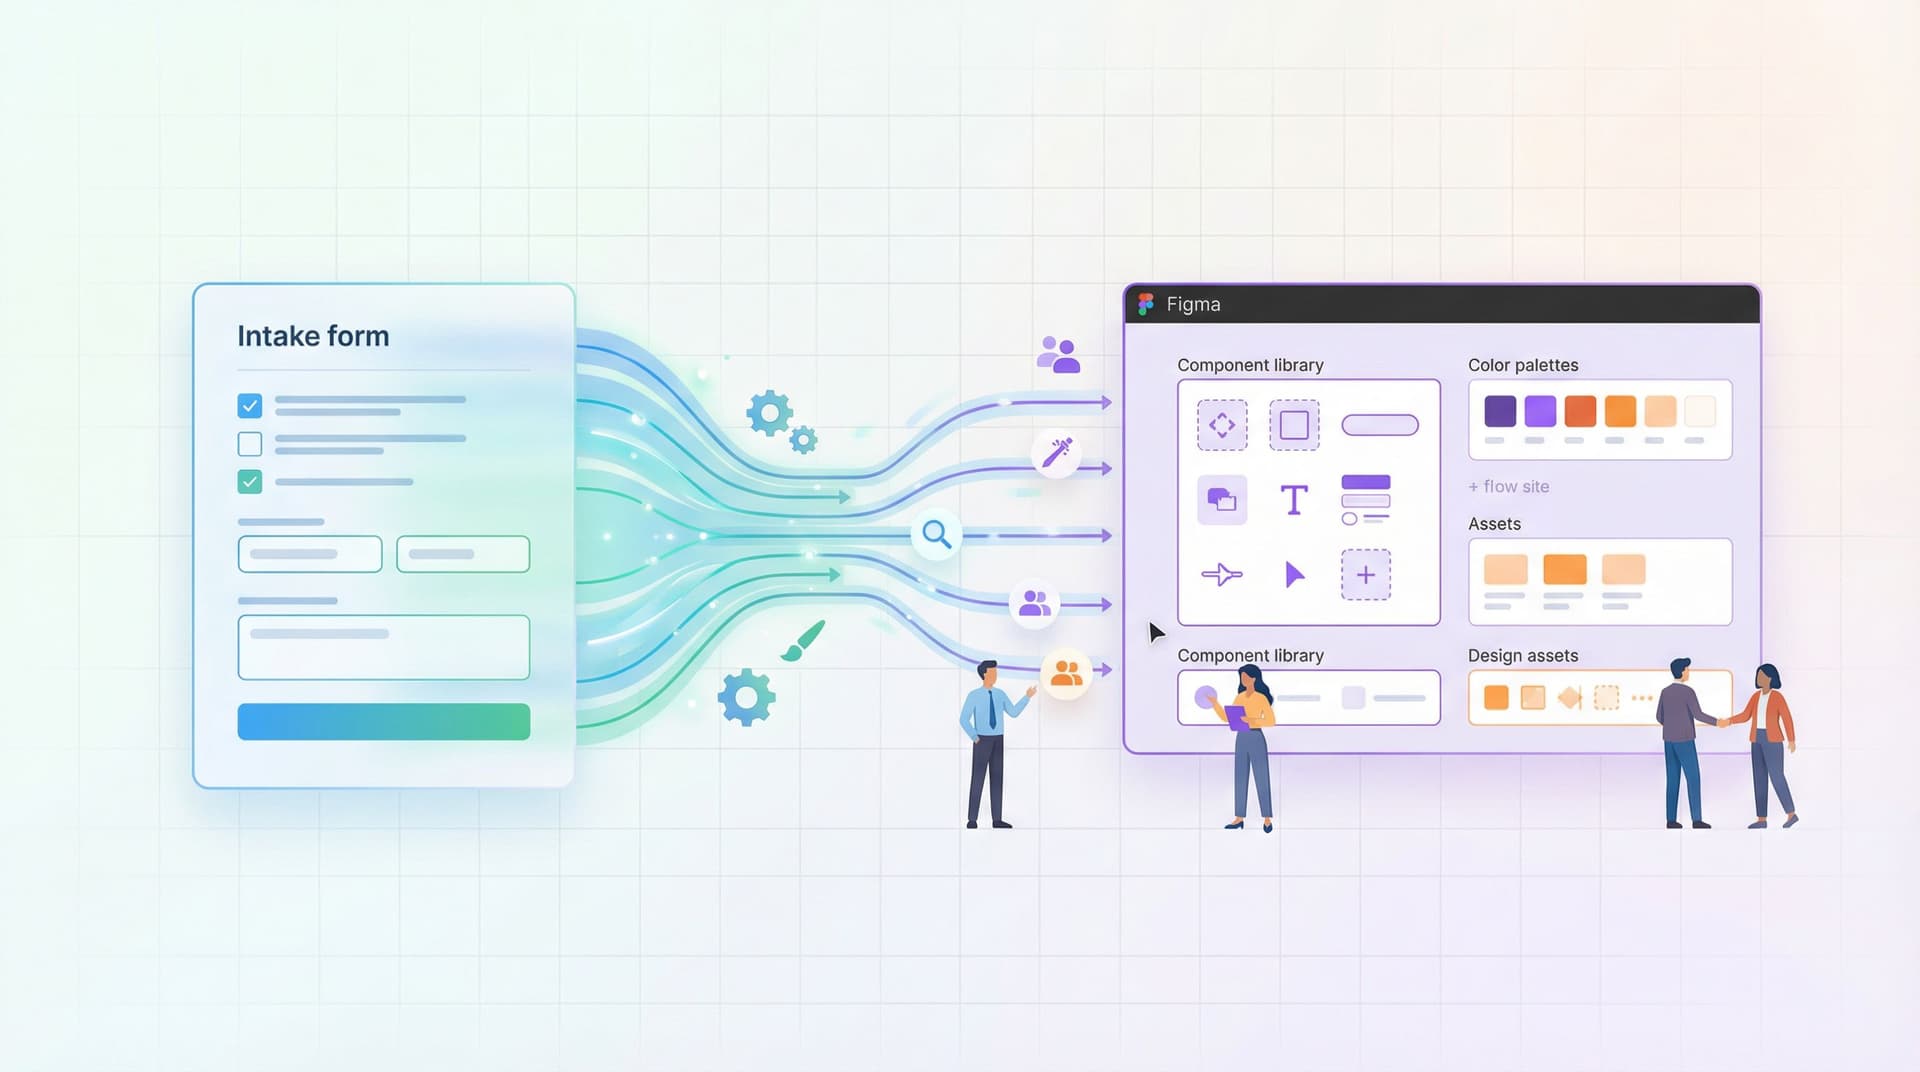
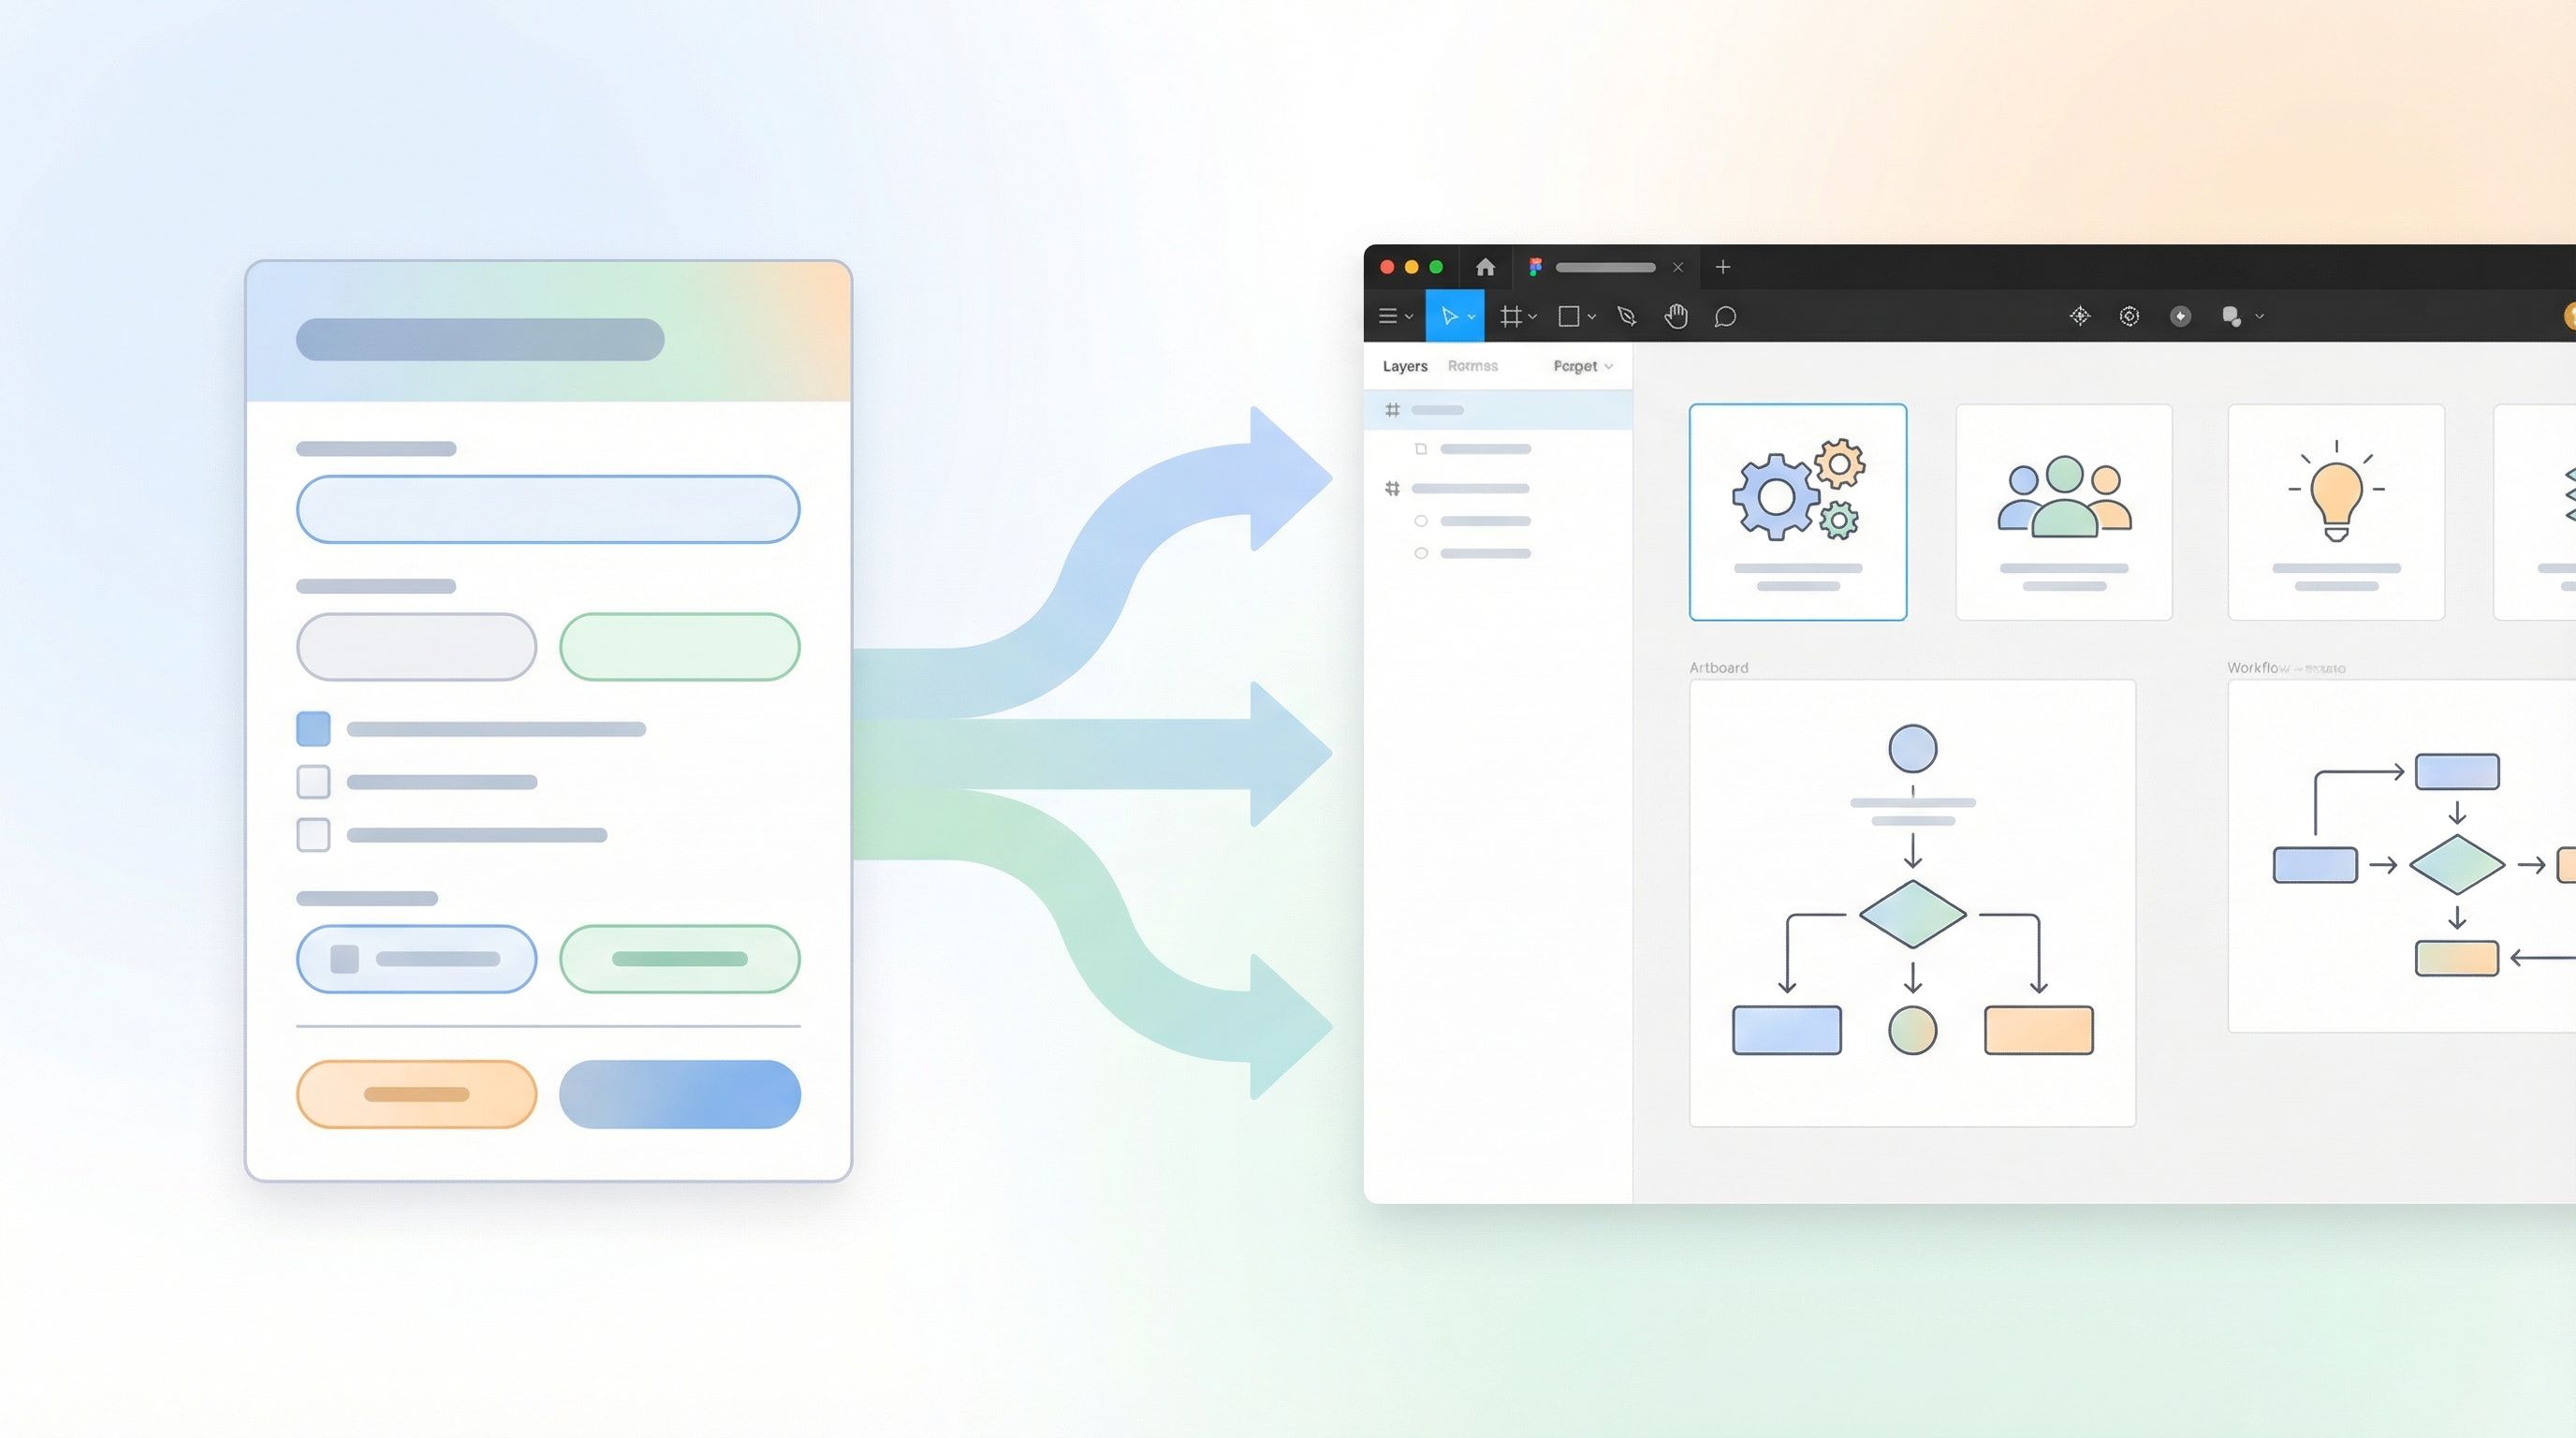
Imagine a Design Request Form that every stakeholder uses. A PM fills it out, hits submit, and within minutes:
- A new Figma project or file is created from a template
- The project name is standardized (e.g.,
Team – Feature – Type – Quarter) - A cover page is auto-populated with:
- Problem statement
- Goals & success metrics
- Target users
- Constraints and deadlines
- A Jira or Linear ticket is created and linked
- The request is tagged and logged in a Google Sheet synced from Ezpa.ge
The designer opens Figma and finds:
- A project already set up
- A clear brief on the first page
- Links to relevant docs and research
No DM archaeology. No “Can we jump on a quick call to clarify?”
That’s the promise of a good intake flow: your form is the front door, your design tools are the living room.
Step 1: Decide What “Design-Ready” Means for Your Team
Before you build a form, define your minimum viable brief.
Ask your designers and researchers:
- “What information do you always end up chasing?”
- “What’s missing from 80% of incoming requests?”
- “What’s the difference between a ‘great brief’ and a ‘bad one’?”
You’ll usually hear the same themes:
- Problem, not solution: What’s the underlying problem, not the requested UI change?
- Audience: Who is this for? Segment, role, or persona.
- Context: Where in the product or journey does this live?
- Constraints: Deadlines, technical limits, brand or legal requirements.
- Success: How will we know this worked?
Turn those into required fields in your intake form:
- “Describe the problem you’re trying to solve (not the solution).”
- “Who is affected by this? Be specific.”
- “Where in the product or journey does this show up?”
- “What constraints should we know about?”
- “How will we measure success?”
Then add smart optional fields that help ops later:
- Priority (with clear definitions, not just “High/Medium/Low”)
- Squad or product area
- Links to existing docs, dashboards, or tickets
This is where long, thoughtful forms can actually win. If you’re curious about how to do that without crushing completion rates, Beyond ‘Shorter Is Better’: When Long Forms Outperform Micro-Flows (and How to Design Them) is a useful companion read.
Step 2: Turn a Single Form into Multiple Intake Flows
Most teams need more than one intake path, but fewer than they think.
Common patterns:
- Net-new feature or product design
- Iteration or optimization on an existing flow
- Research request (discovery, usability, evaluative)
- Content / marketing design
You don’t need four separate forms. Instead, use one core intake form with logic that adapts based on request type.
Example structure:
-
Start with a simple routing question
- “What are you requesting?”
- New feature / net-new UI
- Iteration on an existing experience
- UX research support
- Marketing / brand asset
- “What are you requesting?”
-
Use conditional logic to show relevant sections
- New feature → Ask about problem, users, success metrics, dependencies
- Iteration → Ask for URLs/screenshots, current pain points, metrics to improve
- Research → Ask about research question, decisions at stake, timelines
-
Keep shared fields consistent across all paths
- Team, product area, priority, due date, links
Tools like Ezpa.ge make this easier with logic, custom URLs, and real-time Sheets sync. You can even use concepts from URL-Level Personalization: Tailoring One Form to Many Audiences with Naming, Prefills, and Logic to:
- Prefill the “Team” field based on the URL
- Hide irrelevant sections for certain groups
- Track which channel the request came from (Slack, Notion, email, etc.)
The result: one maintainable intake system that still feels tailored to each requester.
Step 3: Map Fields to Figma, Notion, and Your Ticketing Tools
An intake form is only as useful as what happens after submit.
To truly go from form fill to Figma file, you need a clear field mapping:
- Form → Google Sheet (via Ezpa.ge sync)
- Google Sheet → Automations (Zapier, Make, n8n, internal tools)
- Automations → Figma, Notion, Jira, Linear, Asana, etc.
Start with a field-to-destination map
Create a simple table (even just in a doc) that lists:
- Form field → Sheet column → Destination field
For example:
Request title→request_title→ Figma file name / Jira summaryProblem statement→problem_statement→ Figma cover page text / Jira descriptionTeam→team→ Jira label / Linear projectProduct area→product_area→ Figma project folderPriority→priority→ Ticket priorityDue date→due_date→ Ticket due date
Once this map is clear, you can:
- Set up automations that:
- Create a Figma file from a template
- Create a Jira/Linear ticket
- Post a Slack message in a channel
- Keep the form stable while evolving the downstream workflows.

Step 4: Use Themes and Custom URLs to Make Intake Feel Native
Intake flows work best when they feel like part of the product, not a random survey link.
With a builder like Ezpa.ge, you can:
- Match your design system: colors, typography, spacing
- Use custom URLs that align with your internal language, e.g.:
/design-intake/research-request/growth-experiment-brief
- Create variants by audience using URL parameters:
/design-intake?team=growth/design-intake?team=core-product
This matters because:
- Stakeholders are more likely to trust and complete a form that looks official
- You reinforce shared rituals: “All design work starts at /design-intake”
- You avoid the sprawl of ad-hoc Typeforms, Google Forms, and rogue Notion templates
If your org already treats forms as onboarding experiences, you can borrow patterns from Forms as Onboarding UX: Turning First-Touch Questionnaires into Guided Tours of Your Product. The same principles apply internally:
- Set expectations up front
- Use microcopy to guide people through
- Show progress so the form feels manageable
Step 5: Make the Form Feel Like a Conversation, Not a Gate
No one wakes up excited to “fill out the intake form.”
Your job is to make the form feel like a helpful collaborator, not bureaucracy.
A few patterns that work well:
- Explain why each section exists
- “This helps us route your request to the right squad.”
- “We use this to decide whether design, research, or both should be involved.”
- Use plain language prompts
- Instead of: “Business objectives” → “What are you hoping will change if this goes well?”
- Instead of: “User segment” → “Who is this for? Job title, role, or customer type is enough.”
- Add examples inside placeholders
- “Example: ‘New users are getting stuck on step 2 of onboarding and contacting support.’”
- Offer different levels of detail
- Radio buttons like:
- “I have a clear idea and just need execution.”
- “I have a problem but not a solution yet.”
- “I’m not sure; I need help framing this.”
- Radio buttons like:
Then, use logic to:
- Ask fewer questions when someone is unsure (and route them to a live conversation)
- Ask more detailed questions when someone already has context and data
This mirrors ideas from Forms for PLG Funnels: Designing Self-Serve Intake That Feeds Sales Without Feeling Like a Gate: you want self-serve where possible, but never at the cost of trust or momentum.
Step 6: Close the Loop and Build Trust in the System
An intake flow only works if people believe it works.
If stakeholders feel like forms are a black box, they’ll go back to DMs and hallway chats.
Build trust by designing the post-submit experience as carefully as the form itself:
- Clear confirmation page
- “Your request has been logged.”
- “Here’s your reference ID and where it lives.”
- “You’ll hear from us by [date] with next steps.”
- Automatic follow-up
- Slack message in
#design-intakewith key details - Email recap to the requester with:
- What they submitted
- Where to track progress (Figma, Jira, Notion)
- Slack message in
- Service-level expectations
- “We review all new requests twice a week.”
- “You’ll know whether your request is accepted, parked, or needs more info.”
Over time, you can:
- Share intake stats in design/research reviews
-
of requests by team
- Most common request types
- Lead time from request to kickoff
-
- Use that data to argue for headcount, re-prioritize roadmaps, or refine processes.
Step 7: Iterate Using Live Intake Data
The first version of your intake form will not be perfect. That’s fine.
Because Ezpa.ge syncs to Google Sheets in real time, you can:
- See which fields are frequently left blank or filled with “N/A”
- Spot patterns in low-quality briefs and adjust prompts
- Add conditional questions based on real-world usage
You might notice, for example:
- 70% of “High priority” requests don’t have a hard deadline → add helper text or a stricter definition
- Many PMs struggle to articulate user segments → add examples or a short multi-select
- Research requests often lack decisions at stake → add a required “What decision will this research inform?” field
This is where concepts from Adaptive Question Paths: Using Live Response Data to Reshape Your Forms Without a Redesign become powerful. You don’t need a full form redesign; you just:
- Tweak copy
- Add or remove a field
- Adjust logic
…based on what the data is telling you.
A Quick Blueprint You Can Steal
If you want something you can implement this week, here’s a minimal but powerful intake setup:
-
One core intake form at
/design-intakewith:- Request type (new feature, iteration, research, marketing)
- Problem statement (required)
- Target users (required)
- Product area / squad (required)
- Links to relevant docs (optional)
- Priority + desired timeline
- “What does success look like?” (required)
-
Logic that:
- Shows extra questions for research requests (decisions at stake, timeline flexibility)
- Asks for URLs/screenshots for iteration requests
-
Ezpa.ge → Google Sheets sync feeding a “Design & Research Intake” Sheet.
-
Automations that:
- Create a Figma file from a template and name it using
Team – Request Title – Quarter - Create a Jira/Linear ticket with the same title and link to the Figma file
- Post a Slack message with key fields in
#design-intake
- Create a Figma file from a template and name it using
-
Review ritual twice a week where ops, design, and research:
- Triage new requests
- Tag them with status (accepted, parked, needs info)
- Update stakeholders via the tools they already use
That’s enough to feel a step-change in clarity without building a full internal tool.
Bringing It All Together
When you treat intake as a first-class design problem, you:
- Protect designers and researchers from chaos
- Give stakeholders a clear, fair way to ask for help
- Turn messy requests into structured, searchable data
- Create a direct bridge from form fill to Figma file, with fewer gaps in between
The form isn’t the admin step before the “real work.” It is the first artifact of the work: a shared understanding of the problem you’re solving.
Take the First Step
You don’t need to rebuild your entire process.
Start with one move:
- Pick a single high-traffic request type (e.g., design tweaks or usability studies)
- Replace the DM/email pattern with a simple Ezpa.ge form
- Sync it to a Google Sheet, and set up one automation to create a Figma file or ticket
- Run it for two weeks, then review what’s working and what’s missing
From there, you can layer on:
- Smarter logic
- Better routing
- Multiple intake paths
- Richer analytics
The sooner you start, the sooner your team can stop playing “Where’s that request?” and start opening Figma to a clear, ready-to-go brief.
Spin up your first intake flow, share the link with your stakeholders, and see how it feels when your next big project starts with clarity instead of chaos.