Custom URLs as Routing Logic: Directing Traffic by Intent, Channel, and Buyer Stage


Most teams think of a URL as just an address.
In form-driven funnels, a URL is more like a switchboard.
Every link you share carries hidden information:
- Where someone came from (ad, email, social, partner, QR code)
- What they were promised (offer, message, value prop)
- How ready they are (curious browser vs. “talk to sales now”)
If you send all of that traffic to a single, generic form URL, you flatten those differences. You treat a high-intent demo click the same as a casual newsletter reader. You make sales, ops, and support work harder to untangle what should have been obvious from the start.
Custom URLs let you do something smarter: use the URL itself as routing logic. Instead of one front door, you create tailored doors by intent, channel, and buyer stage—while still keeping your underlying form system simple and maintainable.
This post is about how to do that with tools like Ezpa.ge, and how to turn custom URLs from “nice to have” into a quiet engine for better conversion, cleaner data, and faster follow-up.
Why Custom URLs Matter More Than “Branding”
Custom URLs often get framed as a cosmetic upgrade: cleaner links, nicer slugs, better-looking campaign UTMs.
That’s the surface level. The real value comes when you treat URLs as routing rules, not vanity tags.
Here’s what changes when you do:
1. You route by intent, not just identity
Two people might both be “marketing leaders at SaaS companies.” But:
- One clicked a pricing comparison ad and wants specifics.
- One clicked a thought-leadership post and is still exploring.
If both land on the same generic “Contact us” form, you’re forcing them through the same questions and the same follow-up path.
With custom URLs, you can:
- Send pricing-intent traffic to
/demo/pricingwith fields tuned for budget, timeline, and decision process. - Send exploratory traffic to
/demo/learn-morewith softer qualification and an option to subscribe instead of book.
Same form system. Different URL. Different experience.
2. You route by channel without duplicating work
You may already be thinking about this if you’ve read our piece on channel-specific forms. Custom URLs make that pattern scalable:
- Ads → short, high-intent flows that respect the promise in the ad.
- Email → forms that assume more context and ask deeper questions.
- Partners → forms that quietly capture partner source and any special handling.
Instead of cloning forms for every channel, you:
- Keep one canonical form for a job-to-be-done (e.g., "Request a demo").
- Generate multiple URLs that tweak copy, pre-fill certain fields, or adjust conditional logic.
3. You route by buyer stage without building a maze
Different buyer stages need different paths:
- Early-stage: education, light qualification, resources.
- Mid-stage: detailed needs, use cases, maybe a tailored checklist.
- Late-stage: direct handoff to sales, implementation details, security questions.
Using custom URLs as routing logic, you can:
- Offer
/talk-to-salesfor late-stage, high-intent prospects. - Offer
/product-fit-checkfor earlier-stage visitors who aren’t ready to commit. - Offer
/customer-upgradefor existing customers with different questions and routing.
Under the hood, you might be using many of the same fields and logic—but the URL becomes the “stage selector” that determines how the form behaves.
The Building Blocks: What “Routing with URLs” Actually Looks Like
Let’s ground this in something concrete. With Ezpa.ge or a similar tool, you can usually control three layers:
- The slug (e.g.,
/demo,/demo/agency,/demo/pricing) - URL parameters (e.g.,
?source=linkedin&intent=pricing) - Conditional logic inside the form that responds to those inputs
When you combine them, your URL stops being just a location and starts acting like a set of instructions:
“If someone arrives via this URL, show these questions, pre-fill these values, and send the submission to this team.”
Here’s a simple mental model:
-
Slug = narrative + promise
/demo/pricing→ “You’re here for pricing clarity.”
/support/escalation→ “You need help, and it’s urgent.” -
Parameters = metadata + routing
?channel=linkedin&campaign=q1_brand
?segment=customer&plan=enterprise -
Form logic = experience + handoff
Show or hide fields, adjust copy, and direct the submission to the right workflow based on slug + parameters.
This is the same mindset we explore in Forms as Lightweight Workflows: your form becomes a no-code router, and your URLs are how you plug different “circuits” into it.
Designing a URL Taxonomy That Actually Scales
Before you start spinning up dozens of custom URLs, you need a naming system. Otherwise you’ll end up with demo2-final-new and nobody will know what routes where.
Think about URLs as API endpoints for your go-to-market. You want them:
- Predictable: easy to guess and remember.
- Descriptive: encode intent, channel, or stage in human language.
- Stable: not changing every campaign.
Step 1: Define your primary jobs-to-be-done
Start with the core “jobs” your forms handle:
- Request a demo
- Start a trial
- Contact support
- Submit a feature request
- Apply to a program (partner, beta, community)
Give each job a canonical slug:
/demo/start/support/feedback/partner-apply
These are your base routes.
Step 2: Layer intent, channel, and stage onto the base
Now, for each base route, decide how you’ll encode:
- Intent (what they want)
- Channel (where they came from)
- Stage (how ready they are)
You can do this either in:
- The path:
/demo/pricing,/demo/agency,/demo/expansion - Or parameters:
/demo?intent=pricing&segment=agency
Pick one primary pattern and stick with it. A common approach:
- Use the path for human-readable intent or segment.
Examples:/demo/pricing,/support/urgent,/feedback/beta. - Use parameters for channel and campaign.
Examples:?channel=linkedin&campaign=q2_brand.
This keeps your URLs readable while still giving your logic plenty of data to work with.
Step 3: Document your “URL contract”
Create a simple reference doc (or Sheet) that lists:
- Base route (e.g.,
/demo) - Allowed intent suffixes (e.g.,
pricing,agency,expansion) - Recognized parameters (e.g.,
channel,campaign,segment) - What each combination does (fields, logic, routing)
This doesn’t need to be fancy. But it turns URLs into a shared language between marketing, ops, and sales.

Using URLs to Route by Intent
Intent is the most powerful—and most underused—signal you can encode in a URL.
Common intent patterns
Start by listing the top 3–5 intents that matter for each base route. For a demo form, that might be:
- Pricing clarity: “How much will this cost us?”
- Problem fit: “Does this solve my specific use case?”
- Migration help: “Can you help us switch from our current tool?”
- Expansion: “We’re customers; we want more seats / features.”
Translate these into slugs:
/demo/pricing/demo/use-case/demo/migration/demo/expansion
Tailoring the form experience
Once you have intent-specific URLs, use form logic to:
-
Ask sharper questions
/demo/pricingmight ask:- Current tool and spend
- Team size and usage patterns
- Procurement timeline
-
Skip irrelevant fields
/demo/expansioncan skip “How did you hear about us?” and focus on account details. -
Change microcopy
The header for/demo/migrationmight say:“Tell us about your current setup so we can map the cleanest migration path.”
This is exactly the kind of nuance we talk about in Beyond ‘Shorter Is Better’: sometimes the right move isn’t fewer questions, but more relevant ones. Custom URLs are how you earn the right to ask them.
Practical tips
- Start with 1–2 high-impact intents, not 10.
Pricing vs. general demo is usually the easiest win. - Align follow-up with the URL, not just the answers.
A submission from/demo/pricingshould land in a queue where reps are prepared to talk numbers. - Use hidden fields to capture intent.
Even if someone changes their mind mid-form, the entry point still matters.
Using URLs to Route by Channel
Channel-based routing is about meeting people where they are, without building a separate form for every campaign.
Why channel-specific URLs help
Different channels carry different levels of context and trust:
- Search ads: high intent, low brand familiarity.
- Email: higher trust, known relationship.
- Social: mixed intent, often casual.
- Partners: borrowed trust, specific expectations.
If all of those land on the same form, you either:
- Over-explain for people who already know you, or
- Under-explain for people who don’t.
With custom URLs, you can:
- Shorten copy and add deeper questions for email traffic.
- Add a short “who we are” block and social proof for search traffic.
- Add a “Referred by [Partner]?” field or tag for partner traffic.
Implementation pattern
-
Keep the same base route per job.
Example:/demo. -
Add a channel parameter to every link you share.
Examples:/demo?channel=linkedin/demo?channel=search/demo?channel=email
-
In your form builder, add logic like:
- If
channel = email→ hide “How did you hear about us?” and show a field about newsletter topics. - If
channel = search→ show a 1–2 sentence explainer and a trust badge. - If
channel = partner→ add a dropdown for partner name and route to a partner manager inbox.
- If
This is also a powerful pattern for A/B testing offers without spinning up new pages—very similar to the approach in our post on URL-first campaigns.
Using URLs to Route by Buyer Stage
Buyer stage is trickier than channel or intent because it’s often inferred, not explicit. But you can still use URLs to make smart bets.
Common stage-based entry points
- Top-of-funnel: content downloads, checklists, webinars.
- Mid-funnel: product tours, ROI calculators, comparison pages.
- Bottom-funnel: pricing pages, competitor comparisons, direct demo CTAs.
For each, create stage-aware URLs that lead into different versions of the same underlying form:
/demo/after-webinar(mid-funnel)/demo/after-pricing(bottom-funnel)/demo/after-blog(top/mid-funnel)
Adjusting the form for stage
Use the entry URL to:
-
Change the “ask”
After a webinar, the form might offer: “Talk through this use case with our team” instead of a generic “Request a demo.” -
Calibrate question depth
Bottom-funnel traffic can handle more detailed questions about budget, stakeholders, and implementation timeline. Top-funnel traffic might just pick a use case and company size. -
Route to different teams
- Top-funnel → SDR or marketing nurture.
- Bottom-funnel → AE or account team.
- Customer expansion → CSM or AM.
With Ezpa.ge and real-time Google Sheets syncing, you can pipe all of this into a single Sheet and then use filters or downstream automation to fan submissions out to the right owners.
Turning URLs into Operational Routing Rules
So far we’ve focused on the experience side. But the real magic happens when URLs also drive operational routing.
Map URLs to queues and SLAs
For each key URL (or URL pattern), decide:
- Who owns follow-up? (team or role)
- What’s the expected response time? (SLA)
- What context do they need? (fields, tags, notes)
Examples:
-
/support/urgent- Owner: Tier 2 support
- SLA: 2 hours
- Fields: system impact, error messages, account ID
-
/demo/pricing- Owner: Sales
- SLA: 1 business day
- Fields: budget range, team size, decision timeline
-
/feedback/beta- Owner: Product
- SLA: weekly review
- Fields: feature area, use case, priority
Implementing routing with Sheets + automation
If you’re using Ezpa.ge with Google Sheets sync:
-
Capture URL metadata
Add hidden fields for:entry_slug(e.g.,demo/pricing)channel(e.g.,linkedin)stage(optional, e.g.,bottom)
-
Use formulas or filters to create views per team.
- Filter
entry_slugcontainssupport→ Support queue. - Filter
entry_slugcontainsdemoANDstage = bottom→ Sales priority queue.
- Filter
-
Layer in automation tools (Zapier, Make, n8n) to:
- Create tickets in your help desk.
- Create leads/opportunities in your CRM.
- Post to specific Slack channels.
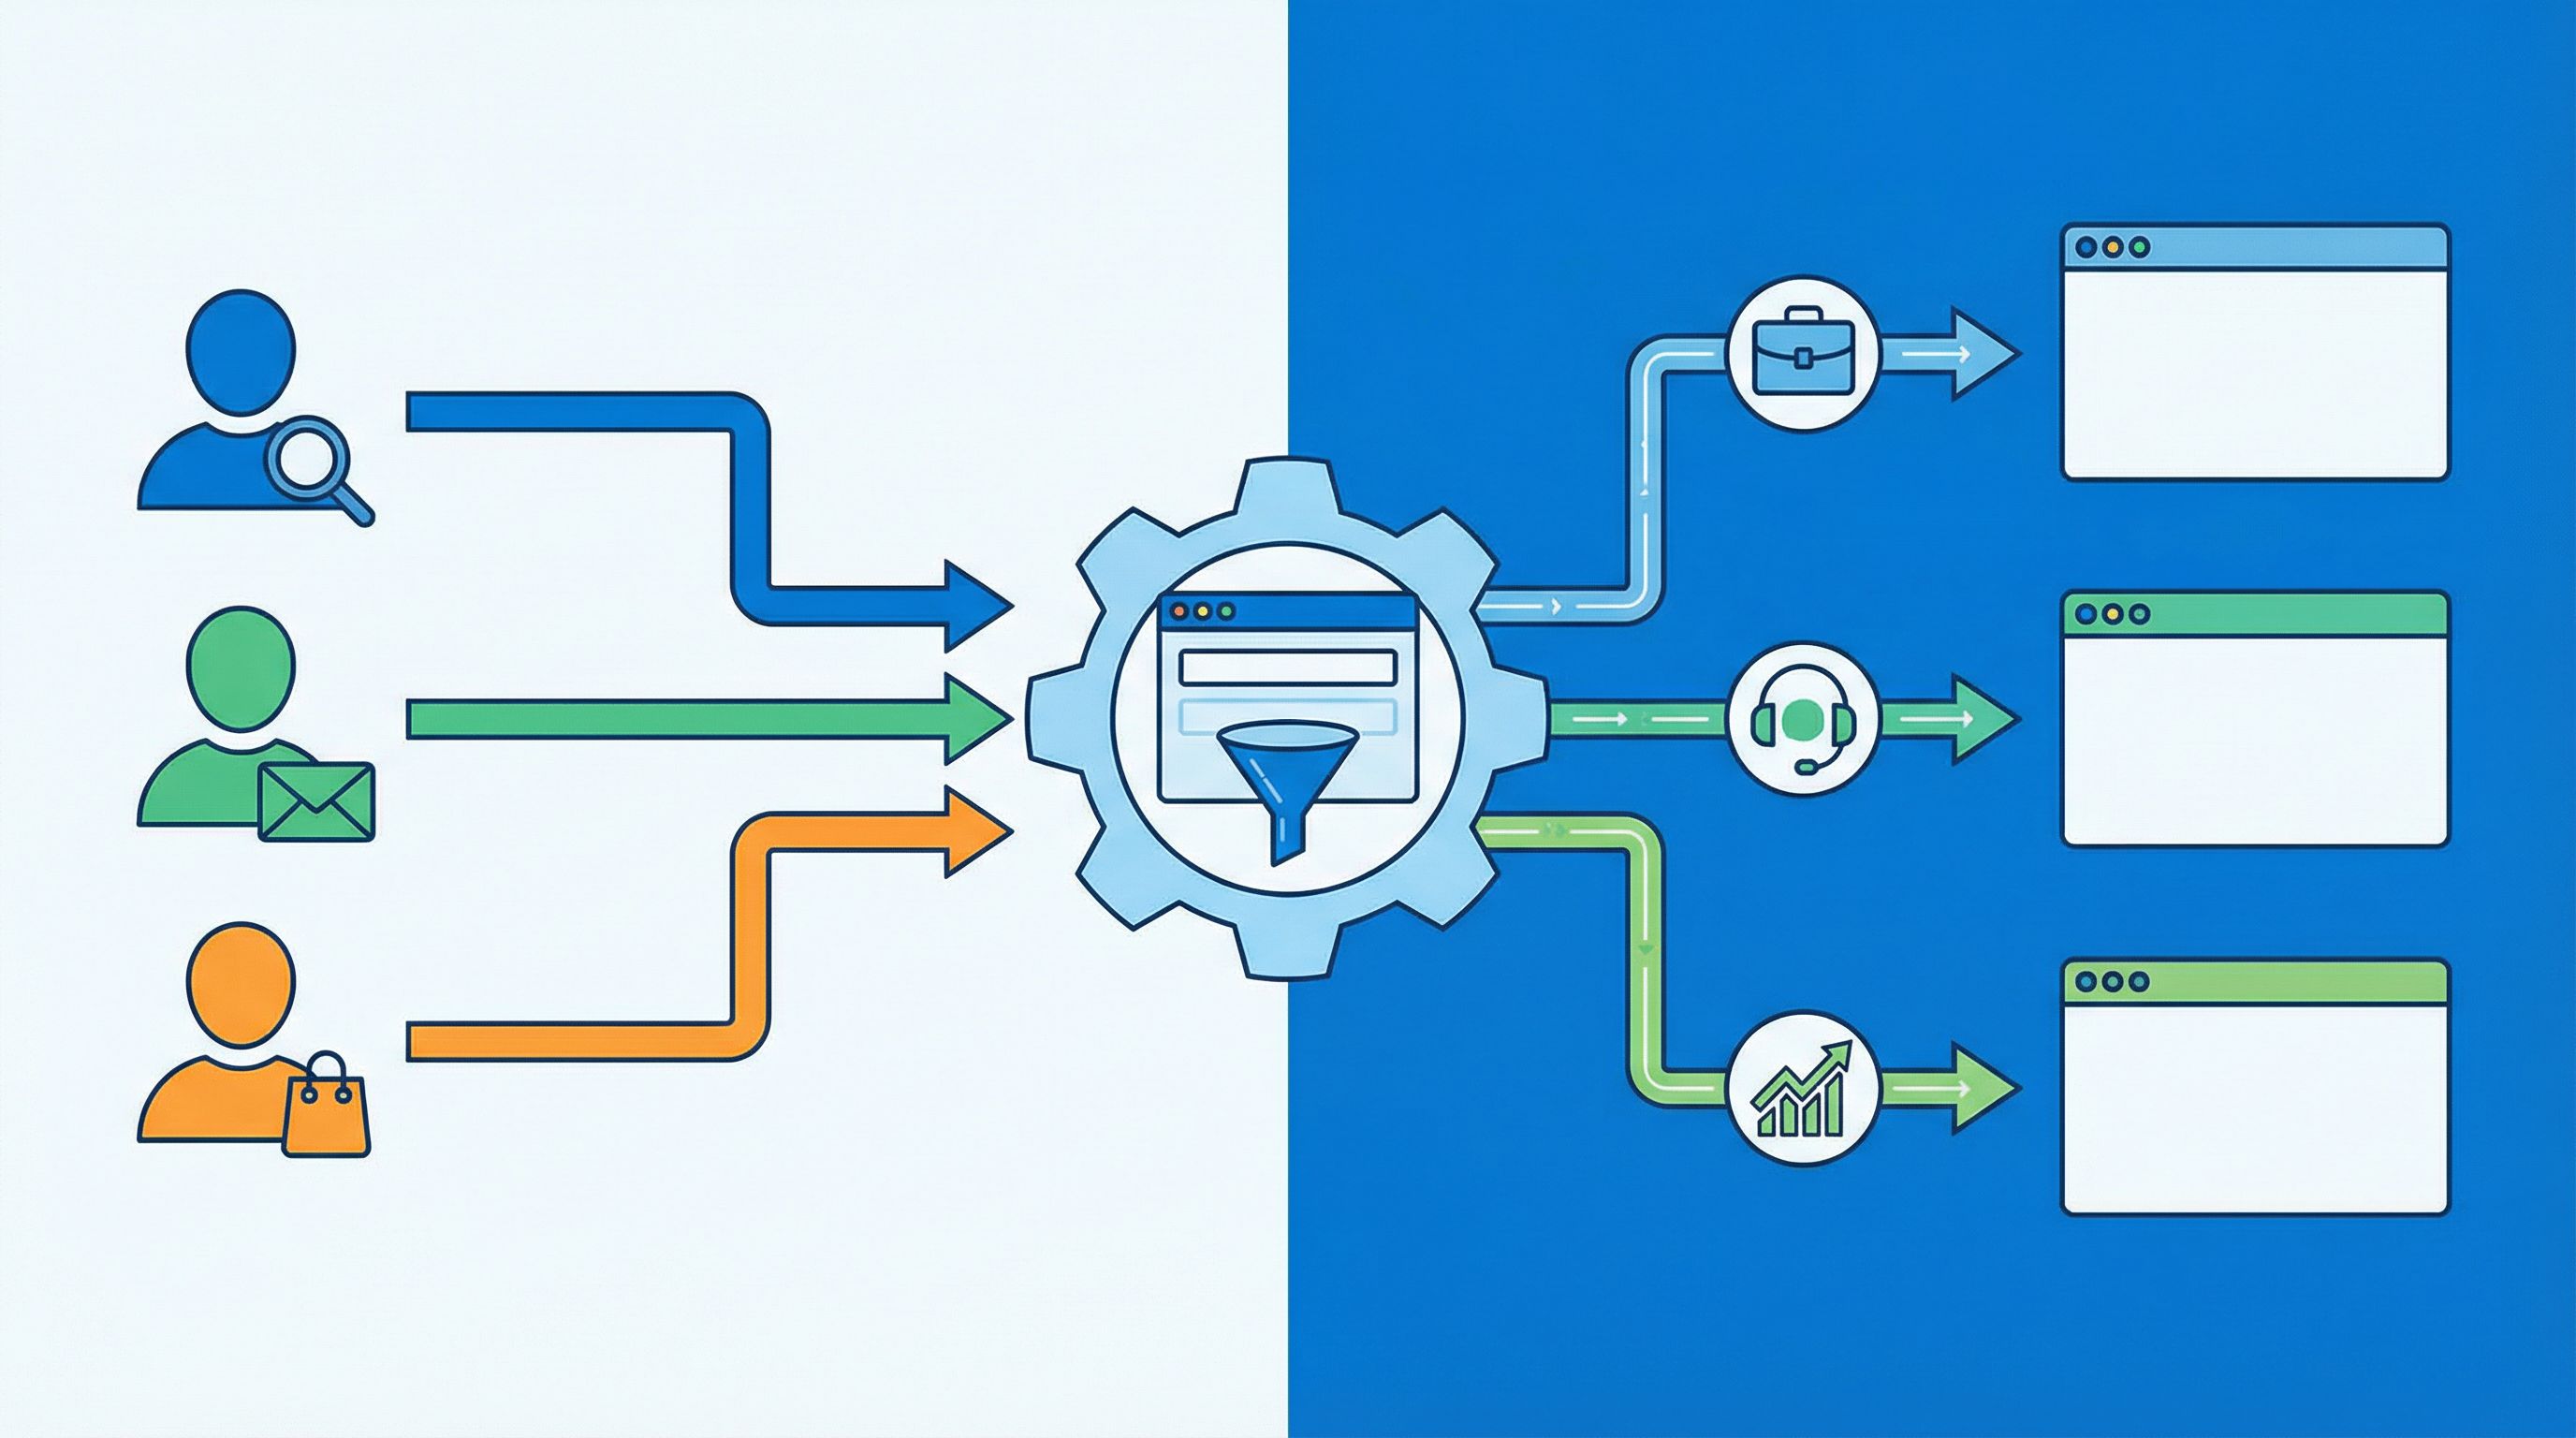
The key idea: the URL is the first router, the form is the second, and your automations are the third. Each layer adds more context without adding more friction for the user.
Keeping the System Maintainable
A powerful URL routing system can quietly turn into a mess if you’re not careful. A few guardrails help keep it healthy.
1. Limit the number of base routes
Most teams can get very far with:
/demo(or/talk-to-sales)/start(or/signup)/support/feedback/partner-apply
Everything else can be handled with intent/stage suffixes and parameters.
2. Treat URLs as stable contracts
Once a URL is in the wild (especially in partner docs or printed materials), avoid changing it. Instead:
- Update the form logic behind it.
- Or redirect old URLs to new ones with compatible behavior.
This is the same principle we lean on in Atomic Form Patterns: treat forms and URLs as reusable components, not one-off experiments.
3. Review your URL map quarterly
Set a recurring review to:
- Remove or redirect dead URLs.
- Merge overlapping patterns.
- Add new intents or stages that have emerged.
Look at performance data (completion rate, lead quality, time-to-first-response) per URL pattern. This is a perfect use case for a low-noise analytics approach like we describe in Low-Noise Analytics: focus on a handful of metrics per URL instead of drowning in dashboards.
4. Design for security and trust
Custom URLs also play into trust and security:
- Predictable, branded URLs feel safer than random strings.
- Clear slugs like
/support/secure-uploadset expectations. - Consistent patterns help users recognize legitimate links.
Pair this with the UX patterns from posts like Security Signals in 3 Seconds and you’ll have forms that feel safe without adding friction.
Bringing It All Together
Custom URLs are more than a branding flourish. Used thoughtfully, they become a routing language for your entire form system:
- By intent: pricing vs. exploration vs. migration vs. expansion.
- By channel: search vs. email vs. social vs. partners.
- By buyer stage: early research vs. active evaluation vs. ready-to-buy.
You don’t need a separate form for every scenario. You need:
- A small set of base routes for core jobs.
- A consistent way to encode intent, channel, and stage into URLs.
- Form logic that listens to those signals and adjusts fields, copy, and routing.
- A simple operational layer (often just Google Sheets + light automation) to fan submissions out to the right teams.
When you get this right, a few things happen:
- Users feel like your forms “get” why they’re there.
- Sales, support, and product get cleaner, richer context from the first touch.
- Marketing can run more experiments without begging for new pages.
- Ops keeps control, because the system is structured and observable.
Your Next Step: Turn One Form Into a Router
You don’t have to rebuild your entire form ecosystem to benefit from this. Start small:
-
Pick one high-impact form
Usually: your demo request, trial signup, or support intake. -
Define 2–3 distinct intents or stages that already exist in your funnel.
For example: pricing-focused, general interest, existing customer. -
Create custom URLs for each scenario using Ezpa.ge:
/demo/pricing/demo/general/demo/customer
-
Add simple logic that:
- Shows or hides 2–3 key fields based on entry URL.
- Adjusts microcopy to match the promise that led them there.
- Tags submissions with
entry_slugandchannel.
-
Wire those URLs into your campaigns (ads, emails, partner docs) and watch how the submissions differ.
Once you see the lift—in conversion, data quality, and smoother follow-up—you’ll have the internal proof you need to extend URL-based routing across more of your system.
If you’re using Ezpa.ge, you already have the ingredients: custom URLs, themes, and real-time Google Sheets sync. The next move is simply to treat each link as a tiny piece of logic, not just a string.
Start with one form. One base route. Two or three custom URLs.
From there, your URLs can quietly become the most powerful router in your go-to-market stack.