Forms as Live Launch Rooms: Coordinating Product Drops, Waitlists, and Access Codes in Google Sheets


Product drops used to mean war rooms.
Slack channels spinning up. Tabs everywhere. Someone glued to Stripe. Someone else refreshing a spreadsheet. A shared sense that at any second, the system might fall over.
You don’t actually need a war room.
You need a live launch room: a single, shared surface where people raise their hands, you control access in real time, and your team can see exactly what’s happening as it unfolds.
That’s what you get when you treat forms—not landing pages, not custom portals—as the center of your launch, and wire them directly into Google Sheets.
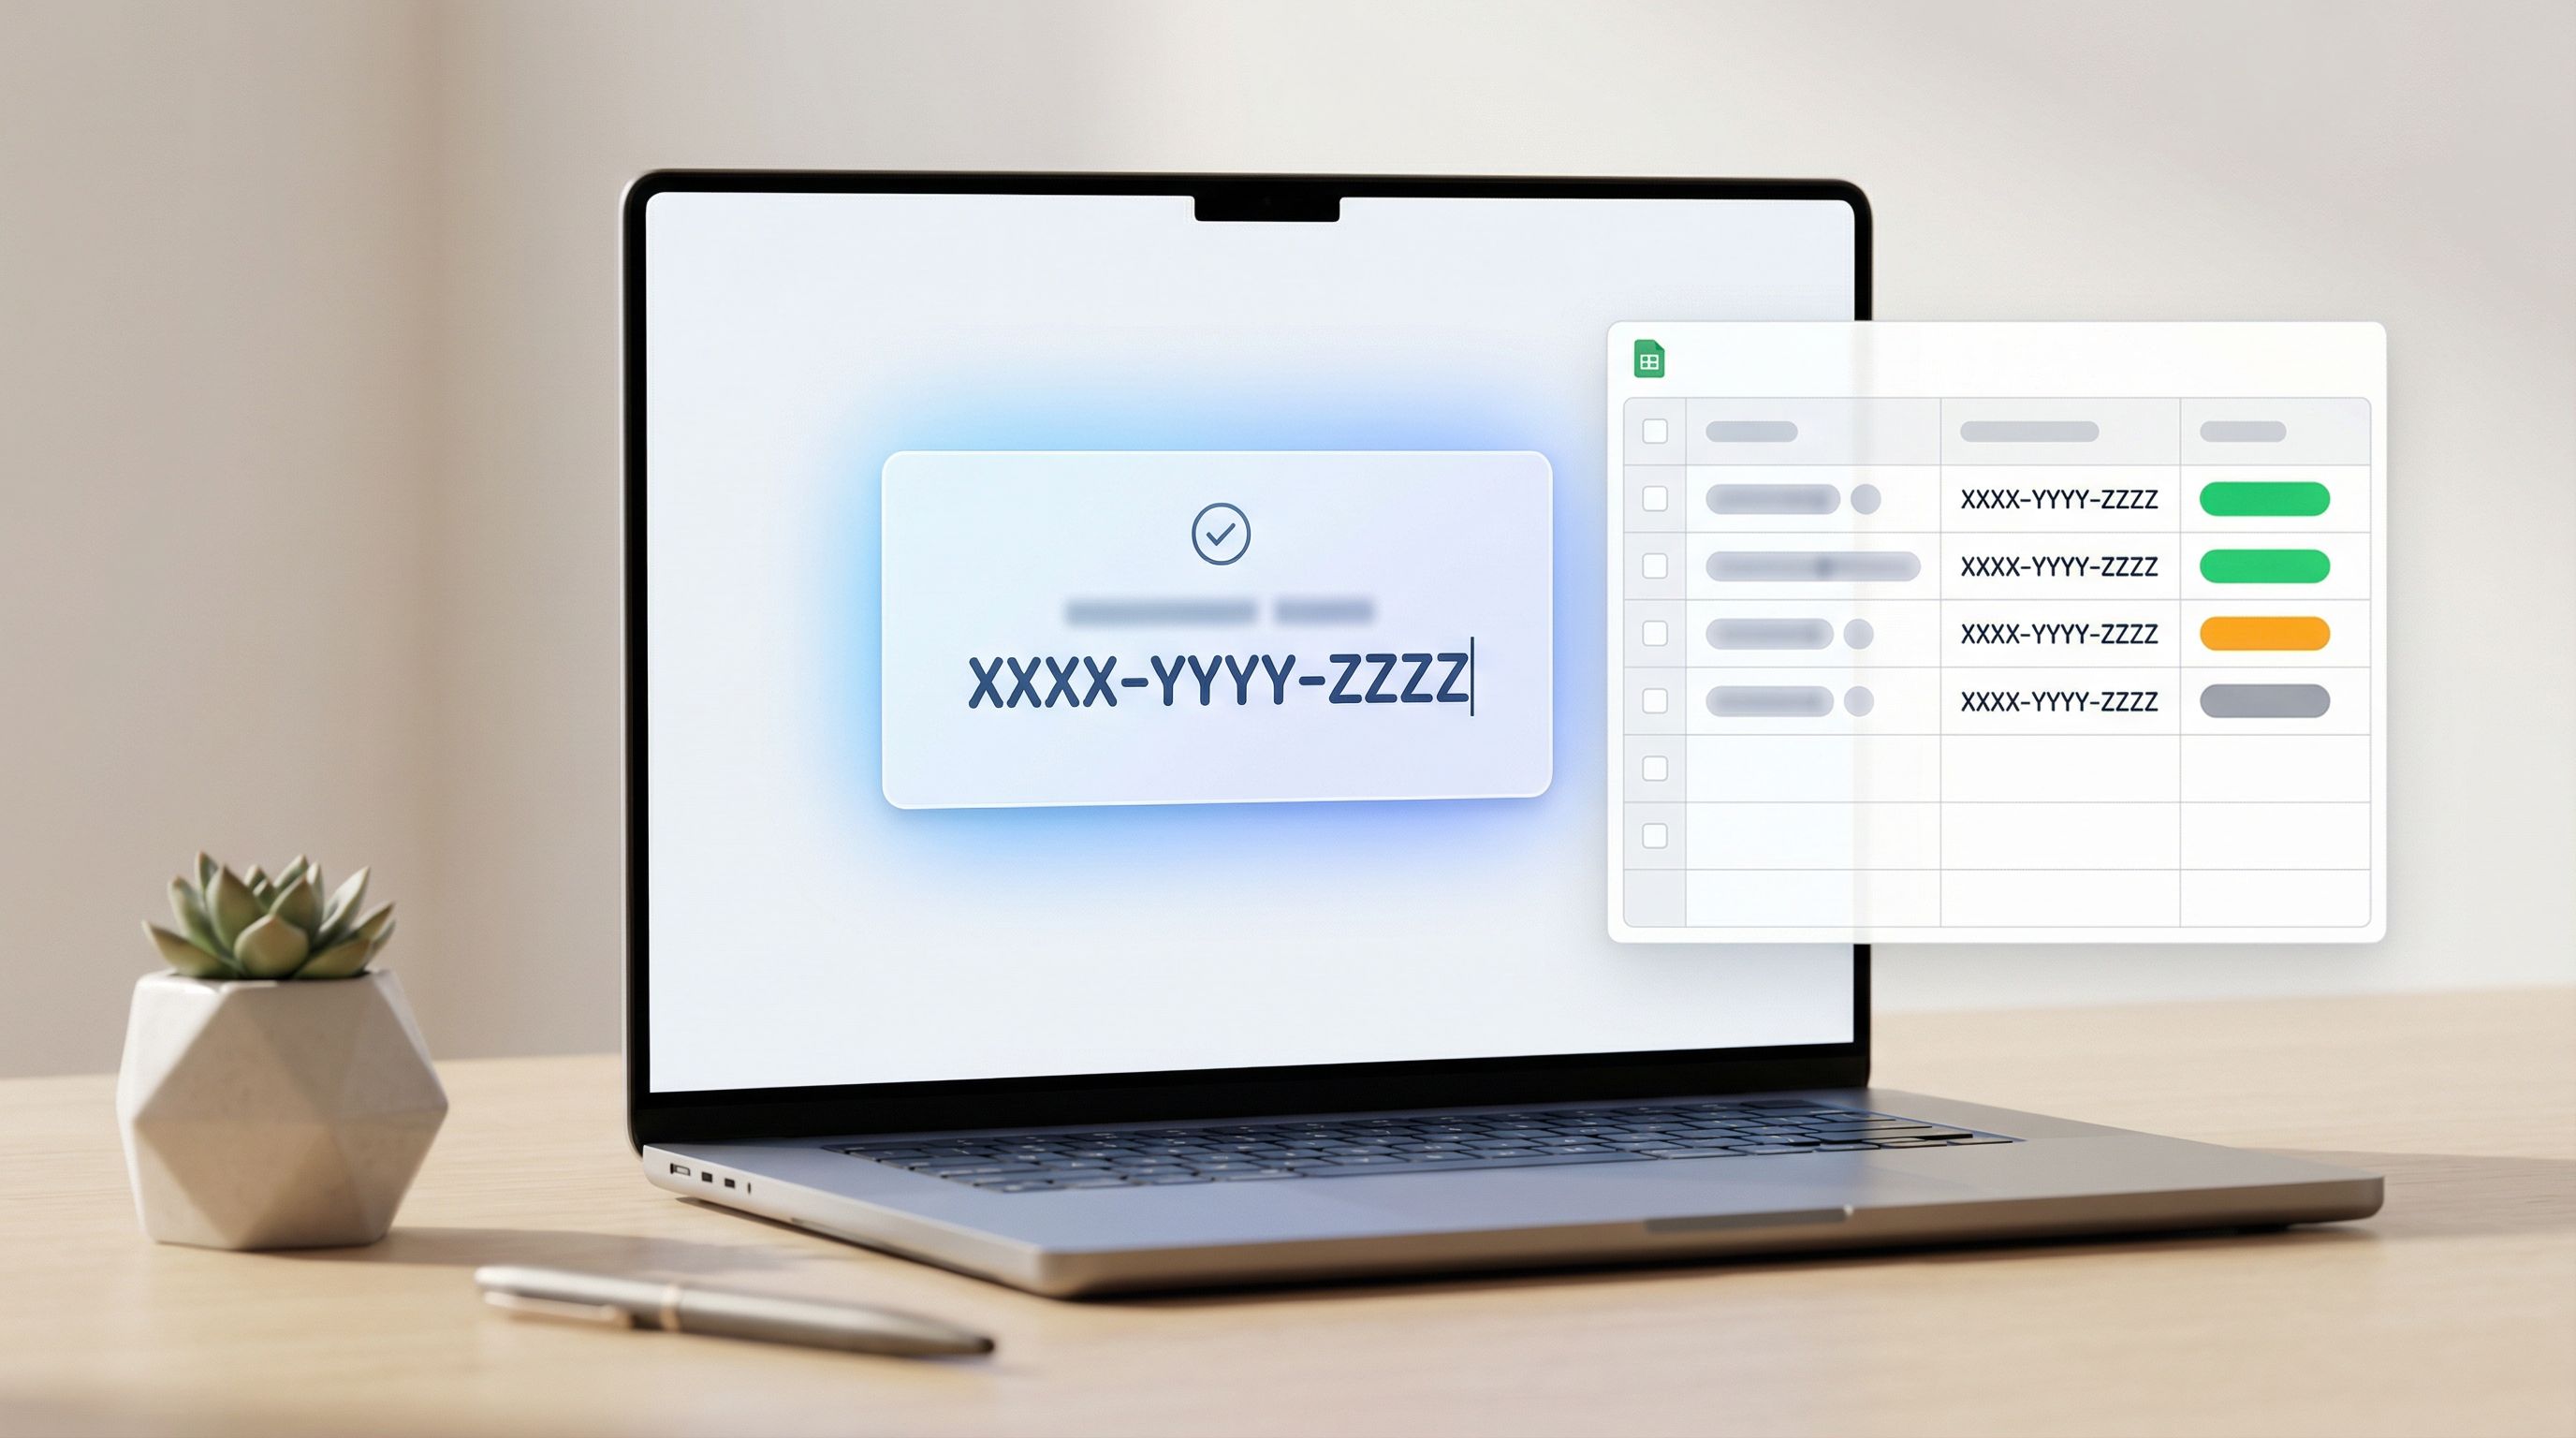
Tools like Ezpa.ge make this pattern practical: you can ship fully‑branded forms with custom URLs, then sync every response into Sheets in real time. From there, you can coordinate product drops, manage waitlists, and distribute access codes without writing a line of backend code.
This post is about how to do that deliberately.
We’ll walk through how to turn a form into your live launch room, with Google Sheets acting as your control center for:
- Limited‑run product drops
- Tiered or time‑boxed waitlists
- Access codes and invite‑only experiences
Along the way, we’ll connect to some of the patterns we covered in posts like Zero to Live in 30 Minutes and From Form to Live Queue so you can see how these pieces fit into a broader launch playbook.
Why your launch should start with a form, not a feature
When teams plan a launch, they tend to over‑invest in what happens inside the product and under‑invest in how people get in.
For anything limited, staged, or invite‑only, the gate is the product.
Treating the form + spreadsheet combo as your live launch room gives you:
1. Real‑time control over who gets access
- Flip people from waitlisted → approved without shipping code.
- Pause access for a specific segment if you see issues.
- Manually override edge cases (VIPs, partners, internal testers) in seconds.
2. A single source of truth for demand
Because everything lands in Google Sheets, you can:
- See signups as they happen.
- Slice by cohort (channel, region, plan, existing vs. new customer).
- Track conversion from “raised hand” to “activated.”
If you’ve read From Form to Playbook, you’ve seen this pattern: the spreadsheet isn’t just storage; it’s your operating layer.
3. A safer surface for experimentation
Forms are easier to change than app flows or billing logic. That matters during a launch window when you:
- Need to tweak questions to reduce support load.
- Want to test different access rules or messaging.
- Have to respond quickly if demand exceeds capacity.
4. A better experience for people waiting
A thoughtful launch form can:
- Set expectations (timelines, criteria, what happens next).
- Collect the right context so early users are more successful.
- Offer value even before access (content, tips, or status visibility).
That last point connects to how we think about teaching through forms in Forms as Lightweight Onboarding Academies: your launch room can educate while it qualifies.
The three core flows of a live launch room
Most launches that feel complex are actually some mix of three simple flows:
- Product drops – limited quantity or time‑boxed access.
- Waitlists – staged access based on rules you control.
- Access codes – invite‑only, gated, or tiered experiences.
You can run all three from the same backbone:
- Ezpa.ge form (or a small set of forms)
- Real‑time sync to Google Sheets
- A few simple formulas and filters
Let’s break down each flow.
Flow 1: Product drops with live inventory in Sheets
Think of a product drop as a controlled rush: you have a fixed capacity (seats, licenses, units, slots) and more demand than supply.
Instead of trying to embed complex inventory logic into your form tool, you can let Google Sheets act as your “inventory brain.”
Step 1: Design the drop form
At minimum, you’ll want fields for:
- Email (unique identifier)
- Name
- Segment signals (e.g., “Are you an existing customer?” “What’s your company size?”)
- Priority signals (e.g., “How are you planning to use this?”)
Keep the form itself lightweight. Use clear, accessible patterns so people can move quickly—many of the patterns from Inclusive by Default apply directly here.
Step 2: Sync to a dedicated “Drop” sheet
Create a Google Sheet with at least these columns:
- Timestamp (from the form)
- Name
- Segment fields
Drop Round(you’ll fill this later)Status(e.g., Pending, Reserved, Waitlisted)
Use Ezpa.ge’s real‑time sync so new submissions appear instantly.
Step 3: Define your capacity logic
Decide how you’ll allocate:
- Hard cap: e.g., 250 units.
- Segmented cap: e.g., 150 existing customers, 100 new.
- Priority scoring: assign points based on answers.
In Sheets, you can:
- Add a
Scorecolumn with simple formulas (e.g.,IF(ExistingCustomer="Yes", 10, 0) + IF(UseCase="Critical", 5, 0)). - Sort by
ScoreandTimestampto prioritize high‑value, early signups.
Step 4: Mark reservations in real time
During the drop window:
- Filter by
Status = "Pending". - Sort by your priority logic.
- Select the top N rows (your capacity for this round).
- Set
Status = "Reserved"andDrop Round = "Wave 1".
You can do this manually for small drops or automate with Apps Script or no‑code tools, but the key is: the form doesn’t need to know your inventory rules; the sheet does.
Step 5: Trigger notifications
Once you’ve marked reservations, you can:
- Use a mail tool like Mailchimp, Customer.io, or SendGrid to send “You’re in” vs. “You’re on the waitlist” emails.
- Or use Zapier / Make to watch for
Status = "Reserved"and fire off personalized messages.
You can also embed unique access codes here (more on that in Flow 3).

Flow 2: Waitlists that feel transparent, not like a black box
Waitlists are where launches often lose trust.
People submit their info, see a “thanks, you’re on the list” message, and then… silence. No sense of where they stand, what comes next, or why some people got in ahead of them.
A form‑plus‑Sheets waitlist can be more transparent—without over‑promising.
Step 1: Capture the right context up front
Your waitlist form should do three jobs:
- Identify the person – email, name, maybe company.
- Segment demand – which plan, region, or use case are they interested in?
- Set expectations – when you’re planning to open access and how you’ll decide.
You can do this in a single‑page form or a short multi‑step flow. If you’re not sure which pattern fits, the tradeoffs in Multi-Step vs. Single-Page Forms are a helpful reference.
Step 2: Use Sheets to define your “lanes”
In your waitlist Sheet, create views (filters or separate tabs) such as:
- By region (for compliance or support coverage).
- By plan (free vs. paid vs. enterprise).
- By priority (e.g., strategic accounts, partners, early adopters).
You might have tabs like:
Waitlist_AllWaitlist_EnterpriseWaitlist_PartnersWaitlist_BetaTesters
Each tab can use FILTER() formulas to pull from the master list based on rules.
Step 3: Decide your release waves
Instead of a single "go live" moment, plan waves:
- Wave 1: 50 strategic accounts
- Wave 2: 200 existing paid customers
- Wave 3: 500 net‑new signups
In Sheets, add columns:
Wave(blank to start)Wave Status(Pending, Invited, Activated)
When you’re ready to open a wave:
- Filter to the relevant segment.
- Select the top N by
TimestamporScore. - Set
Wave = "Wave 1",Wave Status = "Invited".
Step 4: Communicate clearly
Use your form’s confirmation screen and follow‑up emails to:
- Reiterate what determines access (e.g., order of signup, fit, region).
- Share a rough timeline (e.g., “We’re inviting Wave 1 this week, Wave 2 next week”).
- Offer something of value to everyone (content, early docs, a community invite).
Because everything is in Sheets, you can keep your internal team aligned:
- Support sees who’s invited vs. still waiting.
- Sales can prioritize outreach to high‑value waitlisters.
- Product can gauge demand before expanding capacity.
Flow 3: Access codes as your routing layer
Access codes are the connective tissue between “I filled out a form” and “I’m inside the thing.”
They can represent:
- A unique invite link.
- A discount tier or special offer.
- A role (e.g., admin vs. viewer).
- A specific environment (e.g., sandbox vs. production).
Instead of hard‑coding that logic into your app, you can let Google Sheets own the mapping.
Step 1: Generate your codes
Create a tab called Codes with columns:
CodeType(e.g., VIP, Partner, Beta, General)Max UsesUses So FarStatus(Available, Assigned, Exhausted)
You can:
- Generate codes with simple formulas (e.g.,
=LEFT(SUBSTITUTE(ENCODEURL(RAND()),"%",""),10)). - Or generate them externally and paste into the sheet.
Step 2: Assign codes to people
In your main responses sheet:
- Add a
Codecolumn. - Use
VLOOKUP()orINDEX/MATCHto pull an available code based on rules (e.g., first availableVIPcode for certain segments). - Or assign manually for small cohorts.
Once a code is assigned, update the Codes tab:
- Increment
Uses So Far. - If it hits
Max Uses, setStatus = "Exhausted"so it’s excluded from future lookups.
Step 3: Deliver codes via email or on-screen
You have three main options:
- On‑screen confirmation – show the code immediately after form submission for instant access.
- Email delivery – send the code via your email platform, triggered off the
Codefield being populated. - Hybrid – show a generic success message on‑screen, then send a more detailed email with code, instructions, and next steps.
The hybrid pattern works well for launches where you want a bit of friction (to reduce abuse) but still keep the experience smooth.
Turning your launch sheet into a live control room
Once your flows are wired, the magic comes from how you run them.
Build a simple live dashboard
In the same spreadsheet, add a Dashboard tab with:
- Key counts
- Total signups
- Reserved vs. Waitlisted
- Invited vs. Activated per wave
- Segment breakdowns
- By plan, region, or channel
- Charts
- Signups over time
- Activation rate by segment
You don’t need anything fancy—a couple of pivot tables and charts go a long way.
Mirror the data where teams already work
Use integrations to:
- Pipe key stats into Slack (e.g., “New Wave 1 activation: {email}”).
- Update a simple Notion or Confluence page with live charts.
- Feed downstream systems (CRM, billing, support) from the same sheet.
If you’ve implemented the patterns from URL-Driven Ops, you can even use different custom URLs for different cohorts (e.g., partner‑only vs. general waitlist) and track performance per link.
Decide who owns what
A live launch room only works if ownership is clear. For example:
- Marketing owns form copy, confirmation messages, and email sequences.
- Product / Ops own the capacity rules, wave definitions, and inventory logic in Sheets.
- Support / Success own playbooks for questions from people waiting or having trouble with codes.
That last piece ties nicely into Forms for Customer Success: the same team that runs health checks and renewal signals can often own the “early access experience” as well.
Practical tips for a smoother live launch
A few small decisions make a big difference when the launch clock is ticking.
1. Keep the form skimmable under pressure
During a drop, people are moving fast. Use:
- Clear labels and short helper text.
- Logical grouping (contact info → usage details → confirmation).
- High‑contrast themes and large tap targets for mobile.
The accessibility patterns from Inclusive by Default will help you here—they also reduce errors when people are rushing.
2. Use themes to match the launch vibe
With Ezpa.ge, you can:
- Create a special “launch skin” that feels distinct but still on‑brand.
- Use color and typography to signal urgency vs. calm (e.g., bold accent colors for drops, more neutral palettes for waitlists).
If you want to go deeper on this, Theme-First Onboarding and Form Themes as Brand Labs dig into how themes can shape behavior and perception.
3. Plan for edge cases
Before you go live, answer these questions:
- What happens if we oversell a wave?
- How do we handle duplicate signups?
- What if someone shares their access code publicly?
- How do we prioritize support for early users vs. the general base?
Most of these can be handled with a few extra columns in your sheet (Duplicate?, Abuse Flag, VIP?) and simple filters.
4. Rehearse with a dry run
Run a small internal or partner‑only drop first:
- Use a separate form + sheet wired the same way.
- Have team members go through the full journey (form → email → access).
- Watch how the sheet updates and whether your dashboard gives you enough signal.
You’ll catch confusing copy, missing fields, or brittle formulas before the real wave hits.
Bringing it all together
When you treat forms as live launch rooms, you’re making a deliberate shift:
- From hard‑coded gates to spreadsheet‑driven rules.
- From opaque waitlists to clear, wave‑based access.
- From one‑off launch panic to a reusable, form‑first playbook.
Ezpa.ge plus Google Sheets gives you just enough structure to run sophisticated launches without heavy engineering:
- Forms as the front door.
- Sheets as the control room.
- Themes, custom URLs, and access codes as the knobs you turn.
Over time, this becomes part of how you launch anything new—features, plans, betas, events, partner programs. You don’t spin up a war room; you spin up a form.
Ready to turn your next launch into a live room?
You don’t need a massive system overhaul to get started.
For your next launch, try this:
- Define the gate – Is this a drop, a waitlist, an invite‑only access flow, or a mix?
- Create a single Ezpa.ge form – Keep it focused; design it like a high‑intent conversation, not a generic signup.
- Wire it to Google Sheets – Set up the columns you’ll need for status, waves, and codes.
- Run a small dry run – Internal or with a friendly cohort.
- Iterate into the real launch – Add waves, dashboards, and notifications as you go.
Once you’ve done it once, you’ll have a reusable launch room you can clone, theme, and adapt for every new product, feature, or campaign.
If you’re ready to ship your first live launch room, start by sketching the form. What do you absolutely need to know to give someone access confidently? From there, Ezpa.ge and Google Sheets can handle the rest.