From Form to Onboarding Journey: Mapping Every Submission to Emails, Tasks, and Touchpoints

Most teams obsess over getting more people to submit a form.
Far fewer obsess over what happens after someone hits Submit.
That gap is expensive. A beautifully designed form that feeds a messy, ad‑hoc onboarding process still creates:
- Slower time‑to-value
- Missed follow-ups and dropped leads
- Inconsistent experiences across segments
- Frustrated teams who are “working from the inbox” instead of a clear plan
The good news: if you’re already using Ezpa.ge to collect structured, high‑quality data, you’re halfway to a world where every submission automatically becomes a guided onboarding journey—complete with emails, tasks, and touchpoints that feel intentional instead of improvised.
This post is about building that bridge.
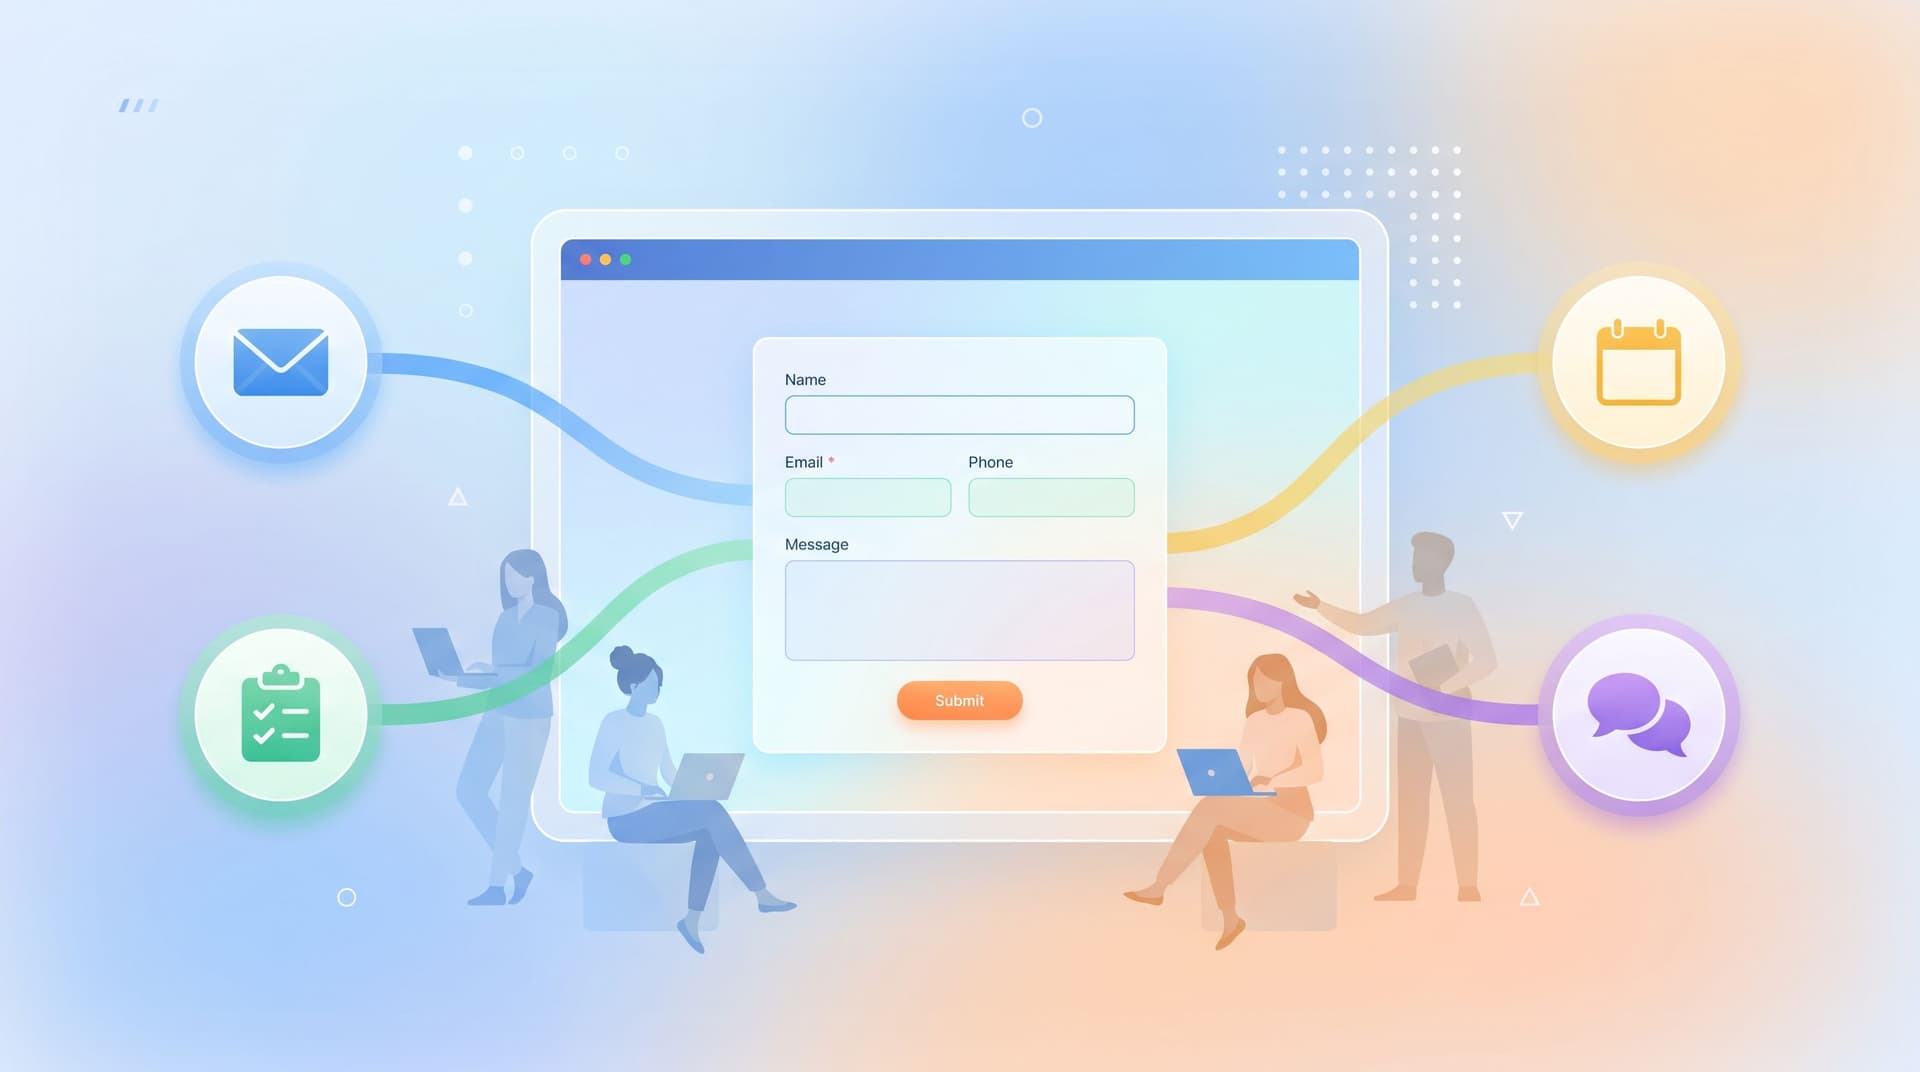
We’ll walk through how to turn any form—demo request, onboarding intake, waitlist, referral—into a mapped sequence of:
- Automated emails that set expectations and deliver value
- Internal tasks that keep your team accountable
- Human touchpoints (calls, Looms, DMs) triggered by what people actually tell you
By the end, you’ll have a practical blueprint you can apply to your next Ezpa.ge form and a mental model for designing forms as the first step in a journey, not the end of a funnel.
Why Mapping the Post‑Submit Journey Matters
When you don’t explicitly map what happens after a form submission, a few patterns show up:
- Everything looks like a generic confirmation email. “Thanks, we’ll be in touch.” When? How? About what? Momentum dies right there.
- Ops lives in the inbox. Submissions become emails, emails become forwarding chains, and nobody is sure who owns what.
- High‑intent signals get buried. A perfect‑fit lead and a casual browser trigger the same follow‑up.
- User trust erodes. People share detailed context in your form and then get questions later that prove nobody read it.
On the flip side, when you deliberately map each submission to a journey:
- Time‑to-first-value shrinks. People get the right next step quickly—whether that’s a doc, a call, or a self‑serve setup.
- Your team works from a queue, not chaos. Tasks appear in the right tools (Sheets, project management, CRM) with clear owners.
- You can segment experiences by what people told you. Different answers = different paths, without engineering a whole new app.
- Forms start to feel like great first meetings. You prove you listened by reflecting their answers back in your follow‑up—something we dig into more deeply in Forms as First Meetings.
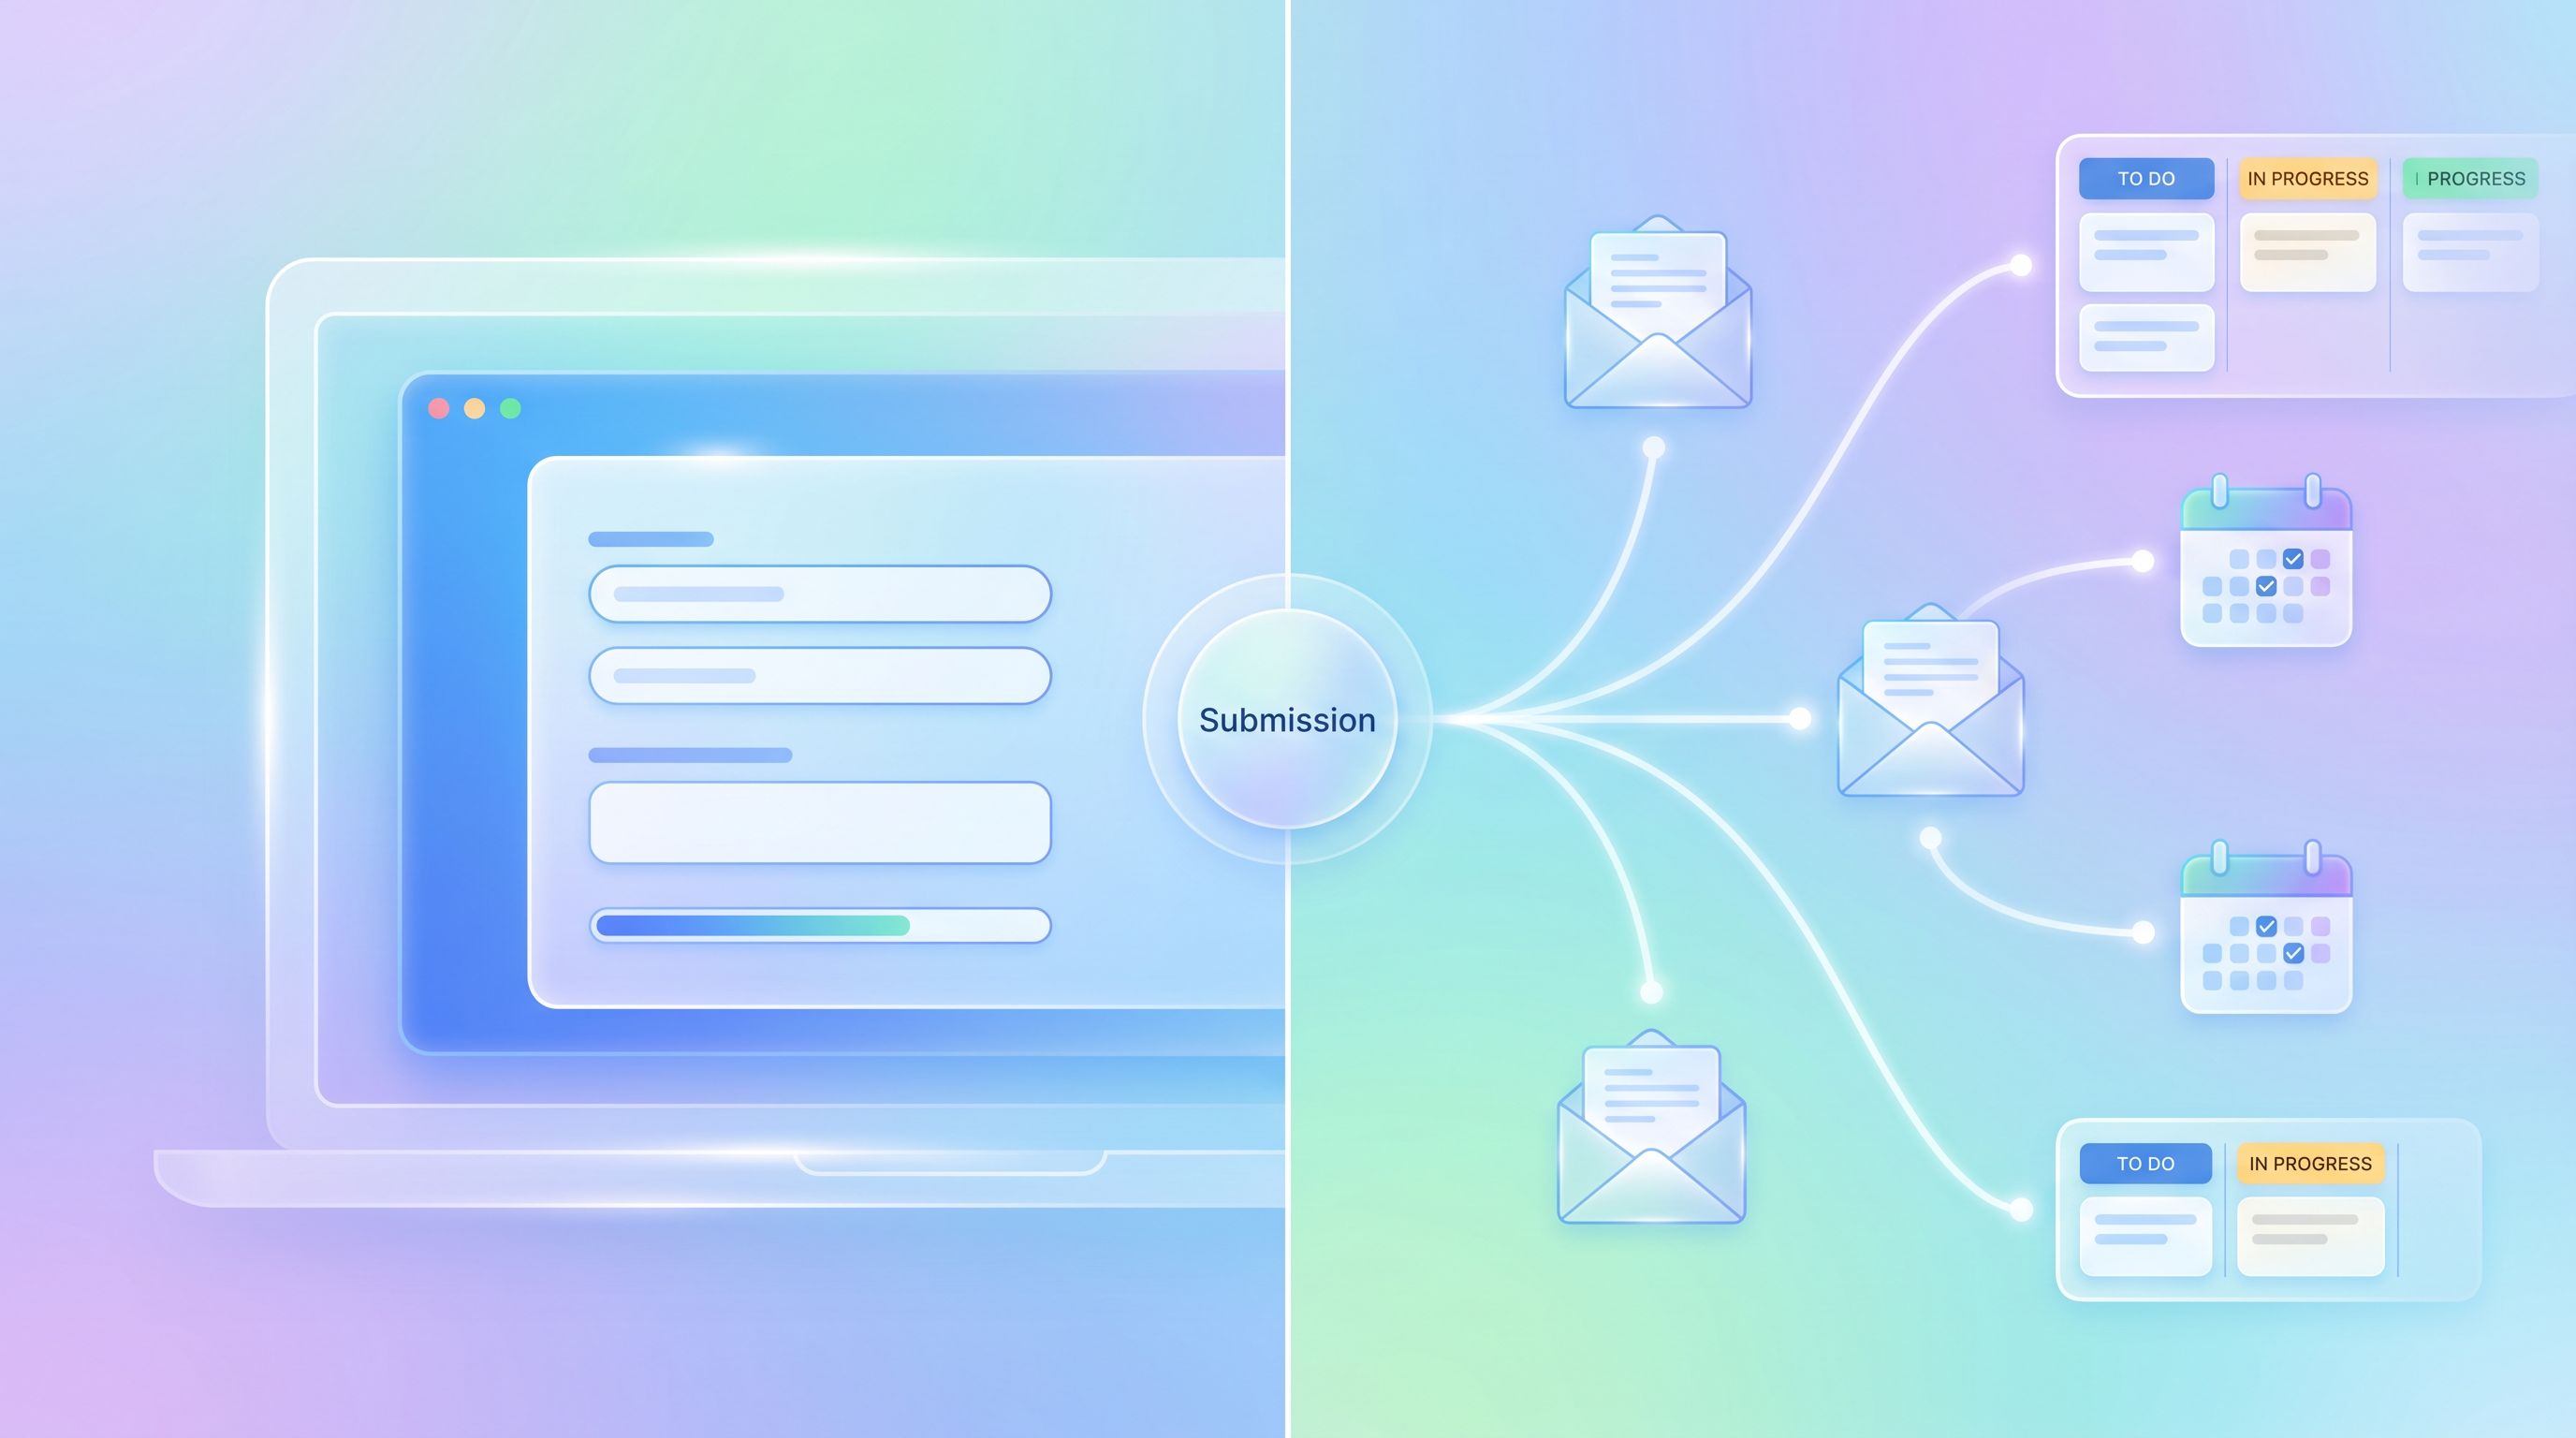
The core idea: a form is not a destination; it’s a router. Your job is to define the routes.
Start with the End: Define Your Ideal Journeys First
Before tweaking fields or automations, step back and ask:
“If this form worked perfectly, what would the next 7–14 days look like for the person who submits it?”
For most teams, there are a few archetypal journeys:
- High‑intent, high‑fit → Fast‑lane onboarding
- Goal: Get them to value (or a signed contract) quickly.
- High‑intent, low‑fit → Guided redirect
- Goal: Send them to the right product, plan, or partner.
- Low‑intent, high‑fit → Nurture
- Goal: Educate, build trust, and keep the door open.
- Existing customers → Expansion or support
- Goal: Route to CSM/support with context and next steps.
For each archetype, sketch three layers:
-
External touchpoints
Emails, calls, Loom videos, product tours, Slack/Discord invites. -
Internal tasks
Qualification, research, approvals, setup work, data checks. -
System updates
CRM fields, Google Sheets rows, tags, segments, feature flags.
You don’t need a perfect flowchart. A simple table is enough:
| Day | User Sees | Internal Task | System Update |
|-----|-----------|---------------|---------------|
| 0 (submit) | Confirmation page + email | Auto‑assign owner | Add to Onboarding Sheet tab |
| 1 | Personalized follow‑up email | Owner reviews submission | Set Stage = Qualified |
| 3 | Resource email or invite | Check engagement | Tag as Engaged if opened |
Now your form has a job: collect just enough information to route people into one of these journeys and personalize the first few steps. If you want help deciding which fields matter most, revisit The Minimal Field Manifesto for a deeper dive on asking less while learning more.
Design the Form For Routing, Not Just Data Capture
Once you know the journeys, you can design the form to power them.
Think of each field as a potential routing rule:
- Segment fields – company size, role, use case, plan type
- Urgency signals – “When do you need to be live?”
- Fit signals – budget range, region, tech stack
- Lifecycle signals – new lead vs existing customer, trial vs renewal
A few principles:
1. Ask only for what you’ll use within 14 days
If a field doesn’t change your next two weeks of behavior, it probably doesn’t belong on the first form. It might belong on a later step or inside the product.
This constraint forces you to prioritize operationally relevant questions over “nice to know” trivia.
2. Use multiple‑choice where routing matters
Routing logic loves structure. Instead of a free‑text “What are you looking to do?” field, consider:
- “What’s your primary goal right now?”
- Launch a new onboarding flow
- Replace an existing tool
- Clean up messy spreadsheets
- Explore options / just researching
Each option can map to a different email sequence, owner, or playbook.
3. Bake in self‑segmentation
Let people tell you how they want to be treated:
- “How would you prefer to get started?”
- Book a live walkthrough
- Watch a 5‑minute overview video
- Try it myself with docs
Those answers can trigger different confirmation pages and email content, not just a one‑size‑fits‑all response.
If you’re designing for people who skim, not study, pair this with the layout patterns from Designing Forms for ‘Skim‑Only’ Users so that your routing questions don’t get lost.
Turn Submissions into Structured Rows (Ezpa.ge + Google Sheets)
Once your form is live, the backbone of your onboarding system is a single, trustworthy data source. With Ezpa.ge, that’s often a Google Sheet synced in real time.
That Sheet isn’t just a log; it’s your onboarding control panel.
Here’s how to structure it:
- One row per submission with a unique ID
- One column per form field (cleanly named for formulas)
- Helper columns for routing logic, such as:
Segment(e.g., SMB, Mid‑Market, Enterprise)Priority(e.g., P0, P1, P2)Owner(e.g., SDR name, CSM name)Journey_Type(e.g., Fast‑Lane, Nurture)
You can then use formulas or add‑ons to:
- Auto‑assign owners based on segment or region
- Flag submissions that meet your “fast‑lane” criteria
- Populate views or pivot tables that feed into dashboards
If your Sheets are already sprawling, From Spreadsheet Chaos to Form OS walks through turning those rogue tabs into a coherent intake system.
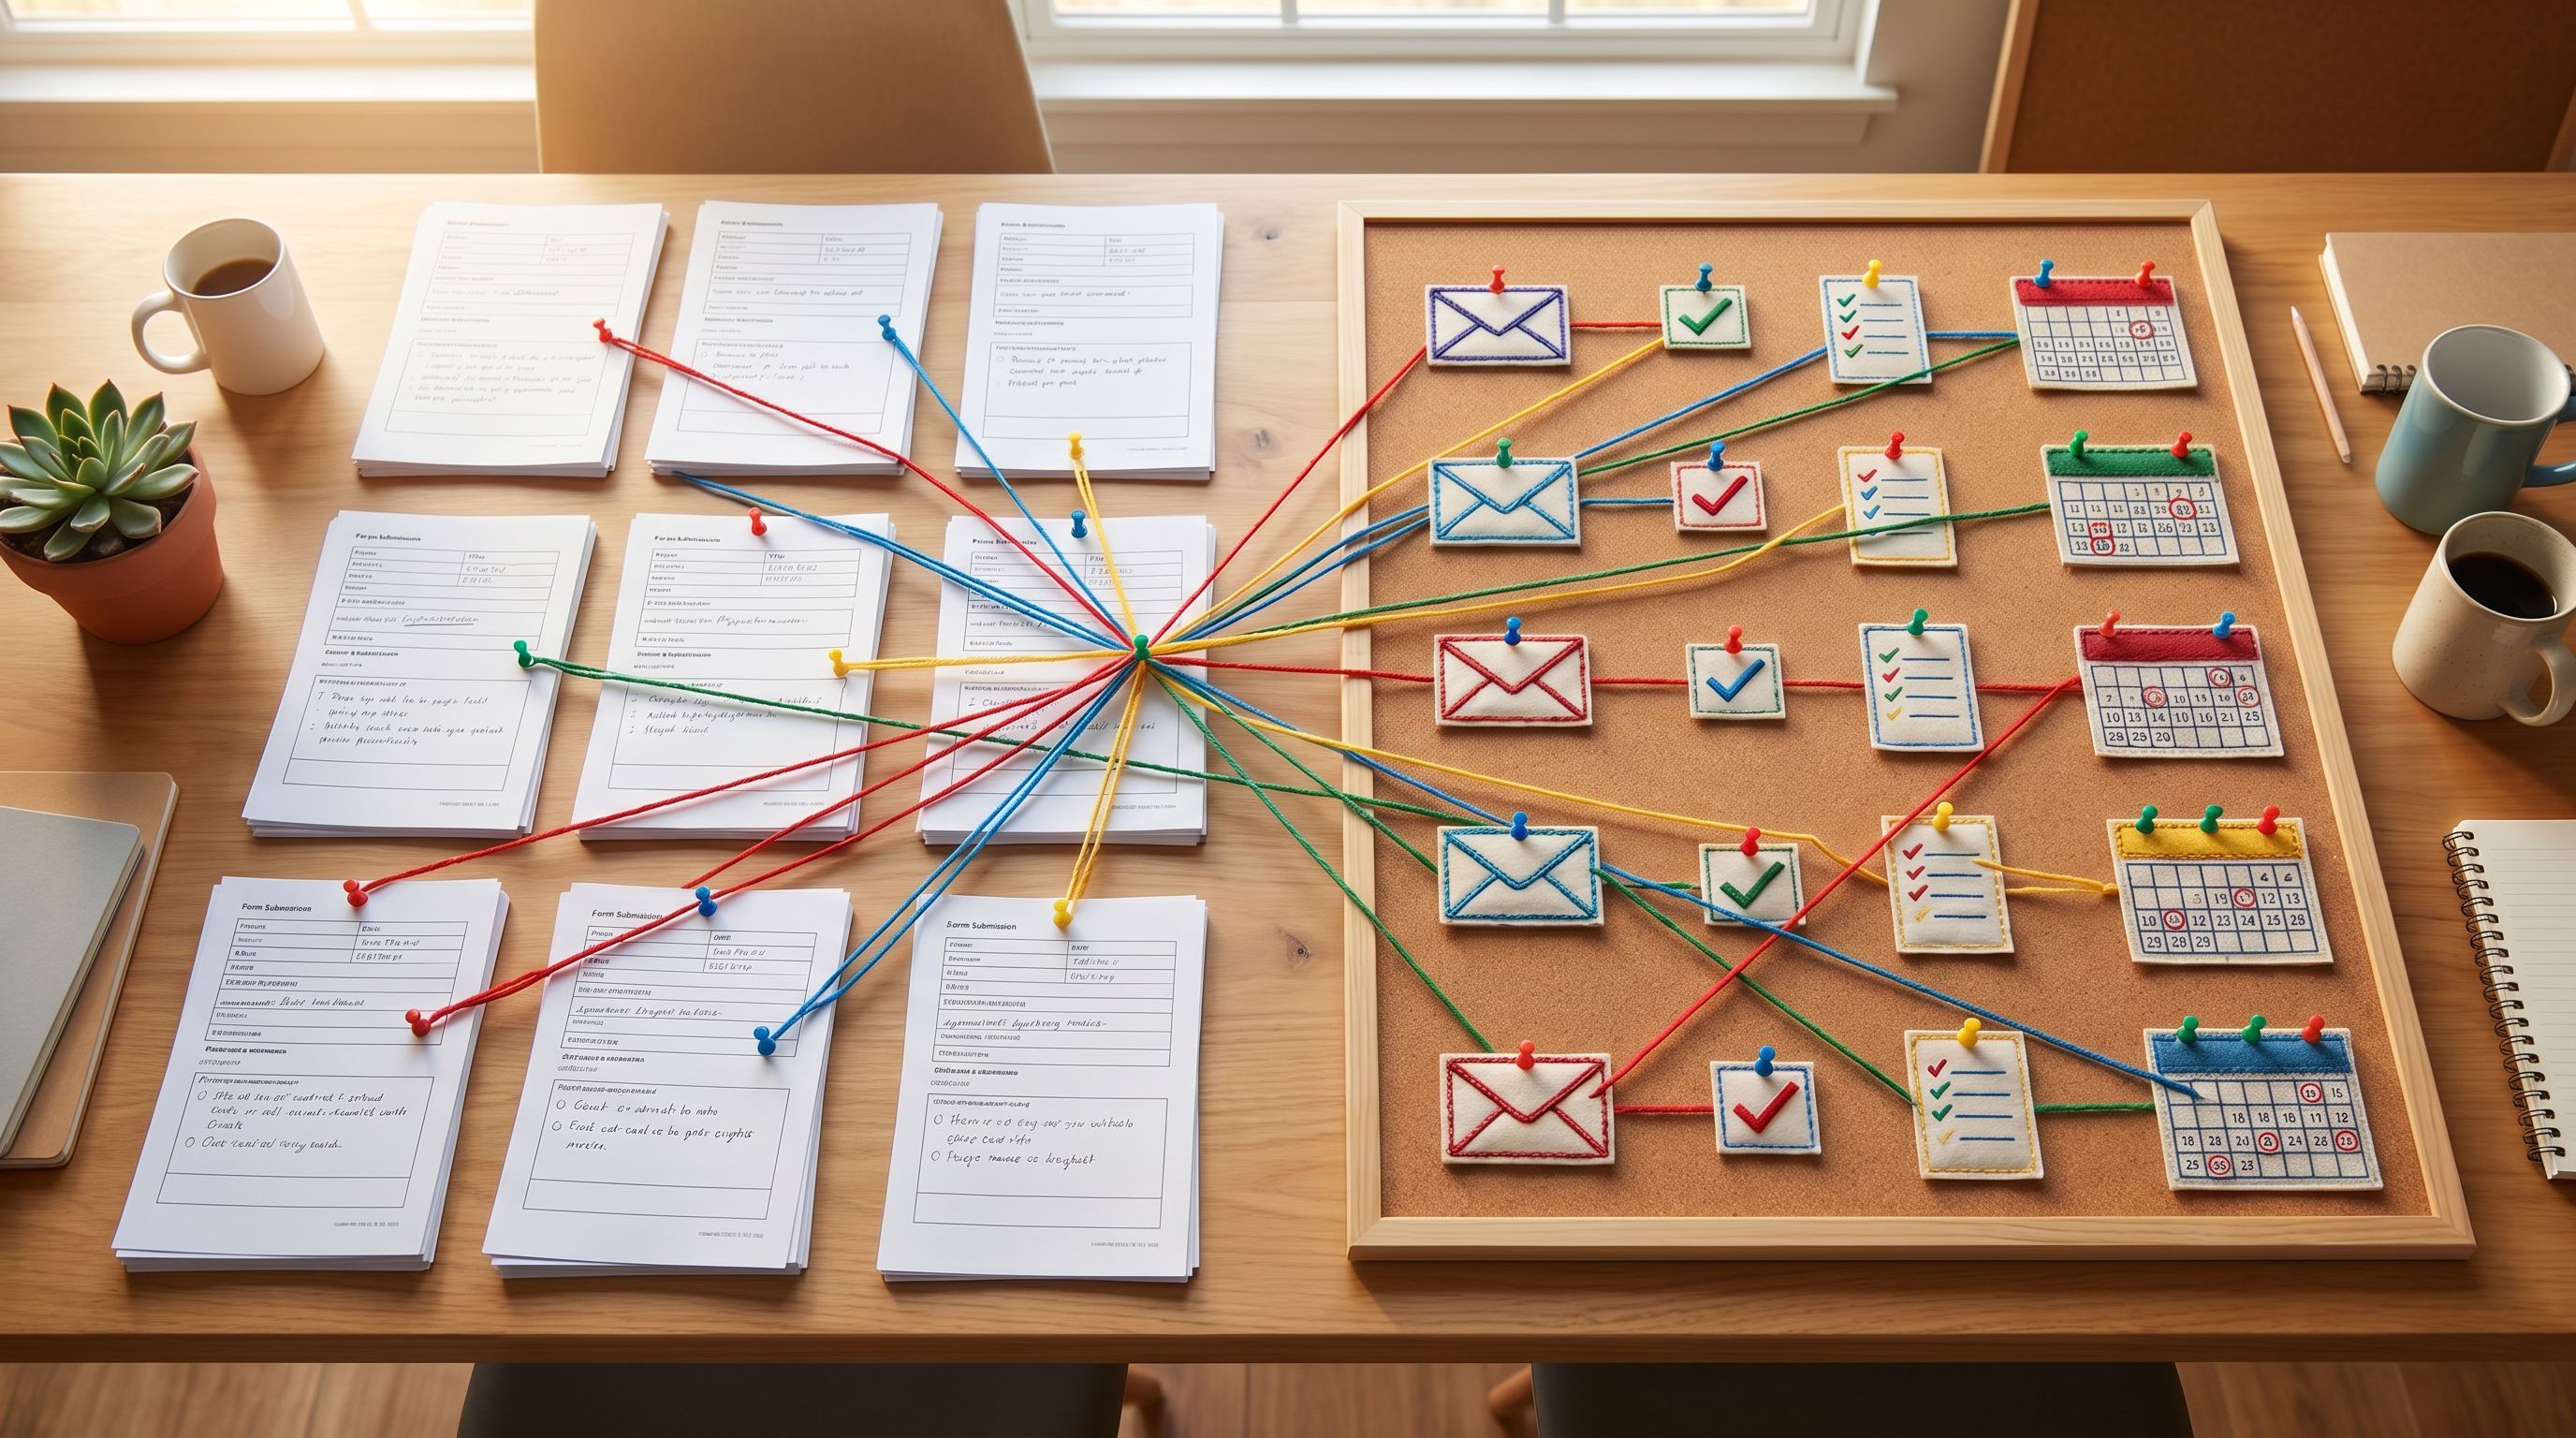
Map Each Row to Emails, Tasks, and Touchpoints
Now comes the core of the system: turning each new row into a sequence of actions.
You can do this with tools like Zapier, Make, n8n, or native integrations in your email/CRM. The pattern is the same:
- Trigger: New row in your Ezpa.ge‑synced Sheet.
- Filter / branch: Look at key fields and helper columns.
- Actions: Create emails, tasks, and updates in other tools.
Let’s break it down by channel.
1. Confirmation and Day‑0 Emails
The first email after submission is where you prove you read the form.
Baseline pattern:
- Subject: Reflect their goal or segment.
Example: “Next steps for your onboarding workflow” instead of “Thanks for reaching out.” - Body:
- Acknowledge 1–2 key details they provided.
- Set a clear expectation: who will reach out, how, and when.
- Offer one immediate action (watch, read, or book).
Routing ideas:
- If
Journey_Type = Fast‑Lane→ send a booking link with shorter lead times. - If
Segment = Enterprise→ introduce a named account owner. - If
Use_Case = Events→ link to your events‑specific guide or template.
You can keep the form itself simple and let your email tooling handle the branching logic based on Sheet data.
2. Internal Tasks and Queues
Next, make sure every submission lands in a work queue, not just someone’s inbox.
Common patterns:
-
Create a task in your project tool (Asana, Linear, Jira, ClickUp) with:
- Title:
New onboarding – {{Company_Name}} - Description: Key fields pasted in or linked from the Sheet
- Due date: Based on
Urgencyor a standard SLA - Assignee: Based on
Ownercolumn
- Title:
-
Create a CRM record (HubSpot, Salesforce, Pipedrive) and:
- Set lifecycle stage
- Add tags/fields from the form
- Attach the Sheet row URL for full context
-
Post to a Slack channel for awareness:
#new-onboardingswith a short summary: segment, use case, urgency
The key is consistency: every submission gets a task, and every task points back to the same Sheet.
3. Human Touchpoints (Calls, Looms, DMs)
Not every step should be automated. The art is deciding where humans add disproportionate value.
Use your routing logic to:
- Auto‑schedule intro calls for high‑fit leads.
- Trigger a Loom recording when complex context appears (e.g., long free‑text answers, sensitive topics).
- Invite to a private community or Slack when
RoleorUse_Casematches your ideal profile.
You can also set up “review queues” for nuanced cases:
- If
Priority = P0andUse_Case = Sensitive→ create a task for a senior team member to review and decide the next touchpoint.
This is where ideas from AI Triage in Forms can help: use models to draft suggested next steps, but keep humans in charge of final decisions and sensitive outreach.
Build Journeys That Adapt Over Time
A mapped onboarding journey shouldn’t be static. It should evolve as you learn.
Here’s how to make your system adaptive without rebuilding it from scratch every quarter.
1. Track journey outcomes in the same Sheet
Add columns for:
First_Value_Date(when they hit their first meaningful milestone)Call_Completed(yes/no)Converted(yes/no, or plan type)Churned_or_Closed_Lost(yes/no)
Use these to answer questions like:
- Do fast‑lane journeys actually reduce time‑to-value?
- Which segments respond better to self‑serve vs. high‑touch?
- Are there fields we never end up using for routing or decisions?
2. Close the loop between form and journey
When you see patterns, update both sides:
- Form side: Add, remove, or rephrase questions that aren’t predictive or useful.
- Journey side: Adjust routing rules, email content, and task SLAs.
For example:
-
If people who select “Explore options / just researching” rarely book calls but engage with content, you might:
- Shift them to a pure nurture sequence.
- Offer a “save this for later” email with resources instead of a booking link.
-
If a certain tech stack consistently triggers complex onboarding, add a specific question about it and route those submissions to a specialist.
3. Use micro‑form funnels for complex cases
Sometimes a single form can’t do everything gracefully. That’s where micro‑form funnels help.
Instead of one monolithic onboarding form, you can chain:
- A short “door” form that captures essentials and routes people.
- A follow‑up form (or set of forms) tailored to their segment or use case.
Because Ezpa.ge can keep everything flowing into the same Sheets, you don’t lose context—you just collect it in smaller, more focused steps, as explored in Micro‑Form Funnels.
Make the URL and Theme Part of the Journey
The onboarding journey starts even before the form loads: with the URL and the visual feel of the page.
- Use custom URLs that match the journey:
yourbrand.com/onboard,/partners-onboarding,/creator-intake. - Keep URLs consistent across campaigns so you can build one robust journey per URL instead of dozens of brittle variants.
- Use Ezpa.ge themes to:
- Match the brand and product they saw in the ad or email.
- Signal the tone of the journey (e.g., calm and private for sensitive topics, energetic for product‑led onboarding).
If you want to go deeper on how URLs and themes set expectations before a single field is filled, check out:
These surface‑level choices make your mapped journeys feel cohesive instead of stitched together.
A Simple Implementation Checklist
To make this concrete, here’s a checklist you can run through for your next Ezpa.ge form:
- Define 2–3 core journeys you want this form to power (fast‑lane, nurture, redirect, etc.).
- List the decisions you need to make for each journey:
- Who owns this submission?
- What’s the first touchpoint?
- What’s the SLA?
- Design or refine the form so it captures only the fields needed to make those decisions.
- Sync to a structured Google Sheet with helper columns for segment, priority, owner, and journey type.
- Set up automations:
- New row → confirmation email (personalized by segment/use case)
- New row → internal task in your work tool
- New row → Slack/Teams notification for awareness
- Add branching logic in your automation tool based on:
- Segment (SMB vs. Enterprise)
- Use case (events, membership, creator, etc.)
- Lifecycle (new vs. existing customer)
- Instrument outcomes in the same Sheet:
- First value, conversion, churn/closed lost
- Review monthly:
- Which journeys perform best?
- Which fields don’t affect decisions?
- Where are tasks slipping past SLAs?
If you can check off these steps, you’ve effectively turned your form into a lightweight onboarding engine.
Summary
Forms are often treated as the finish line of a campaign or workflow. In reality, they’re the starting line of someone’s experience with your team.
When you:
- Design forms around routing, not just data capture
- Sync submissions into a structured Sheet that acts as your control panel
- Map each row to a clear sequence of emails, tasks, and human touchpoints
- Continuously refine journeys based on outcomes
…you stop managing onboarding from an inbox and start running it from a system.
Ezpa.ge gives you the building blocks—beautiful forms, custom URLs, real‑time Google Sheets syncing. The leverage comes from how you use those blocks to architect journeys that respect people’s time, reflect what they told you, and move them toward value.
Take the First Step
You don’t need to rebuild your entire onboarding process to benefit from this approach. Start with one form.
- Pick a high‑leverage form—demo requests, partner applications, or creator intakes.
- Sketch the ideal 7–14‑day journey for a great submission.
- Open your Ezpa.ge form and Google Sheet, and:
- Add or refine the 2–3 fields you truly need for routing.
- Create a few helper columns for segment, priority, and owner.
- Wire up a basic automation: new row → personalized confirmation email + internal task.
Ship that, watch how it performs, and iterate.
From there, you can layer in more journeys, more nuance, and more automation. But the biggest shift happens with that first mapped path—from form to onboarding journey that actually delivers on the promise you made when someone clicked your link.