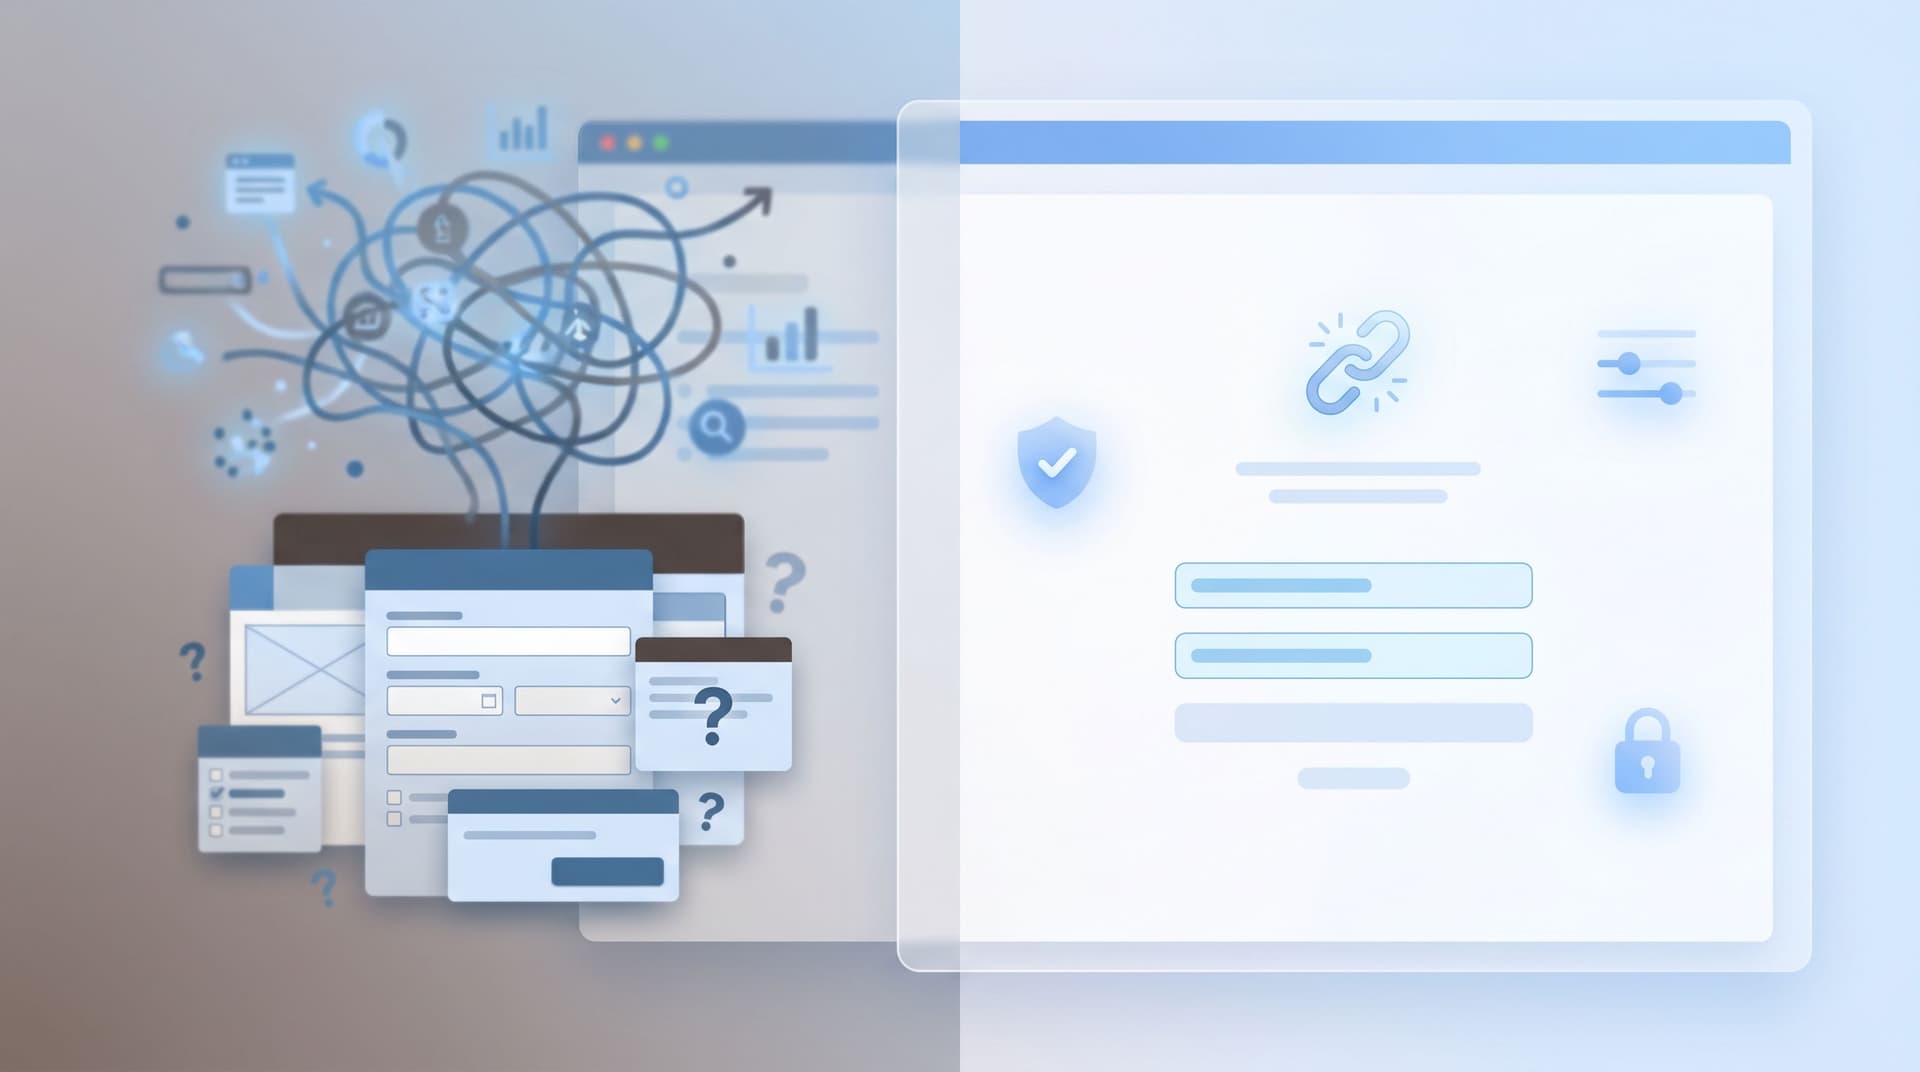
From Link in Bio to Live Ops: Using Custom URLs and Forms to Run Creator Workflows


Your link in bio is no longer just a traffic router.
For many creators, that single URL is now the front door to a full business: coaching, courses, merch, memberships, live events, brand deals, and community. Link‑in‑bio tools like Linktree and others are used by tens of millions of creators, with some platforms reporting 30–50% sales lifts when creators move from a static link to a structured hub with analytics and CTAs.
But there’s a gap.
Most setups stop at “neat little mini‑site with buttons.” The real leverage starts when you treat that link—and the URLs behind it—as operations infrastructure, not just navigation.
That’s where custom URLs and forms come in.
With Ezpa.ge, you can go from a generic link in bio to a live ops layer that quietly runs your creator workflows: intakes, approvals, client onboarding, content requests, sponsorship pipelines, even feature rollouts if you’re building a product alongside your content.
This post walks through how to make that shift.
Why this shift matters for creators
Most creators are already doing “ops”—they’re just doing it in DMs, email threads, and scattered spreadsheets. That works until it doesn’t.
Common symptoms:
- Brand deals lost because the brief got buried in email
- Coaching clients stuck in limbo because nobody sent the intake
- Event RSVPs spread across DMs, comments, and three different forms
- Feedback about your content or product scattered across platforms
Meanwhile, the creator economy has grown into a $250B+ market, with tens of millions of people earning at least part of their income from content and related products. The top performers don’t just post more; they run tighter systems.
Custom URLs + forms give you:
- Predictable workflows instead of ad‑hoc chaos
- Cleaner data (all roads lead to structured fields, not free‑form DMs)
- Faster decisions (you see everything in one live Google Sheet)
- Better user experience for brands, collaborators, and fans
Think of it this way:
Your link in bio is the lobby. Your forms are the rooms where real work happens.
Once you see that, you can start designing URLs and forms as an actual operations stack.
Step 1: Map your creator workflows before you touch a tool
Before you spin up new Ezpa.ge forms, list the actual workflows you run as a creator. Not content formats—business processes.
Examples:
- Brand & sponsorships
- “Apply to sponsor my newsletter or video”
- “Submit a product for review”
- Client services
- Coaching / consulting applications
- VIP days or audits
- Community & audience
- Waitlists for launches
- Event RSVPs
- Q&A or AMA question collection
- Product & content ops
- Feature requests and bug reports for your app or Notion template
- Content topic requests and story submissions
For each workflow, write down:
- Entry point – Where do people currently raise their hand? (DMs, email, comments, existing form, nothing yet.)
- Information you actually need – The minimum fields you must collect to move forward.
- Decision or outcome – What happens after they submit? (Approve, schedule, decline, add to waitlist, tag in CRM, etc.)
- Owner and SLA – Who handles it, and how quickly should they respond?
You’ll probably discover 3–5 high‑leverage workflows worth formalizing first. Those become your first Ezpa.ge forms.
If you want a deeper dive on designing the fields and logic for those flows, bookmark AI as Your Form Architect: Generating Field Sets, Flows, and Logic Trees from a Single Problem Statement.
Step 2: Turn those workflows into Ezpa.ge forms
With your workflows mapped, you can design forms that feel simple to your audience but rich enough for your ops.
Design each form around a single job
Resist the urge to make one mega‑form that does everything.
Instead, create one primary form per workflow:
/sponsor– Sponsorship & brand deals/coaching– Coaching or consulting applications/rsvp– Live events & meetups/feedback– General feedback & content ideas/beta– Product beta or early access
Each form should:
- Start with a clear promise: what this is for and what happens next
- Ask for only what you need now, not everything you might want later
- Use conditional logic to adapt questions based on answers
- End with a specific next step (“We’ll reply within 2 business days with next steps”)
If you’re juggling multiple audiences or product tiers, One Form, Many Journeys: Using Conditional Logic to Personalize Flows Without Creating New Pages digs deeper into that pattern.
Make them feel like part of your brand
Your forms shouldn’t feel like a random tool bolted onto your creator business.
Use Ezpa.ge themes to:
- Match your brand colors, typography, and button styles
- Mirror the look and feel of your link‑in‑bio page and website
- Use consistent tone and microcopy (friendly, direct, playful—whatever fits you)
If you’re working with a team or multiple brands, Brand‑Consistent Forms at Scale: Theme Governance for Distributed Marketing Teams covers how to keep everything aligned without becoming the “brand police.”

Step 3: Use custom URLs as your “live ops” surface
Once your forms exist, the magic comes from how you name and use the URLs.
Make URLs human‑readable and memorable
A good custom URL:
- Is short and pronounceable (
/sponsor,/brief,/ask,/join) - Matches the language your audience uses (“collab” vs “sponsor” vs “partner”)
- Is easy to say on a podcast or video without confusion
Examples for a creator named Alex Rivera:
alexrivera.ezpa.ge/sponsoralexrivera.ezpa.ge/coachingalexrivera.ezpa.ge/office-hoursalexrivera.ezpa.ge/submit-story
Use the same URLs everywhere:
- In your link in bio buttons
- In video descriptions
- In podcast show notes
- In email footers
- In DM replies (saved replies or text expanders help here)
Over time, your audience and partners learn: this is where that workflow lives.
Turn URLs into one‑link playbooks
Internally, custom URLs become muscle memory for your team.
Instead of “Can you send them the sponsorship doc?” you say:
“Just send them
/sponsorand tag me when they submit.”
This mirrors the pattern we explored in Custom URLs as Ops Shortcuts: One‑Link Playbooks for Approvals, Exceptions, and Escalations: one URL per recurring situation, with a clear outcome behind it.
You can do the same for internal workflows:
/clip-request– Team or editors request specific clips from long videos/exception– Team members request discounts, refunds, or special cases/guest– Podcast or stream guest nominations
Even if those forms aren’t public in your link in bio, they’re still part of your live ops layer.
Step 4: Connect Ezpa.ge to Google Sheets for live visibility
Custom URLs and forms are powerful on their own. They become live operations when you connect them to a real‑time Google Sheet.
With Ezpa.ge’s Google Sheets syncing, every submission from every form flows into structured rows you can:
- Filter by workflow (sponsorships vs coaching vs general feedback)
- Sort by status, budget, or urgency
- Use as triggers for automations (email sequences, Slack alerts, CRM updates)
Build one “control panel” per workflow
Instead of 15 tabs and random exports, aim for one primary Sheet per major workflow:
Sponsorships_Control– All/sponsorsubmissionsCoaching_Applications– All/coachingsubmissionsFeedback_Insights– All/feedbackand/betasubmissions
Within each Sheet, add columns like:
- Status (New, In Review, Accepted, Declined, Closed)
- Owner (You, manager, agent, team member)
- Next Action (Send rate card, schedule call, send decline template)
Now your forms aren’t just capturing data—they’re driving a pipeline.
If you want to go deeper on turning those Sheets into insight engines, check out AI as Your Form Data Analyst: Turning Google Sheets Submissions into Weekly Insight Briefs.
Step 5: Add automation, but keep the experience human
Once your form → Sheets setup is stable, you can layer in automation with tools like Zapier, Make, or native integrations.
High‑leverage automations for creators
A few patterns that pay off quickly:
-
Instant Slack or Discord alerts
- New
/sponsorsubmission → Post to#sponsorshipschannel - New
/coachingapplication → DM you and your assistant
- New
-
Auto‑tag in your email platform or CRM
/betasignups → TagBeta – Product X/rsvpsignups → TagEvent – City Y
-
Personalized confirmation emails
- Thank people for submitting
- Set expectations on timelines
- Share a resource or FAQ to reduce back‑and‑forth
-
Routing based on form logic
- High‑budget sponsors (e.g., budget > $5k) → Flag for priority review
- Coaching applicants who don’t fit your criteria → Route to a group program or waitlist instead
The goal isn’t to automate everything; it’s to automate the boring and repetitive so you can focus on the high‑touch parts.
For more on doing this without breaking trust, Invisible Integrations: How to Connect Forms to Your Stack Without Breaking UX or Brand Trust is a good companion read.

Step 6: Design for mobile taps, not desktop clicks
Most link‑in‑bio traffic comes from phones, often from in‑app browsers inside Instagram, TikTok, or YouTube. That means:
- People are one‑handed, distracted, and on small screens
- They’re moving from a fast swipe experience to your page and forms
If your forms aren’t tuned for that reality, you’ll lose people before they ever hit “Submit.”
Make sure your Ezpa.ge forms:
- Load fast on mobile
- Use large, thumb‑reachable buttons
- Keep important fields above the fold
- Avoid tiny text or low‑contrast themes
We go deeper on this in Mobile‑First Forms in a Desktop‑Designed World: Fixing Thumb Zones, Keyboards, and Tap Targets and Responsive by Intention, Not Accident: Designing Forms for Fold, Thumb Zone, and Scroll Depth if you want to stress‑test your layouts.
Step 7: Use custom URLs and pre‑fill to reduce friction
Once your core flows are working, you can start personalizing URLs for specific segments and campaigns.
Pre‑fill what you already know
You can use URL parameters to pre‑fill fields like:
- Email address (when sending to your list)
- Campaign source (e.g.,
?source=yt-episode-42) - Product or package they’re applying for
Benefits:
- Faster completion (less typing on mobile)
- Cleaner data (no typos in emails or names)
- Easier attribution (you know which content drove which submissions)
Just remember the principles from Pre‑Filled, Not Pre‑Judged: Ethical Personalization Patterns for Smarter Custom URLs:
- Don’t expose sensitive data in URLs
- Don’t pre‑select options that feel like you’re steering people
- Make it easy to change pre‑filled values
Campaign‑specific short links
For big launches or viral content, create campaign‑specific custom URLs that still point to your core forms:
alexrivera.ezpa.ge/yt42→ Pre‑filled/coachingform for a specific videoalexrivera.ezpa.ge/nyc-meetup→ Pre‑filled/rsvpform with city field locked to New York
That way, you keep your schema and workflows stable, while still tailoring the experience.
Step 8: Treat your link in bio as a switching layer, not a static menu
Your link‑in‑bio page should evolve with your content and priorities.
Instead of a static list of links, think of it as a switchboard that routes attention into the right workflows at the right time.
Ways to do this:
- Seasonal re‑prioritization – During launch, move
/betaor/waitlistto the top. - Content‑aligned CTAs – If a particular video or post is taking off, add a temporary button that routes to the most relevant form.
- Audience segmentation – Use labels like “For brands,” “For creators,” “For fans” to route different groups into the right URLs.
Behind the scenes, you’re still using the same canonical Ezpa.ge forms and Google Sheets. You’re just changing which doors are most prominent.
Putting it all together: an example creator stack
Imagine you’re a creator who:
- Runs a weekly newsletter and YouTube channel about design
- Offers 1:1 design reviews and a cohort‑based course
- Occasionally takes on brand partnerships
Your Ezpa.ge‑powered live ops stack might look like this:
-
Public URLs in your link in bio
/start-here– Simple intake to understand who’s visiting and what they need/coaching– Application for 1:1 reviews/course– Waitlist and application for your next cohort/sponsor– Brand partnership intake (budget, goals, timeline)/ask– General Q&A and content requests
-
Internal or semi‑private URLs
/guest– Podcast guest nominations/exception– Team requests for discounts or special cases/clip-request– Editors request specific clips from your long‑form videos
-
Google Sheets control panels
Design_Coaching_Applications– All/coachingsubmissions with status and ownerCourse_Waitlist–/coursesubmissions with tags for skill level and topicsSponsorship_Pipeline–/sponsorsubmissions with budget, fit score, and next steps
All of this is powered by Ezpa.ge forms + custom URLs + real‑time Sheets syncing. Your link in bio becomes the surface; your forms and Sheets become the engine.
Summary
When you treat your link in bio as a static list of links, you get… a static list of links.
When you pair it with custom URLs and well‑designed forms, you get something much more powerful:
- A single entry point for sponsors, clients, fans, and collaborators
- Clear, repeatable workflows instead of chaotic DMs
- A live operations layer powered by Google Sheets and light automation
- A better experience for everyone who wants to work with you
The core moves:
- Map your real creator workflows.
- Turn each into a focused Ezpa.ge form.
- Give each form a memorable custom URL.
- Sync everything into Google Sheets for live visibility.
- Add automation where it reduces friction, not where it removes humanity.
- Optimize for mobile taps and ethical personalization.
- Use your link in bio as a switchboard to route attention into the right flows.
Do that, and you’re no longer just “sharing a link.” You’re running live ops for a real creator business.
Your next step
Don’t try to rebuild your entire system at once.
Instead:
- Pick one workflow that’s currently messy (sponsorships, coaching, or event RSVPs are great starting points).
- Create a single Ezpa.ge form for it, with a clear promise and minimal fields.
- Give it a short, memorable custom URL and add it to your link in bio, email footer, and saved replies.
- Connect it to a Google Sheet and commit to updating status daily for one week.
By the end of that week, you’ll feel the difference between “traffic from social” and a live, structured workflow you can actually run.
Then you can repeat the pattern for the rest of your creator business.
Your link in bio is already getting clicks. It’s time to make those clicks run your ops—not the other way around.